
Assumptions
Ok folks, we realize this is getting somewhat repetitive but necessary assumptions disclaimer. If you've been following along with our other Claris Connect posts, it won't surprise you to learn that certain requirements need to be met before we can move forward.
- You have a FileMaker ID
- You have signed up for the Claris Connect trial or a paid package
- You're logged into Claris Connect
- You understand what a Project, Flow, Steps and Step Data is
If you're unsure about any of the above, check out our previous blog article Intro to Claris Connect: Part 1: Creating A Project & Flow and that should introduce all these concepts to you and get you on the right track.
Requirements To Integrate FileMaker Into A Flow
As in our previous post, Intro to Claris Connect: Part 5: Sending Data To FileMaker, there are some additional requirements for this to work:
- Your database file needs to be hosted on FileMaker Server
- FileMaker Server version needs to be 18.03 or higher, or FileMaker Cloud 2.0
- Your server needs to have a SSL certificate installed (and if your server doesn't have a SSL certificate installed, why not?!)
- The file you wish to access needs to have the Data API extended privilege enabled for the user account/privilege set you will use to access the file
Setting Up A Flow With FileMaker Being The Trigger
We're going to set up a new simple flow for this example. A common business scenario is adding email addresses from a FileMaker database to a Mailchimp account. We're going to automate this process using Claris Connect.
If you've been following our Introduction to Claris Connect series then you'll have connected your FileMaker database to Claris Connect in our previous post. If you haven't, then go check that out, get it connected and come back.
Every flow begins with a trigger. A trigger is the event that prompts a flow to run. In our case, the flow will be waiting for FileMaker to send it a 'ping', at which point the flow will run. So, go make a new flow, name it appropriately and you should land on the Configure New Trigger page.
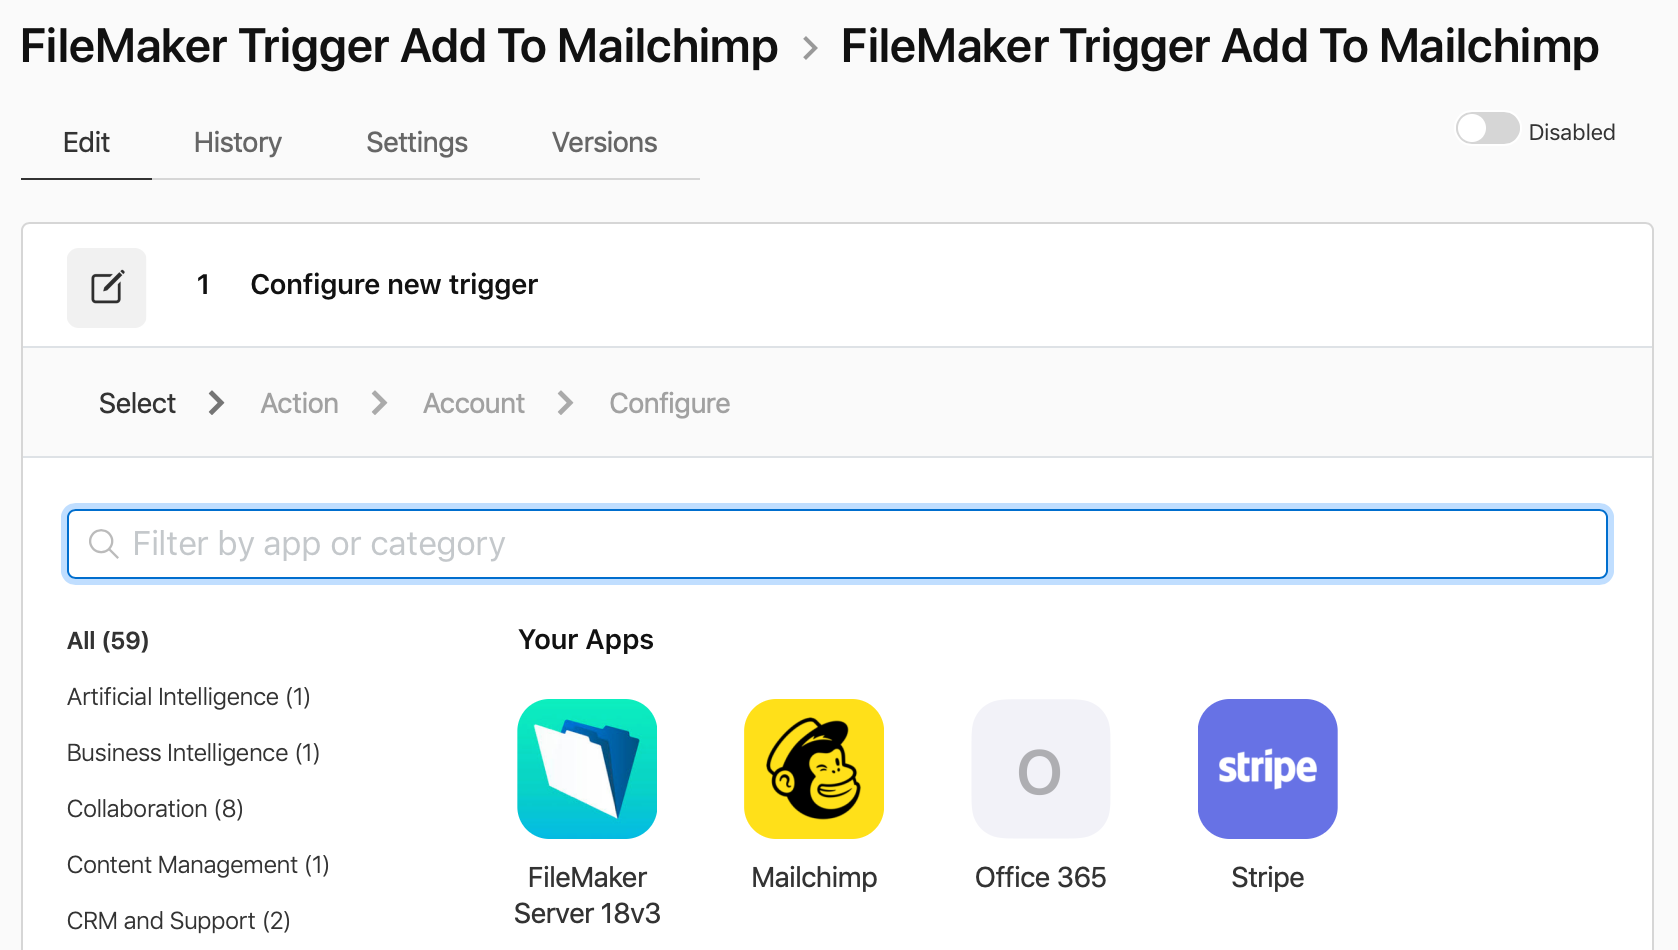
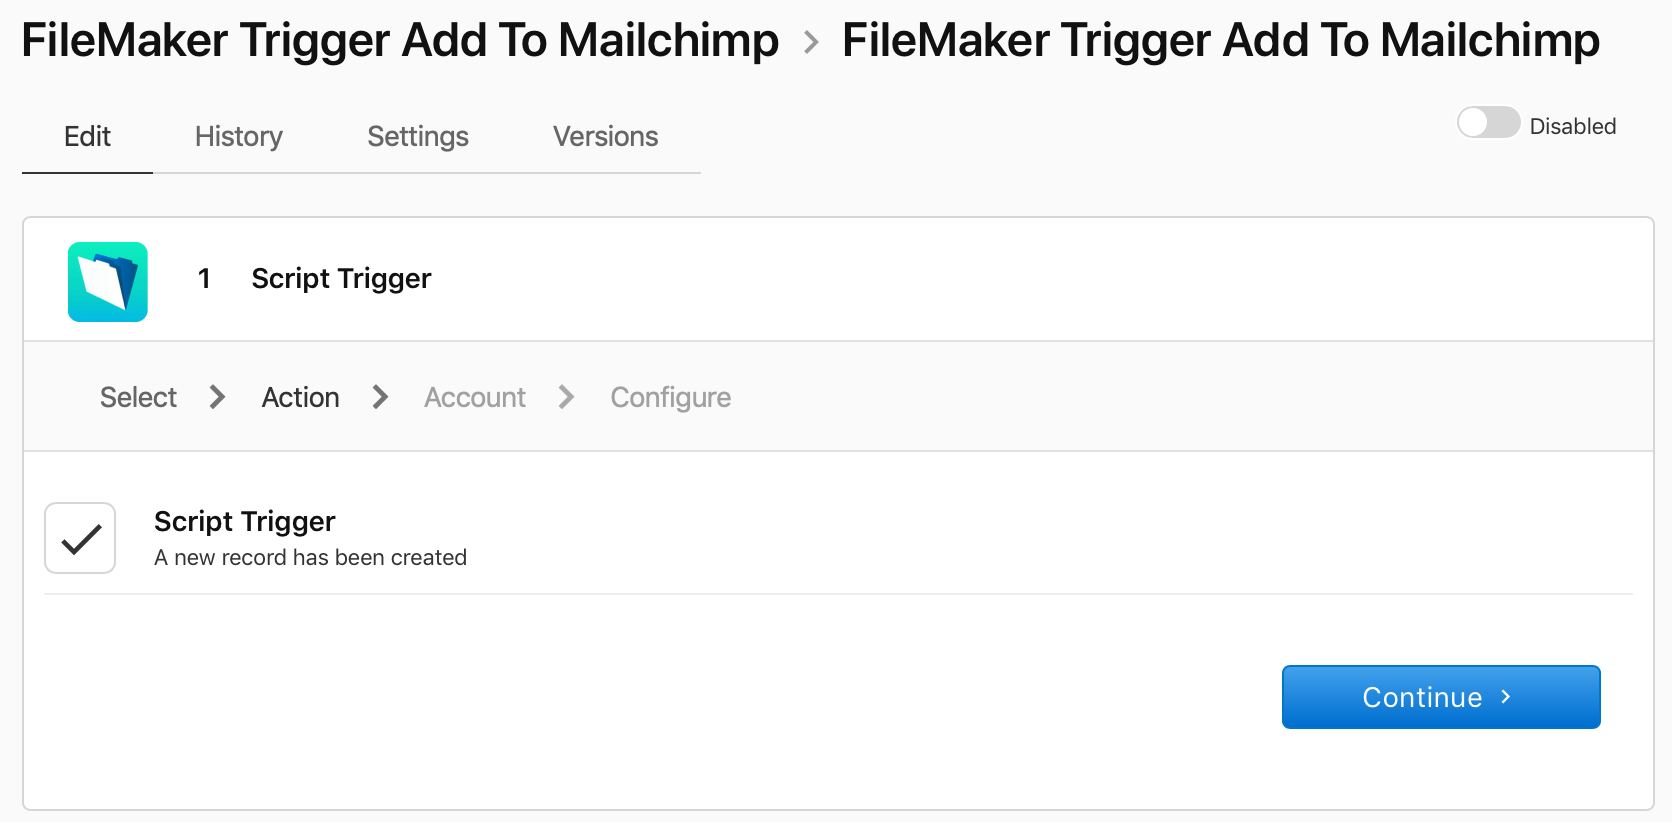
Click on your FileMaker connector app and you'll see just one option for the trigger already selected as below. Don't worry too much about what this says. Just click continue to move to the next screen.
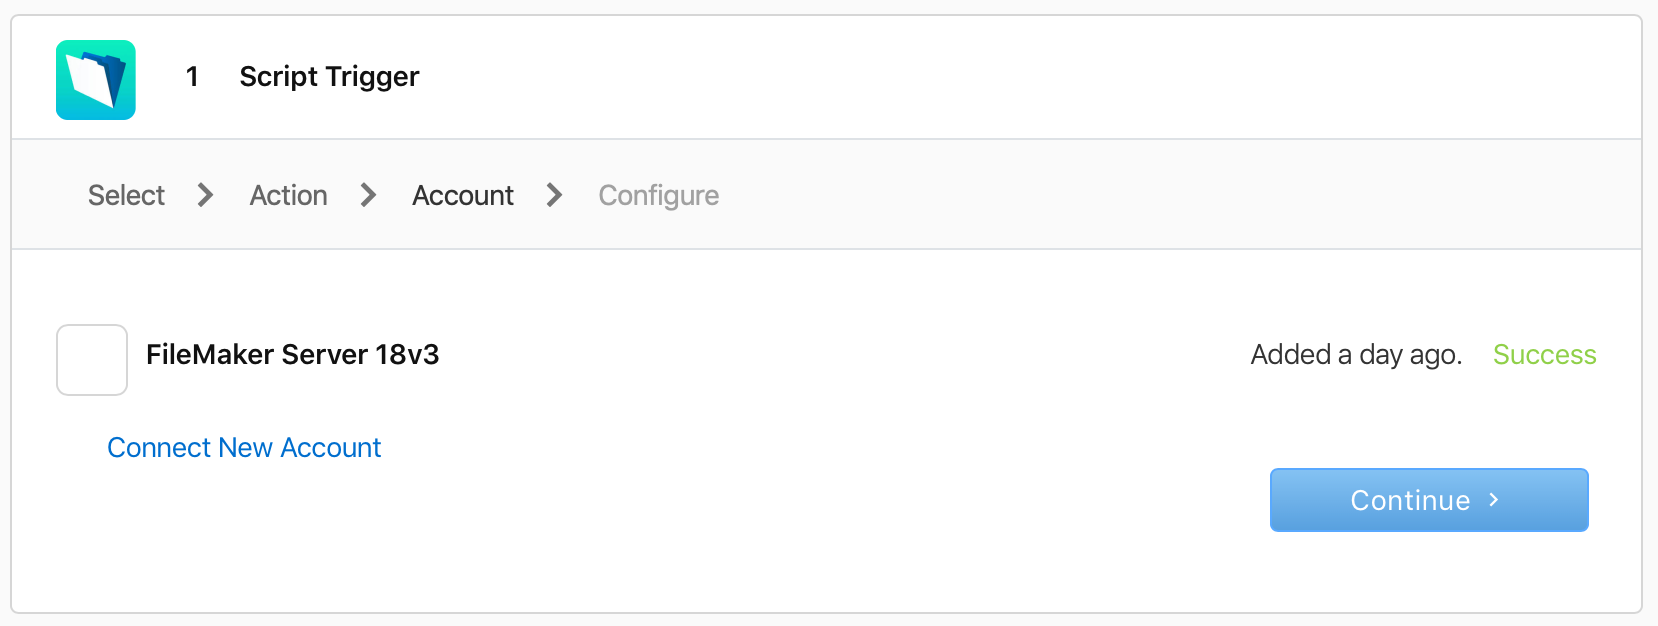
Here you can select your FileMaker Server connection, or connect to a new account. Incidentally, it's worth noting that you can connect multiple accounts within Claris Connect. If you click on the name of the account, you can edit the name to help identify which is which. Select the account you want to use and click continue.
At this point, you're presented with a bunch of informational steps that might seem a bit overwhelming, but fear not this is pretty easy.

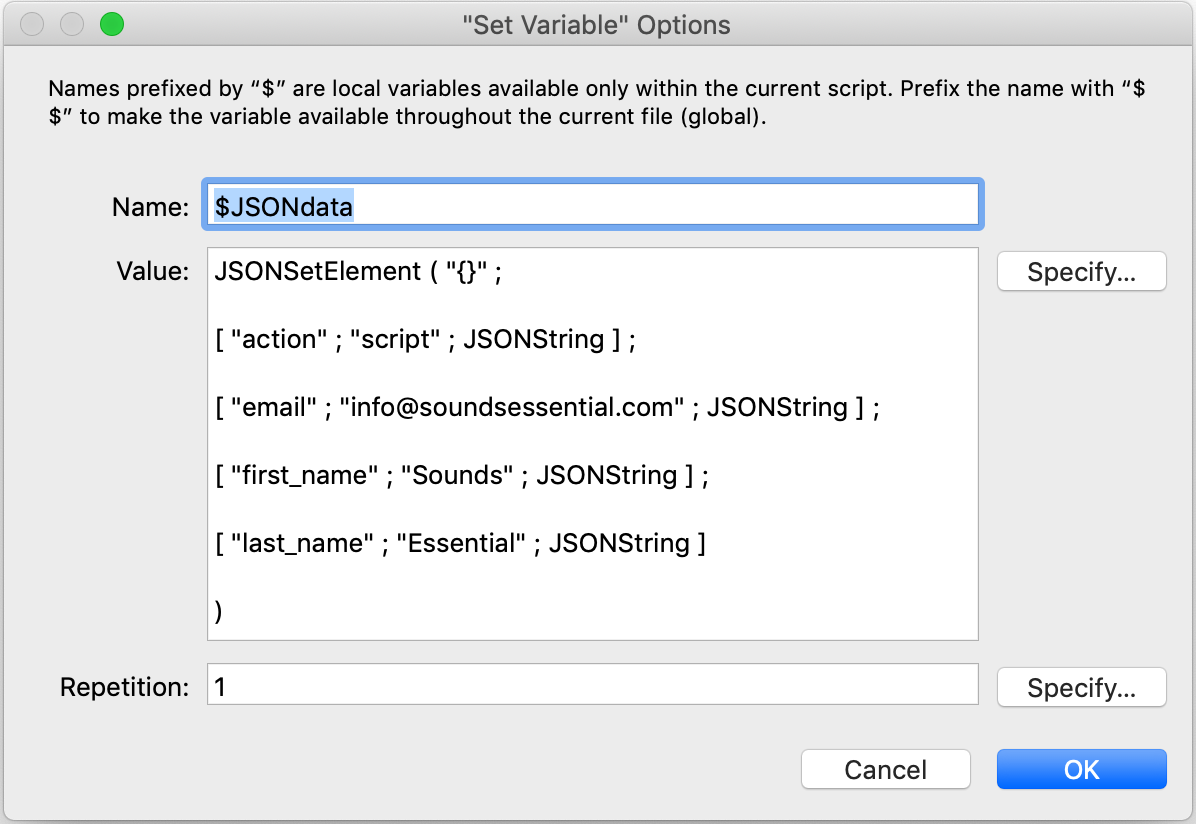
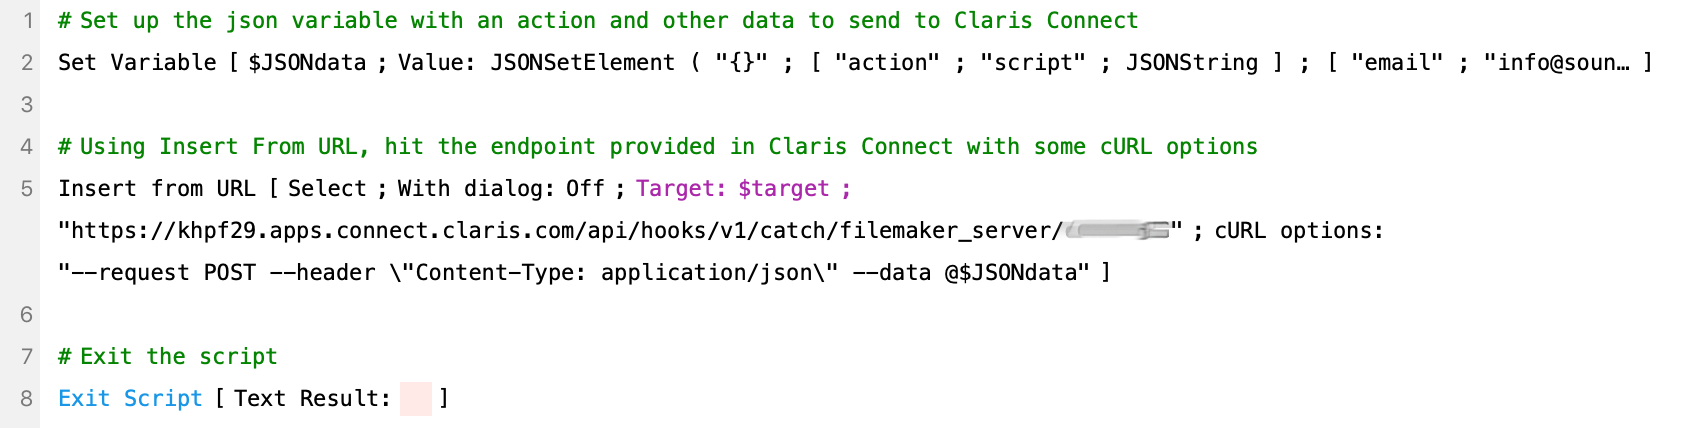
Go to your FileMaker file and make a new empty script. We'll begin by setting up a variable with some json data. Be sure to include at least one key value pair of action:script. Claris Connect needs this so be sure not to leave it out!
While we're here, we're going to add additional data to the json object that we know we'll want when we get to our Mailchimp step in Claris Connect. These additional key value pairs will become available to us in Claris Connect as Step Data. Our variable looks like this.
Next, we'll set up our Insert From URL script step. Go back to Claris Connect and copy the URL that was generated on the instructions page. Create an Insert From URL script step in FileMaker and under the Specify URL option, paste the URL from your clipboard.
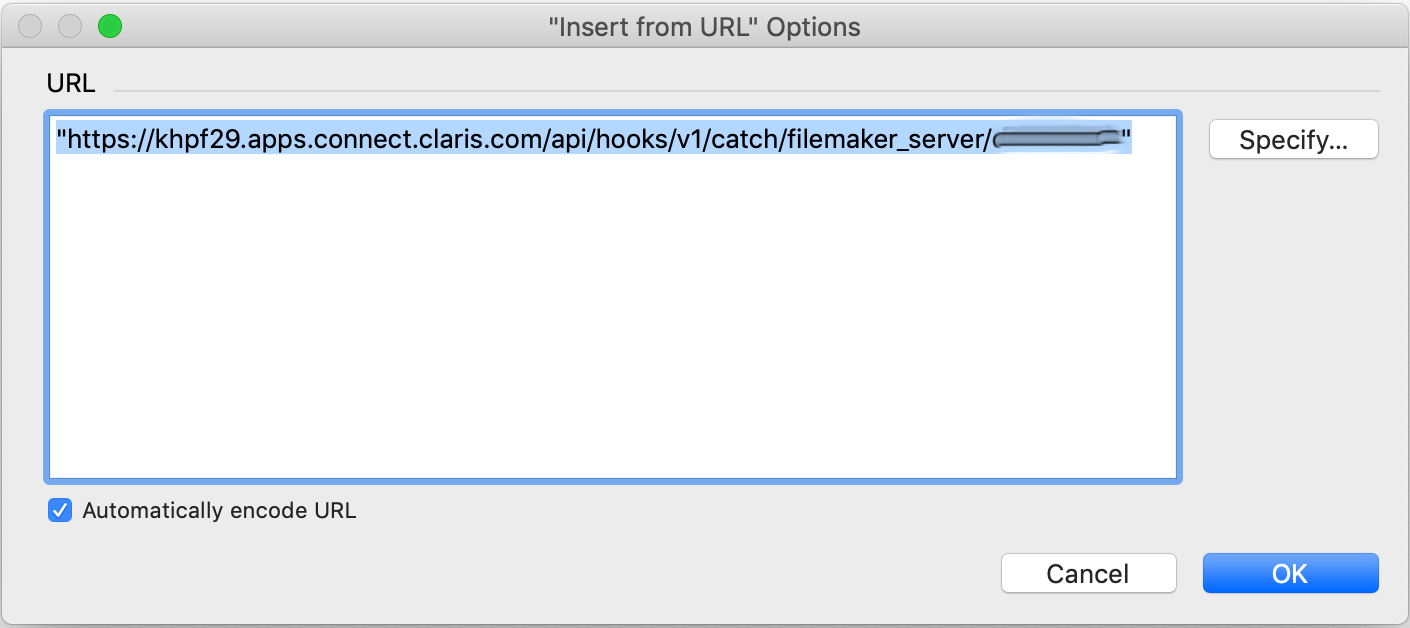
For the Target option, just add a local variable called $target.
And, finally, for your Specify cURL Options use this (including the double quotes):
"--request POST --header \"Content-Type: application/json\" --data @$JSONdata"
So, your script should be looking something like this.
Ok, here comes the magic bit. Bring up the Claris Connect window again, and then run the script you just created. Ta da! Almost instantly the Connection Complete message displays and the Save button is now active. Click it!

Another quick shout out to error trapping... Your $target variable above should end up with "OK" in it if the Insert From URL step successfully connects to Claris Connect. When you call this URL, test for the result and act accordingly.
Now we need to set up the flow step that will add our email address to our Mailchimp list. We've done this before, so we'll run through it quickly:
- Add a new action
- Choose the Mailchimp app
- Select the Subscribe To A List option
- Select the Mailchimp account to connect to (or Connect New Account)
- Select the list
- And then, grab the Step Data from Step 1 to populate the Email, First Name and Last Name
This is what your flow should be looking like.

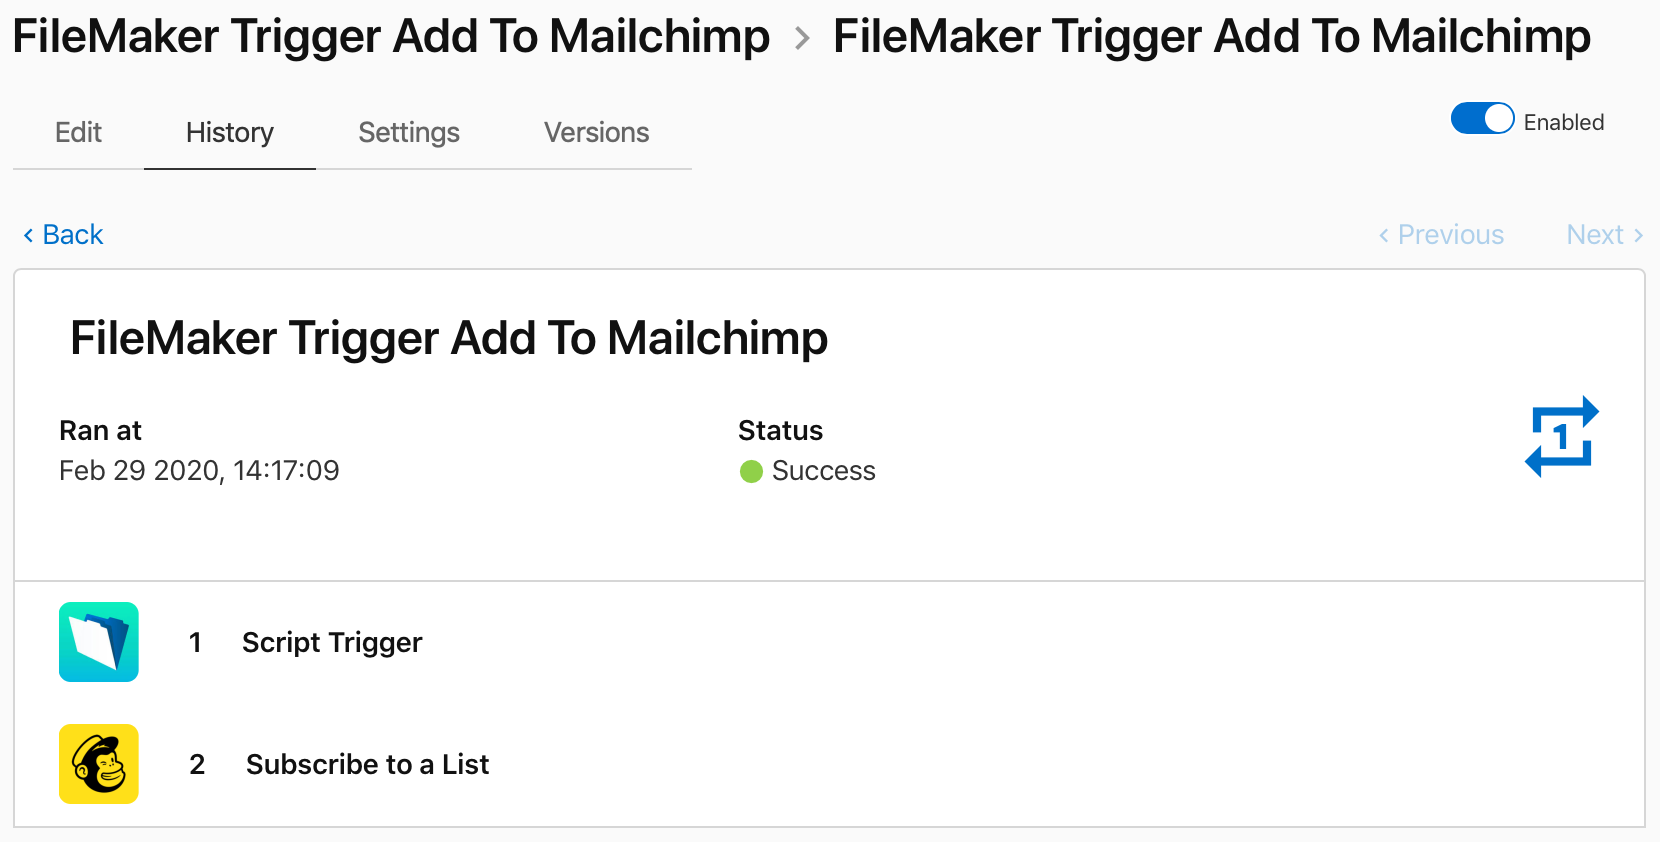
Hit save, enable the flow, and run your script. You can check your flow history to see the result and any errors.
And, go to your Mailchimp account to check that the email address is in your list.

Again, we simply can't stress enough how important it is to trap for errors and handle them appropriately at all stages along the way. You can check out our other blog post, Intro to Claris Connect Part 4: Handling Errors, for ideas on how to do that.
Conclusion
As with sending data to FileMaker from Claris Connect, the ability to trigger a flow from within FileMaker has been simple and straightforward to set up. This gives us plenty of options to choose from as we determine the best and most efficient way to tackle problems in the workplace.
If you would like to integrate your database with Claris Connect and take advantage of the wealth of functionality it provides, don't hesitate to reach out to us. Check out our other posts on Claris Connect for more walk-throughs and tips.
If you need help with licensing or want to discuss how Claris Connect can help solve issues in your business, contact us and we'd be glad to help.


