Assumptions
Once again, if you've been following along with our other Claris Connect posts, it won't surprise you to learn that we're going to make some assumptions as below before we move on, so if some of these are not yet applicable to you, head off and get them sorted out and come back when done!
- You have a FileMaker ID
- You have signed up for the Claris Connect trial or a paid package
- You're logged into Claris Connect
- You understand what a Project, Flow, Steps and Step Data is
If you're unsure about any of the above, check out our previous blog article Intro to Claris Connect: Part 1: Creating A Project & Flow and that should introduce all these concepts to you and get you on the right track.
Requirements To Integrate FileMaker Into A Flow
There are a few requirements you need to meet for this to work:
- Your database file needs to be hosted on FileMaker Server.
- FileMaker Server version needs to be 18.03 or higher, or FileMaker Cloud 2.0.
- Your server needs to have a SSL certificate installed. (And if your server doesn't have an SSL certificate installed, why not?!)
- The file you wish to access needs to have the Data API extended privilege enabled for the user account/privilege set you will use to access the file.
Step 1: Adding A Step And Authenticating To FileMaker Server
As we discovered in our first post, when we add a new app or service to our project, we need to configure the credentials for that app. Connecting to FileMaker Server is no different. Our plan is to use the flow from our last post, and add a step immediately after the Stripe Charge Succeeded step that will contact our FileMaker database and execute a script, passing data in via a script parameter.
So, head over to the flow in Claris Connect, hover over the plus button in Step 1 and choose Action. In the App section of the available options, there are two FileMaker apps: one for Cloud and the other for 18v3.
As a quick side note, it's worth pointing out that if you hover the mouse over an app or utility, a small info button appears in the top right. If you click that, you can get some info about the item and what triggers and actions are available for it.
Ok, so go ahead and select your FileMaker app (we chose 18v3) and your flow should look like this.
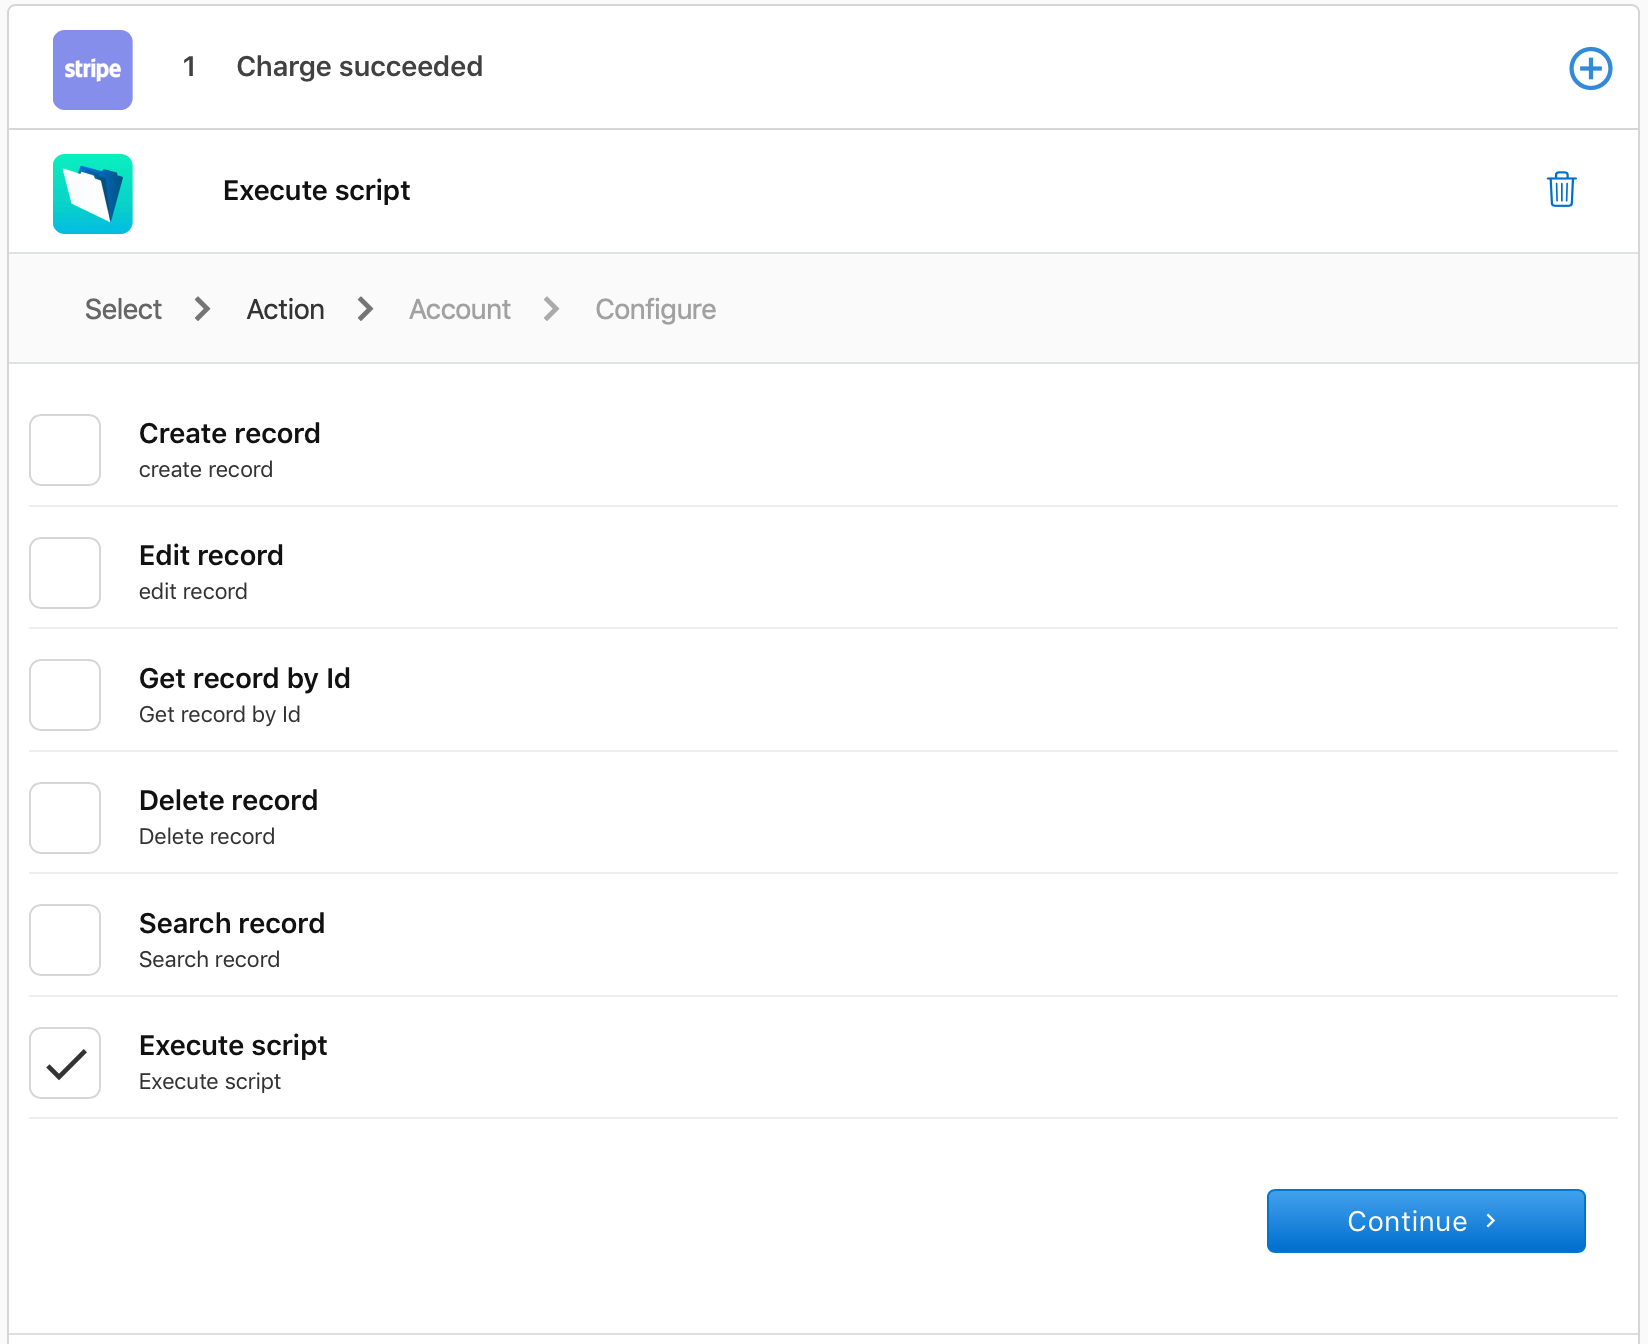
As mentioned before, we're going to execute a FileMaker script, so select that and hit continue. And here's our familiar Connect New Account process.
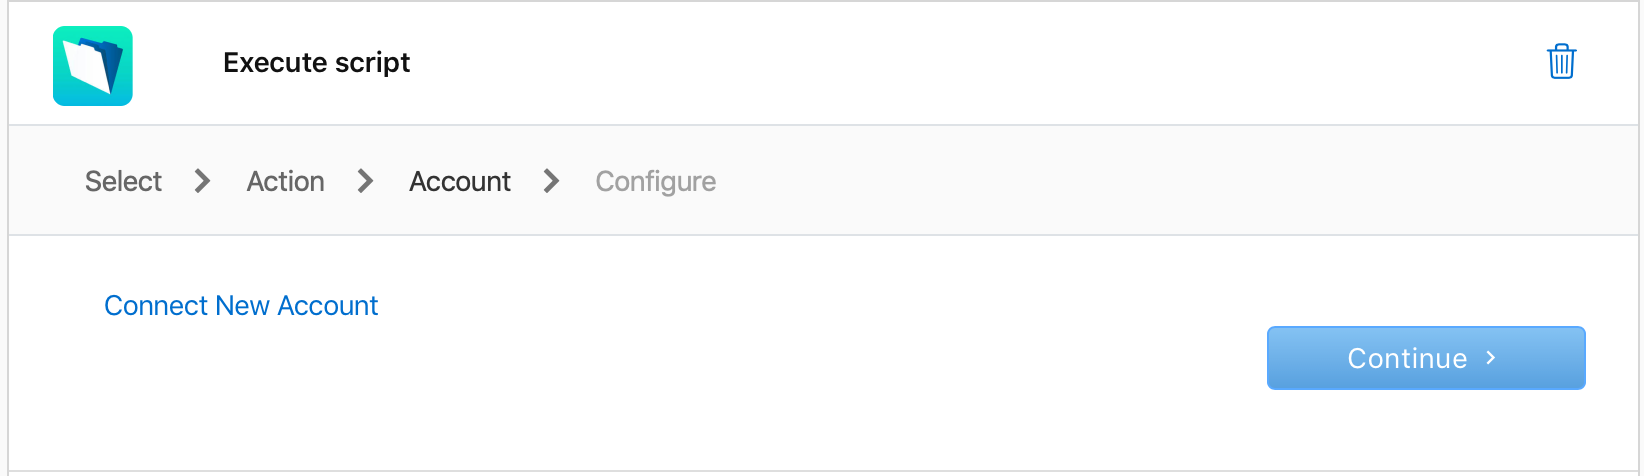
Go ahead and click Connect New Account and a new window will open, prompting you for details to access the database.
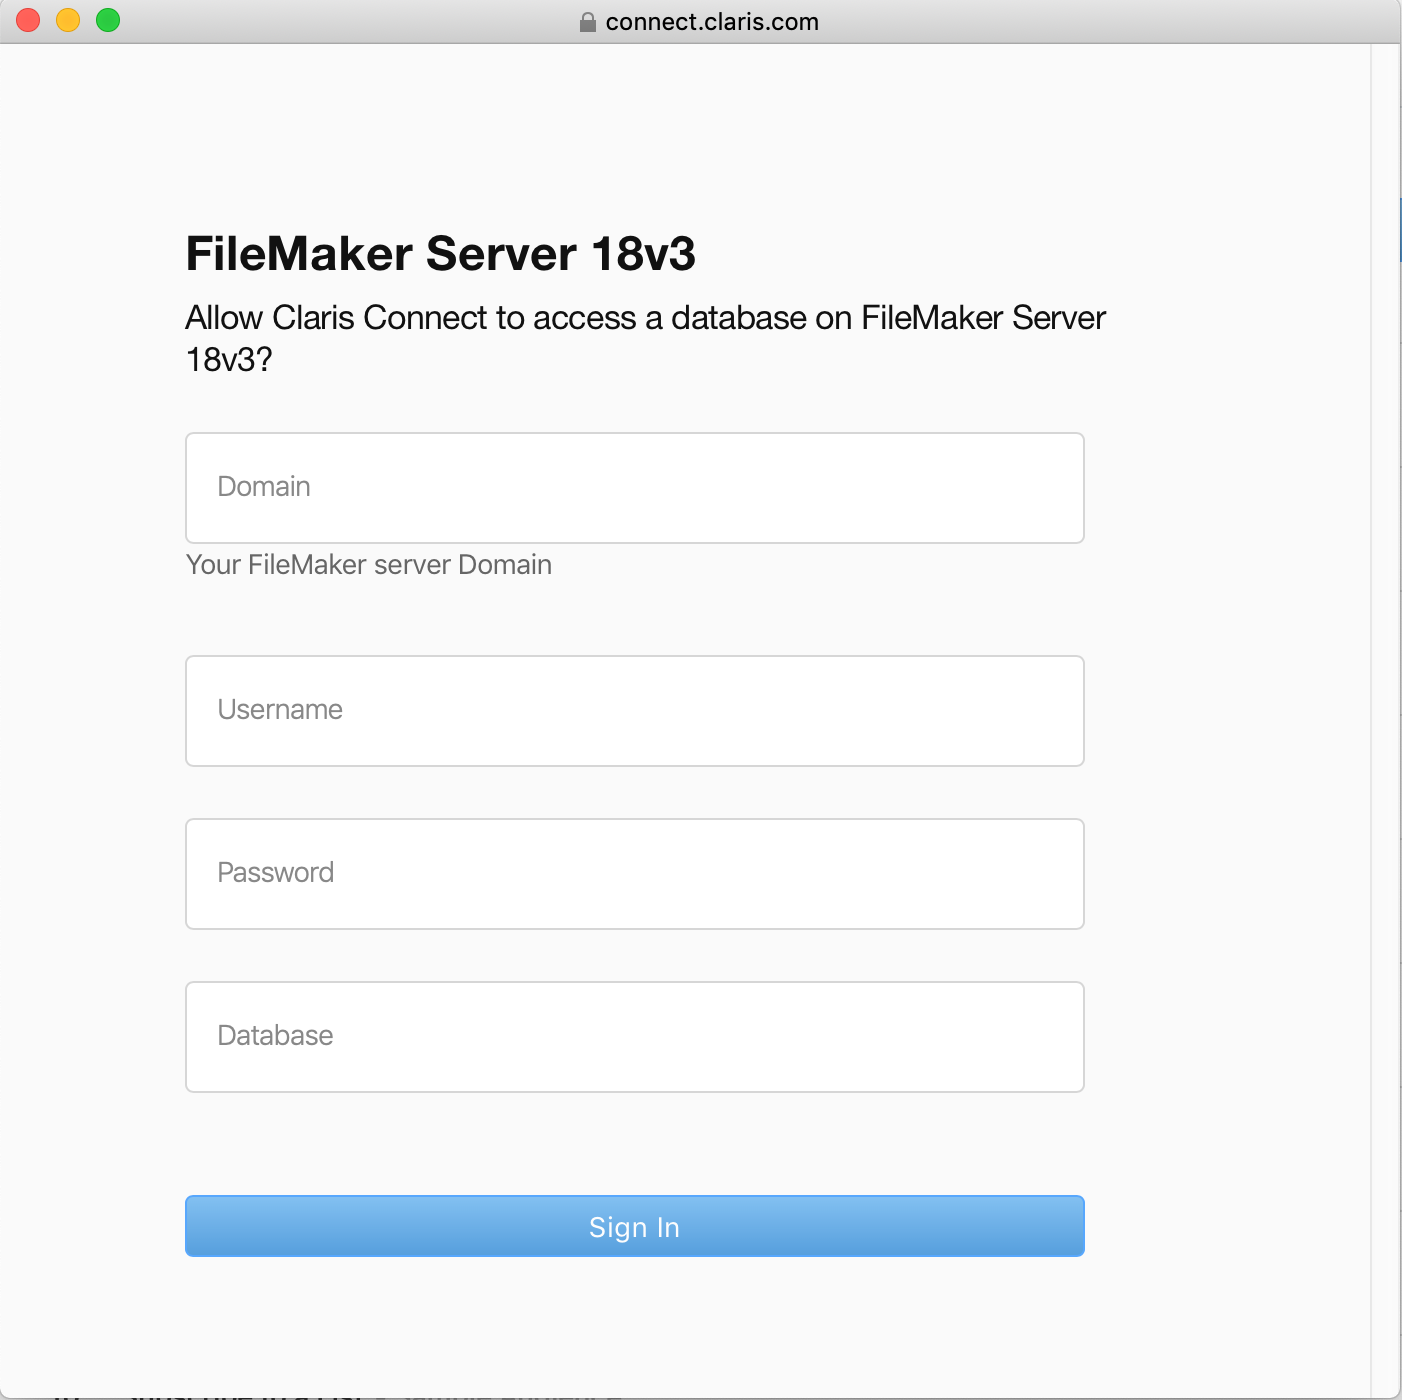
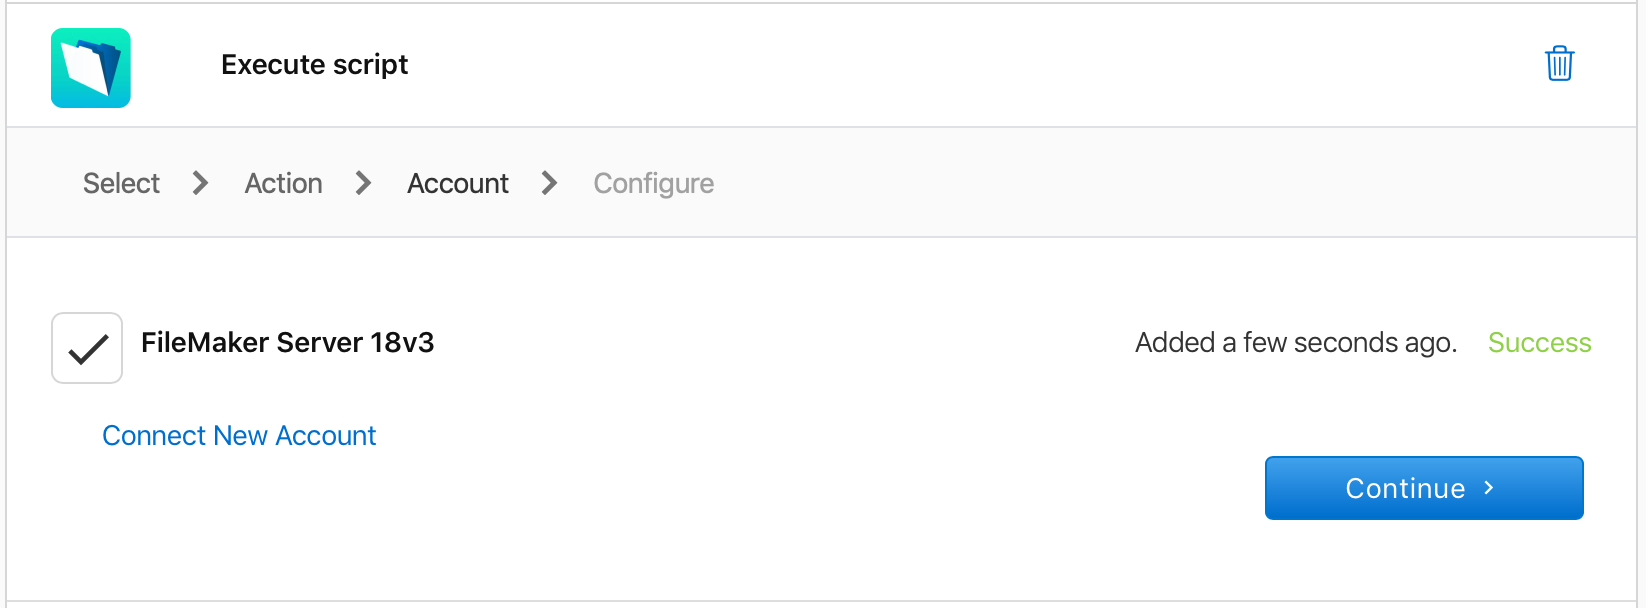
Fill out your details and sign in. If everything goes well, you'll get the Success message. If not, then double-check all the requirements above and the credentials you entered.
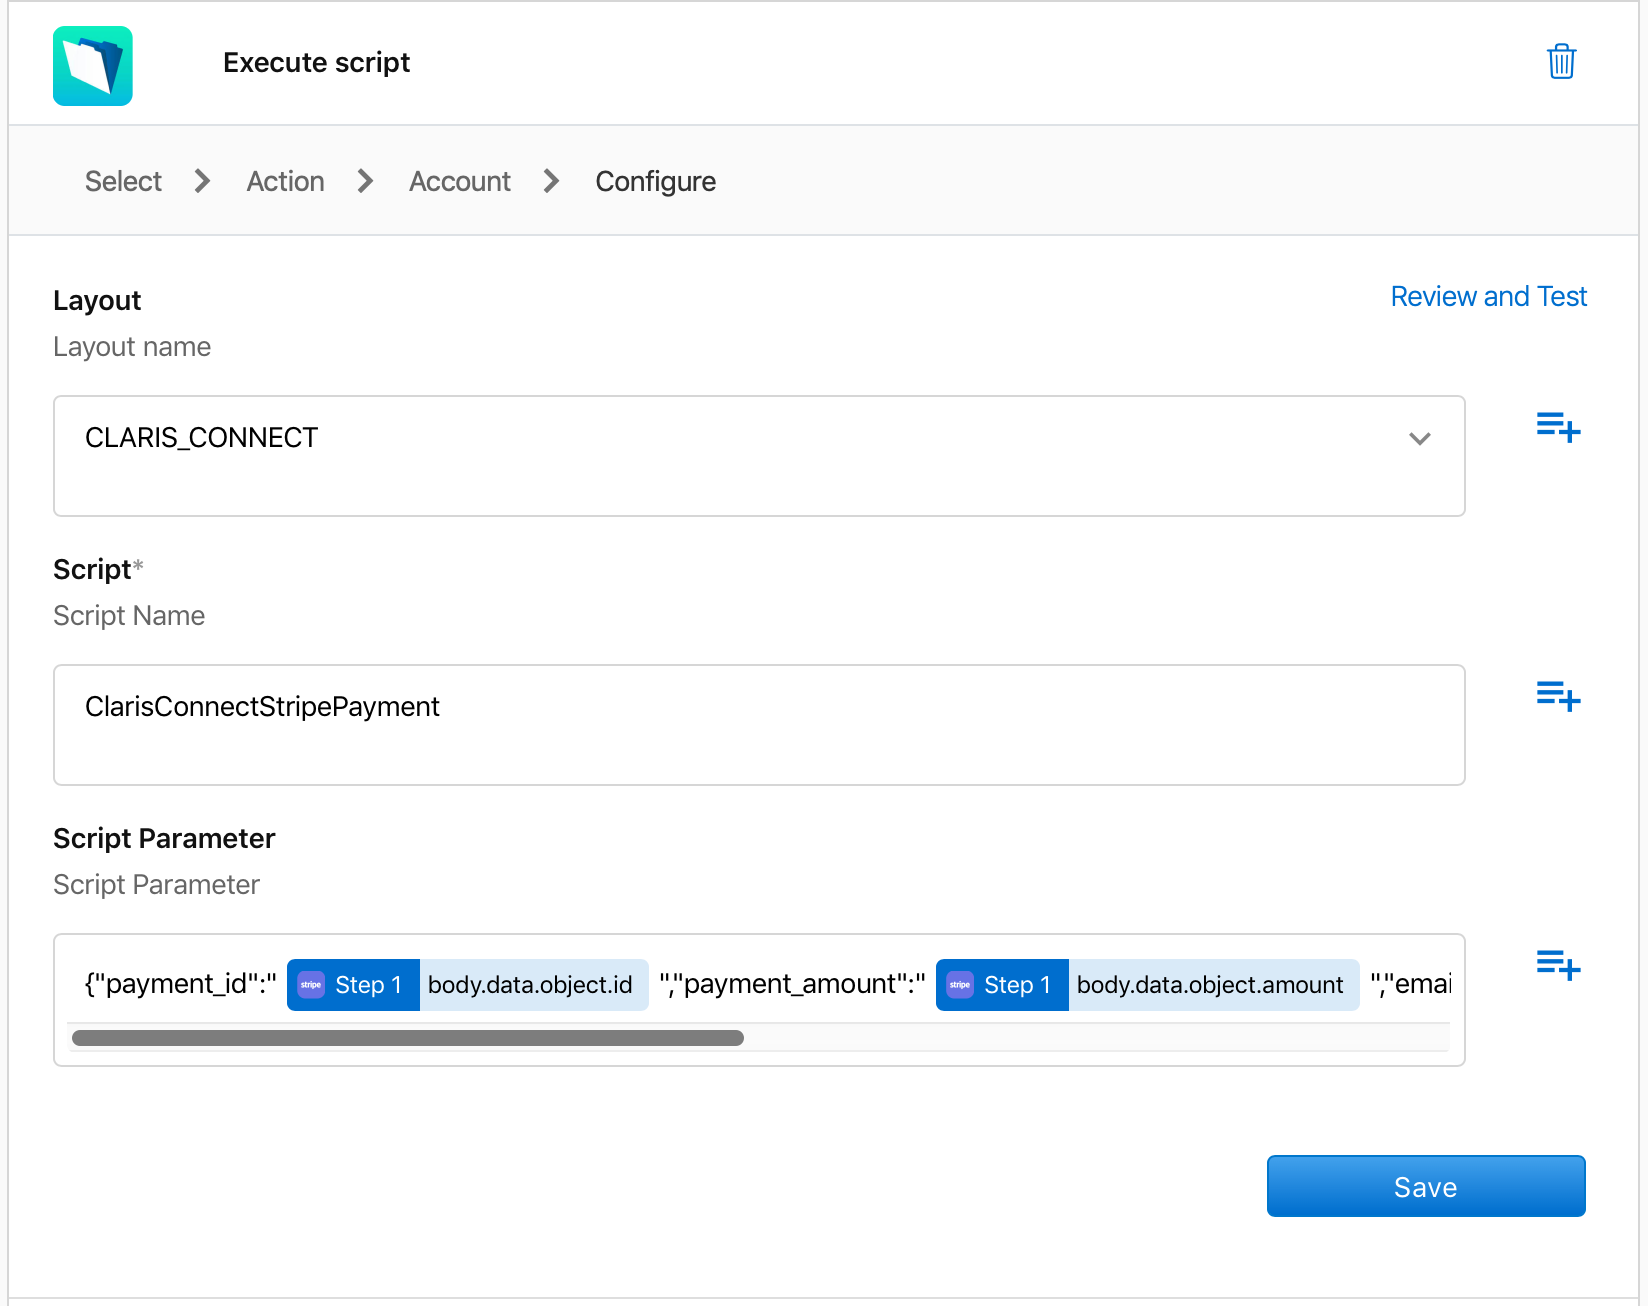
Cick Continue. Now you see a form to fill out, including the layout name, the script you want to run, and the script parameter you wish to populate. Because you're now connected to the database, the layout names in your database will be in a dropdown list. The script name you'll have to type in manually or copy and paste.
As for the script parameter, unfortunately we can't currently select the entire response in the Step Data from step 1. To solve this, we're going to build a json object with some key pieces of information we want to pass to FileMaker. Exactly what information you need to pass will be down to your particular situation, of course, but ours is below.
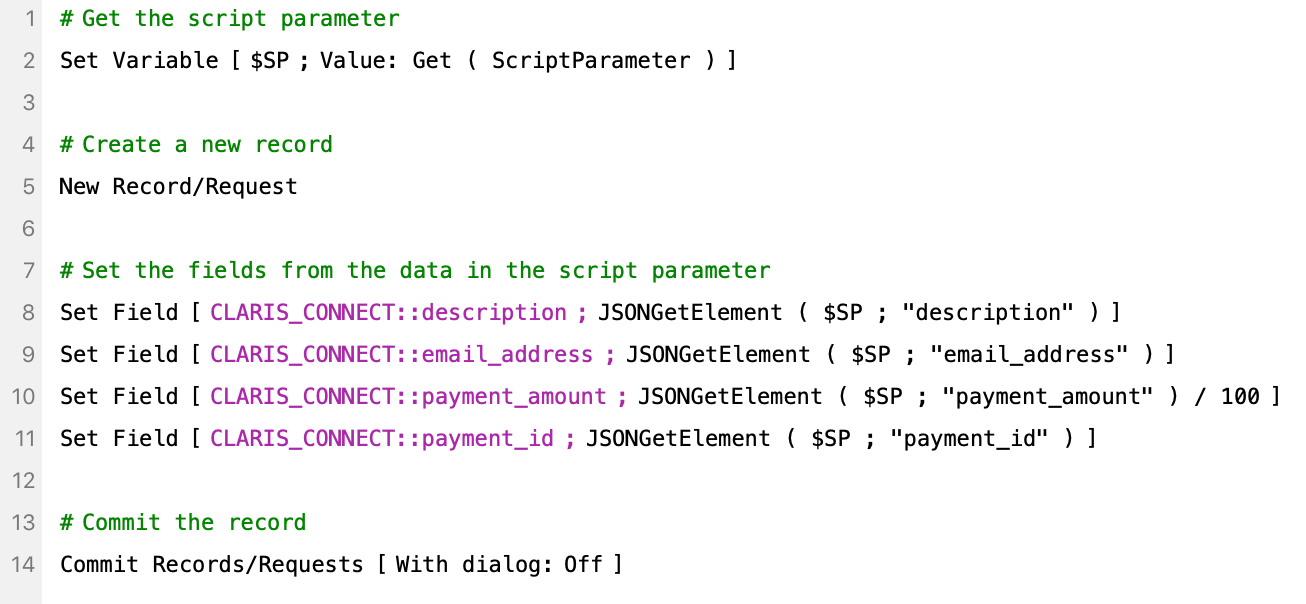
In our FileMaker database, we have a simple script that creates a new record, sets the various fields with the data passed in the script parameter, and then commits the record. This commit is important. Again, what your script does and what data you pass will be different, but ours is below.
If we run our flow and then go check our database, we see the record created with all the fields set with the data we originally provided to Stripe. Don't forget to enable your flow. You'll also want to add some error trapping as we've explained previously.

Conclusion
We keep saying it, but the complexity of communicating with the FileMaker Data API has been completely wiped out by using Claris Connect. Just a few clicks here and there and the connection is made.
The fun doesn't end there, though. There's plenty more to explore with the Claris Connect FileMaker Connector app. If you'd like any help setting up your flow to integrate with your database, don't hesitate to reach out to us. Check out our other posts on Claris Connect for more walk-throughs and tips.
If you need help with licensing or want to discuss how Claris Connect can help solve issues in your business, contact us and we'd be glad to help.


