
Setting Up A Keycloak Server For Authenticating To FileMaker: Part 1: Installing Ubuntu
Lesson in Brief: Installing Ubuntu On A Virtual Machine Utilizing Windows 10
In part one of our Keycloak series, we jump straight in with getting our operating system of choice installed on a virtual machine, ready for Keycloak to be installed. As explained in our introduction blog post, we've chosen to use Ubuntu and Hyper-V on Windows 10, so let's get started on our epic journey!
Installing Ubuntu On A Virtual Machine In Hyper-V On Windows 10
First up, let's start downloading Ubuntu. On the computer where you are going to be running Hyper-V and the virtual machine, go to the Ubuntu Server download page. We want Option 2 - Manual Server Installation and the version at the time of writing is Ubuntu Server 20.04.2 LTS. Start downloading that and in the meantime get your virtual machine set up. Again, if you're not familar with Hyper-V and how to create a virtual machine, check out our FileMaker Server & Zabbix: Setting Up a Server Part 1 blog post for details.
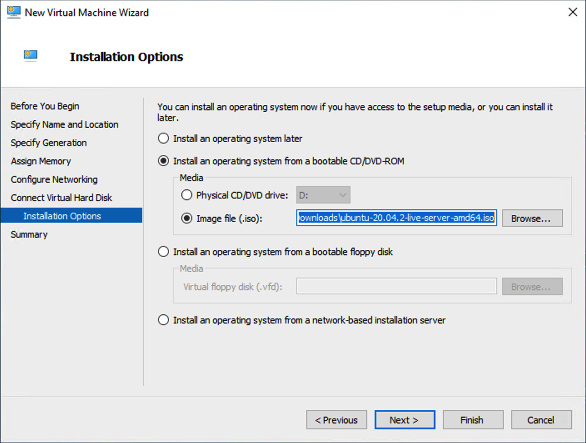
When you get to the Installation Options section of the New Virtual Machine Wizard, choose the image file you just downloaded above:
Click Finish and then before you connect to and start the virtual machine, check the settings and adjust the processors, memory and other behavior - these options are covered in our second Zabbix blog post, FileMaker Server & Zabbix: Setting Up a Server Part 2 if you're not sure what to look for.
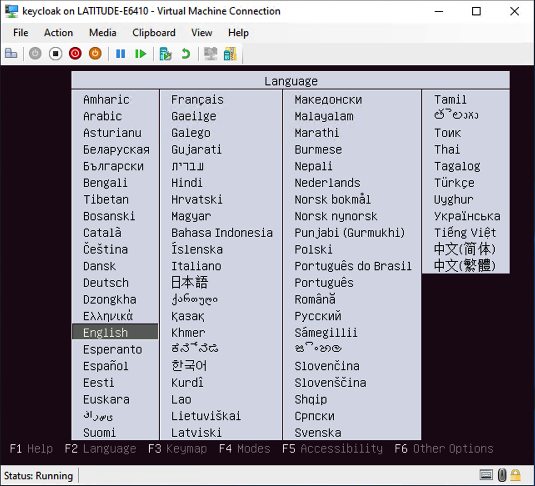
Start the virtual machine, select your language using the up and down arrows and hit enter:
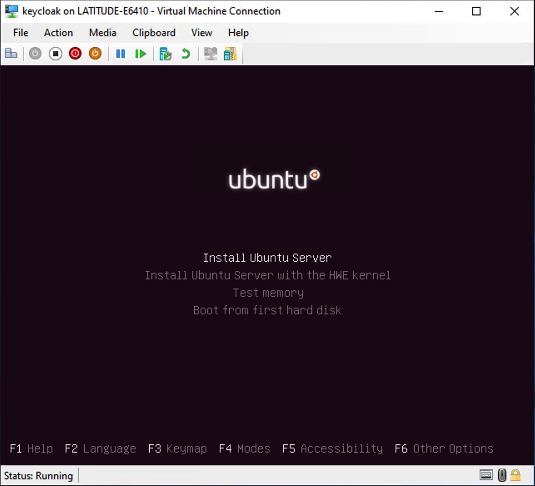
Hit Enter on the screen below to start the installation:
Ubuntu will begin to install and just leave it to do its thing until you see the language selector as below:
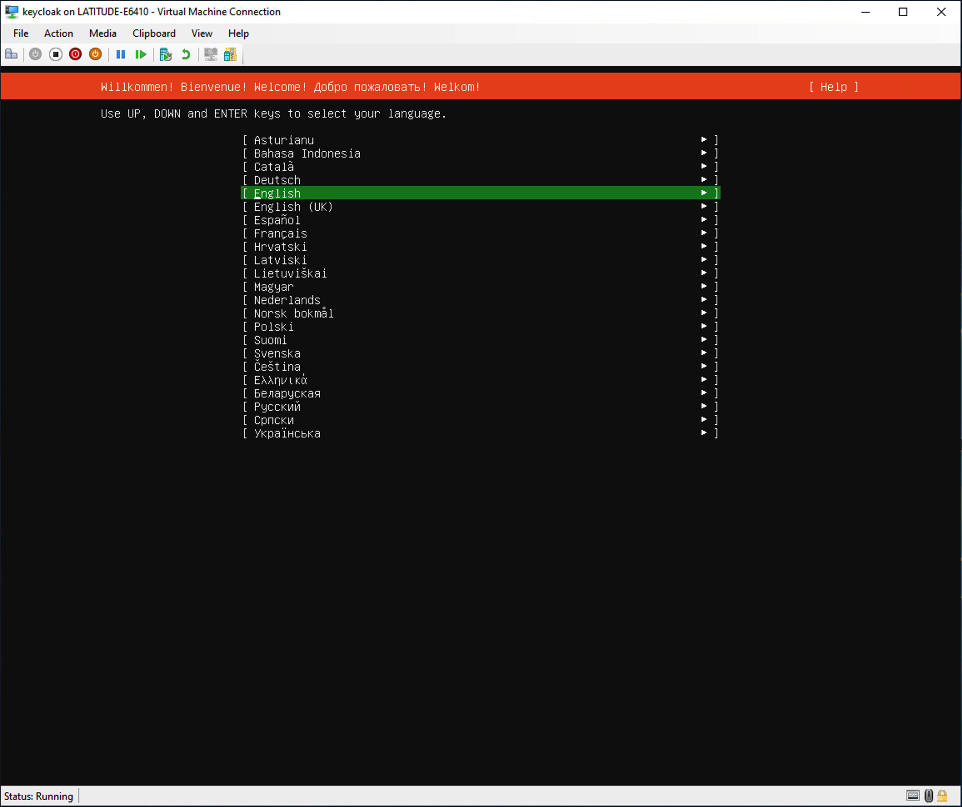
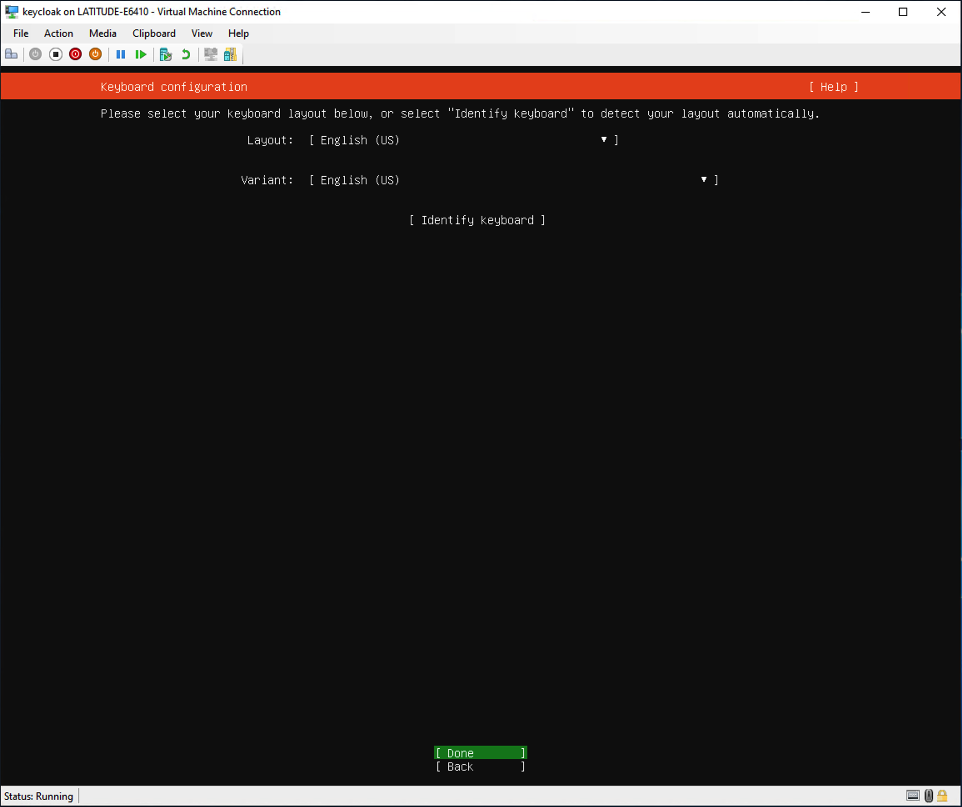
Throughout these screens, use the up and down arrows to select and Enter to confirm the choice. Select your language, hit Enter and then confirm your keyboard layout:
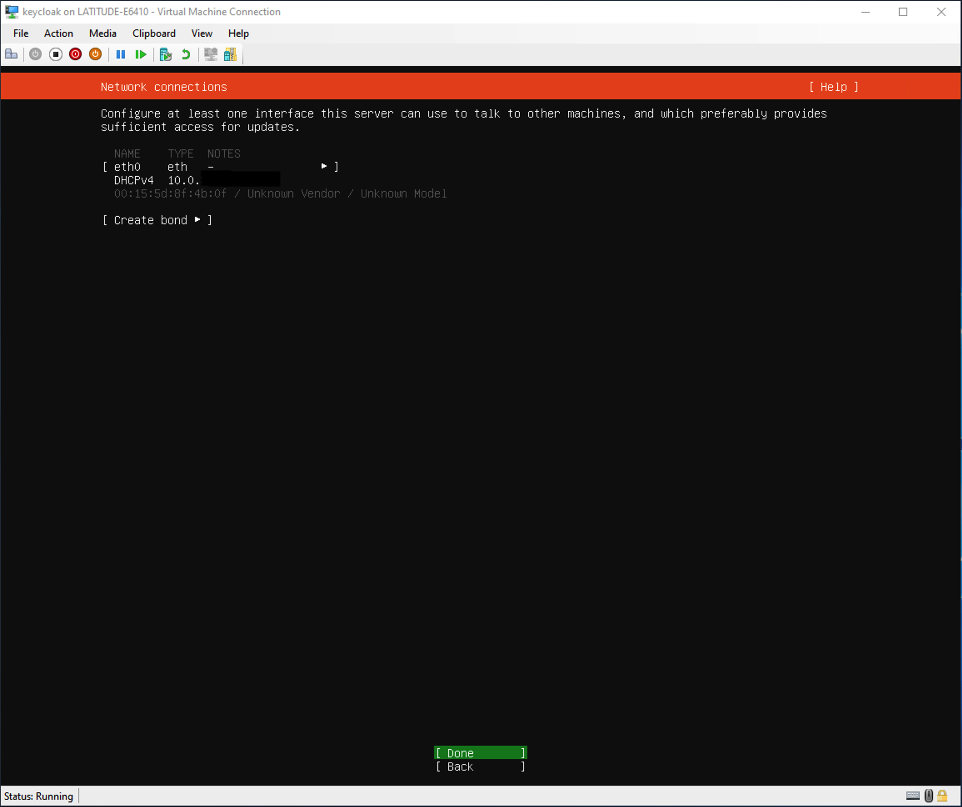
Next is confirming the network connection, which should have picked up the virtual switch from Hyper-V automatically:
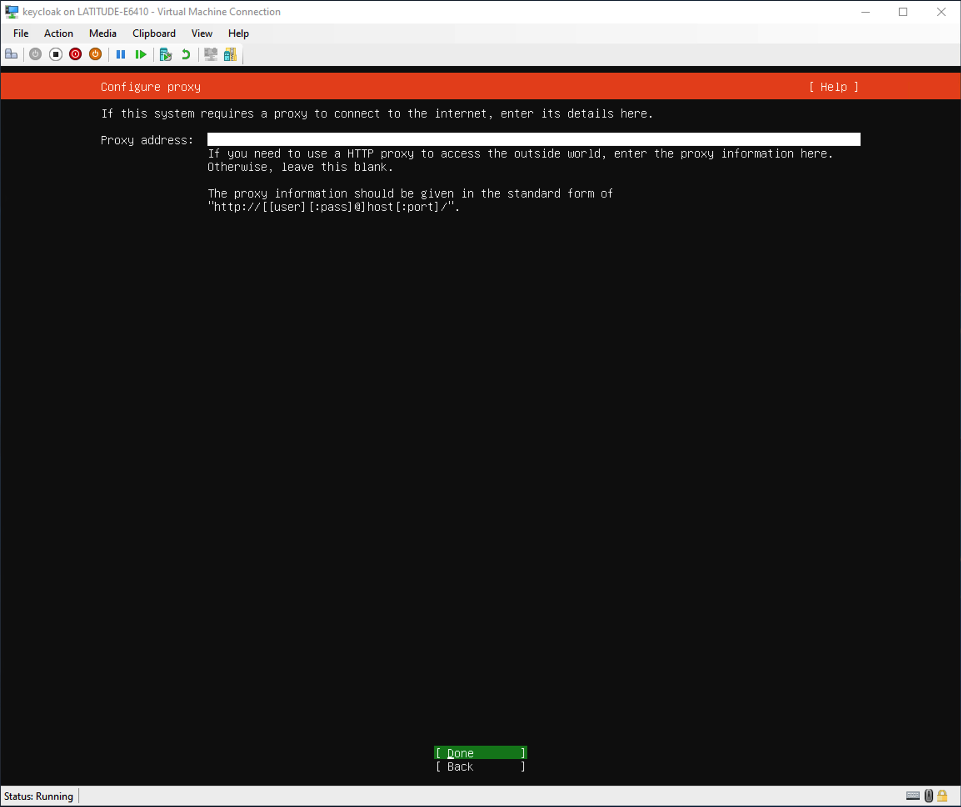
Next, if you require a proxy to connect to the Internet, enter it here, else just hit Enter:
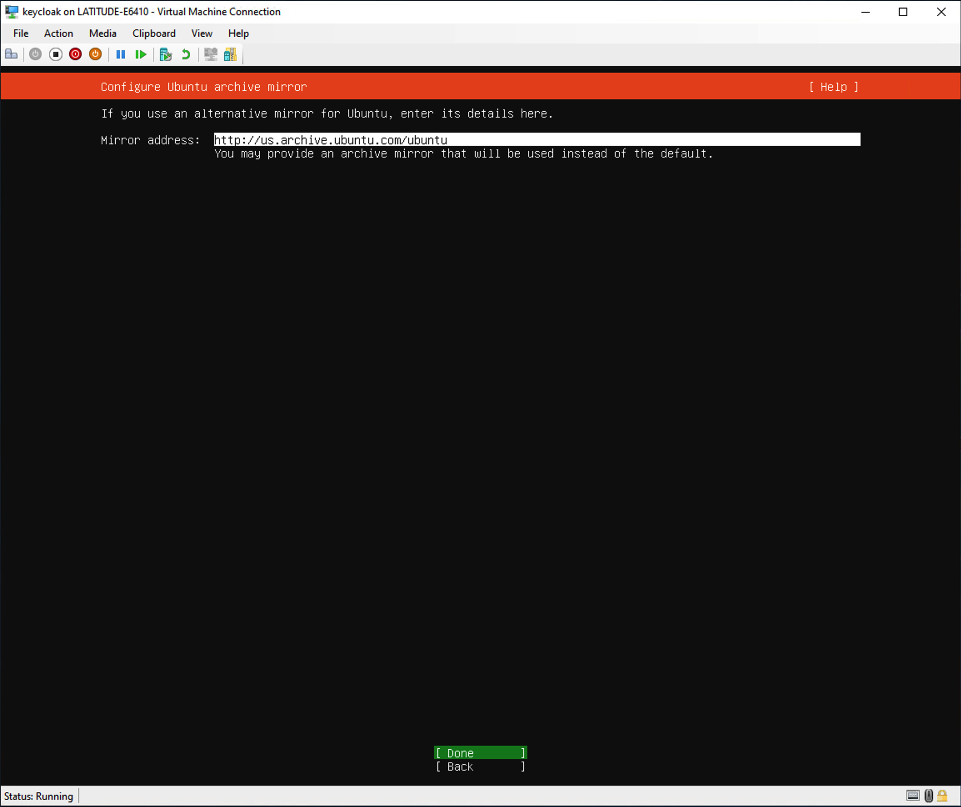
Next it is asking us about an alternative mirror but we'll leave that as the default, hit Enter:
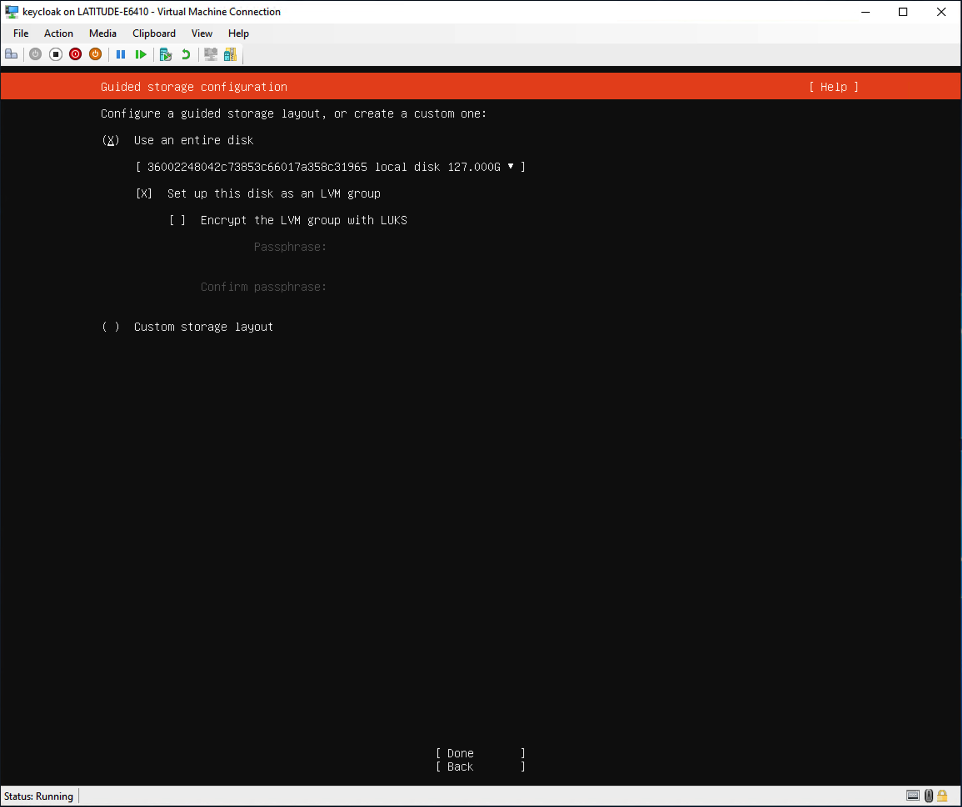
The next screen talks about storage and we're just going to use the defaults here but note that you may need to use the down arrow to activate the Done option:
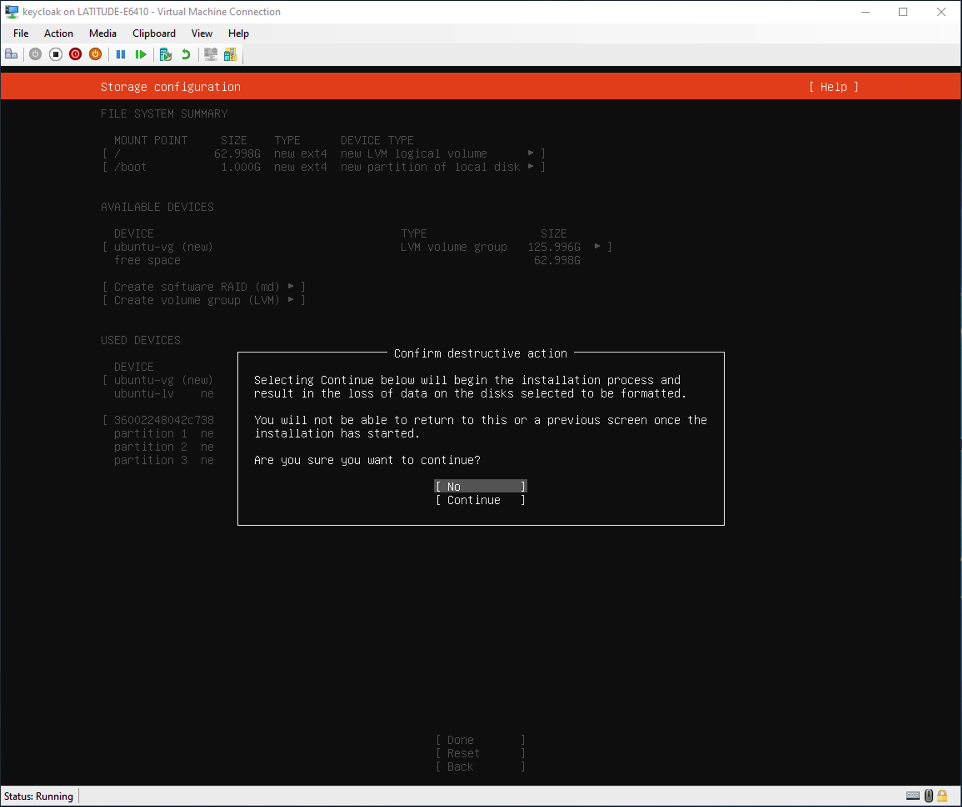
After passing the above screen, hit Enter again on the Storage Configuration screen and confirm that you wish to continue:
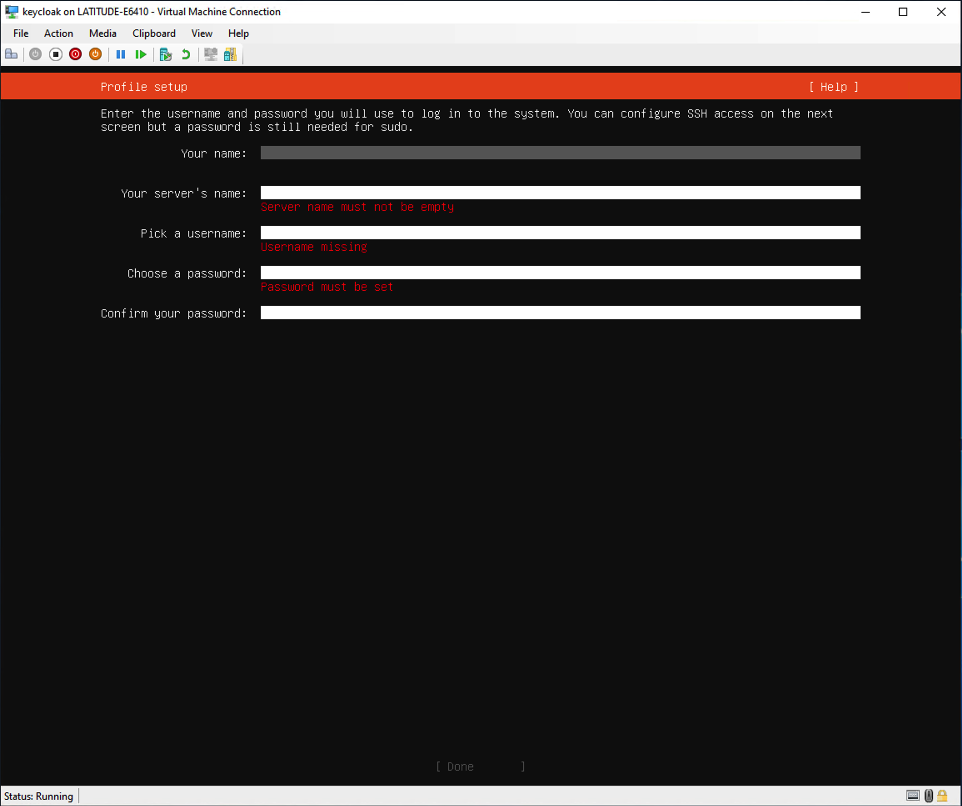
We're nearly there but now we need to enter some profile information. Fill in the boxes approriately and arrow down to the Done option (avoid using "keycloak" as your username or you'll run into trouble later on):
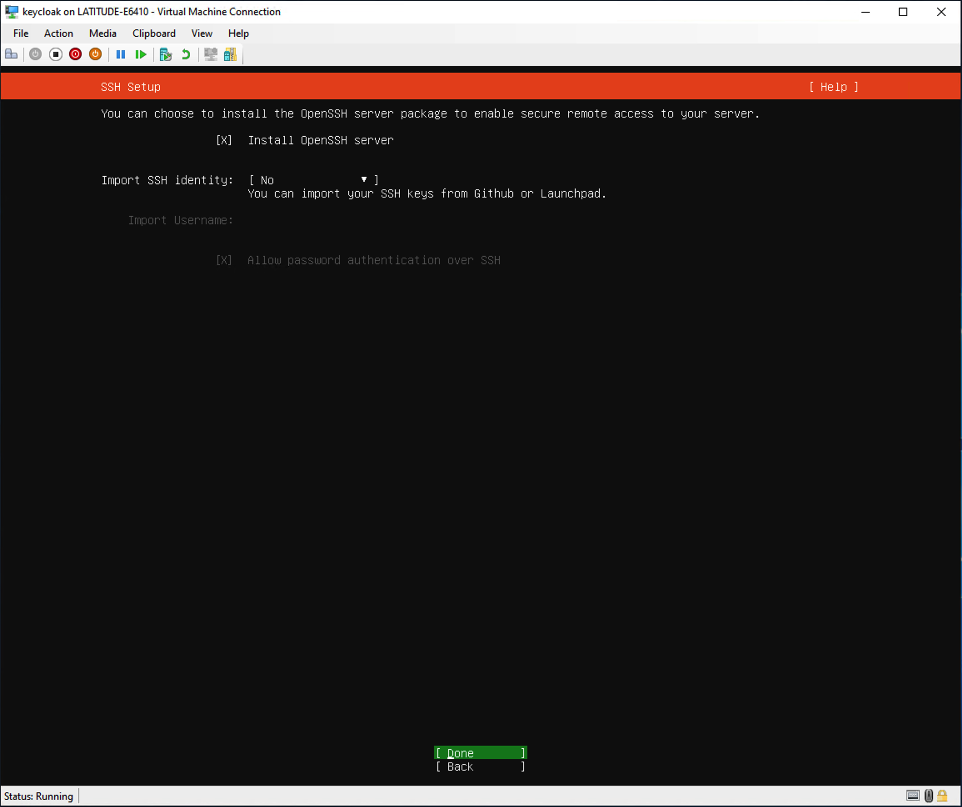
Next, on the SSH Setup screen, hit Enter to put an X in the Install OpenSSH server and arrow down to the Done option:
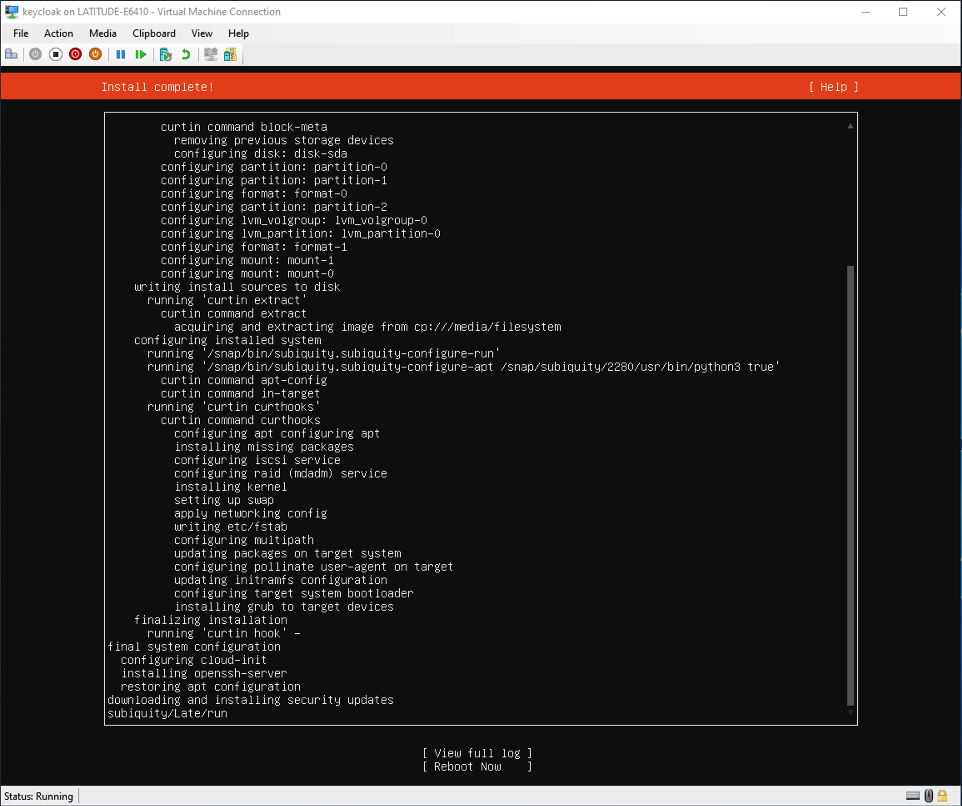
The next screen shows Featured Server Snaps, which we're not going to worry about, so arrow down to the Done option and hit Enter. Finally, we're at the end and the installation will start finalizing. It will download and install updates during this process which may take a while, so just wait until you see the Reboot Now button at the bottom as below. Use your down arrow to select it and hit Enter:
It's possible you'll see an error about unmounting the /cdrom, but just hit Enter again and your brand new Ubuntu server should reboot! Once you see the line below, hit Enter and you'll be prompted to log in using the credentials you set up above:
[ OK ] Reached target Cloud-init target.
Using SSH
As we proceed with our Keycloak installation, you may find it useful to execute the various commands from your own computer rather than directly on the Hyper-V virtual machine - especially because you'll be able to copy and paste the commands with ease. In order to do that we can use SSH, which is similar to Microsoft Remote Desktop in the Windows world - it allows us to connect to and control a Linux machine on our network.
To connect, open a Terminal window on a Mac or if you're on a PC, a Command Line Prompt or PowerShell (a SSH client is now included in Windows 10) and type the following:
ssh username@ip_address
where the username is what you set up above and the IP address is that of the Linux machine. The first time you do this, you'll be prompted if you want to continue, type "yes" and hit Enter. If you're not sure what the IP address of your new Ubuntu machine is, go to the virtual machine where you are logged in and type:
ip addr show
Updating Ubuntu
Keeping an operating system up to date is important for the latest features and security updates. Although we downloaded updates when we installed, let's check again now and make sure we're up to speed before we get stuck into installing Keycloak. Type the following commands one by one hitting Enter each time, noting that we're using "sudo" in front of the some of the commands to run them as the administrator (you will need to authenticate with the credentials you set up above). This checks for updates:
sudo apt update
If you wish to see the packages due for an update:
apt list --upgradable
Now perform the upgrade (you'll need to confirm yes after entering the below command):
sudo apt upgrade
Check for dependencies that might need upgrades:
sudo apt dist-upgrade
If you see any that need removing, you can do so with:
sudo apt autoremove
And finally, if you need to reboot, type:
sudo shutdown -r now
Summary
So, we've installed Ubuntu on a virtual machine, installed updates and in our next blog post, we’ll actually install Keycloak and handle some other configuration items.


