
FileMaker Server & Zabbix: Setting Up a Server Part 1
Lesson in Brief: Monitor FileMaker Server Via Zabbix Utilizing a Windows 10 Machine
Setting up a FileMaker server and never looking at it again is a recipe for disaster. Are your backups running? Has the scripting engine crashed? Are you running out of memory or CPU? Are your integrations taxing your solution? If any of these things happen, or if you're not monitoring to ensure they don't, you're putting your data at risk.
So now that we've pointed out how important it is to be monitoring your server, the next question is: how? Perhaps you've looked at Zabbix as an option, and if you have, you're on the right track! BUT. . . Zabbix only runs on Linux. While that might be a dead end for many, it doesn’t have to be! There are a bunch of ways you can get a Zabbix server up and running, but here, and in part 2 and part 3, we’re going to show you one – by repurposing a Windows 10 machine.
Let's be perfectly clear from the start: this process won't be for everyone. And that's totally okay. If you've skimmed this article and decided that setting up a Zabbix server isn't your thing, you can head over to our maintenance plan page and sign up for a plan that suits your needs.
To set up a Zabbix server, you could launch a Linux cloud server on AWS, or use virtualization software like VMware or Parallels. However, many offices will have the odd old computer lying around, and taking a lower spec machine and breathing new life into it by repurposing it to monitor your network devices is an ideal way to prolong its use. We’ll be using the built in virtualization software in Windows 10 to achieve our goal, but there are a couple of requirements that the machine will need to meet in order to have this work, so let’s check those first.
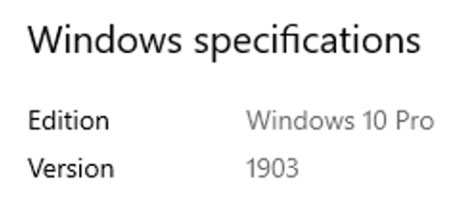
Windows 10 Pro
You’ll need to be running Windows 10 Pro, so head to the Start Button > Settings > System > About and check the Windows Specifications section. Under Edition, it needs to say “Windows 10 Pro”.
We’d also suggest using a clean fresh install of Windows 10 but it’s not required. Do note, reformatting and reinstalling Windows will wipe all your data, so ensure you have copies of any files you wish to retain.
RAM and Hyper-V Support
We’re also going to need at least 4GB of RAM, so while you’re in the About screen above, check under Device Specifications and what the Installed RAM value is. Next we need to ensure that Hyper-V is supported. Hyper-V is the virtualization software that we’ll be using to run our Linux machine, so type
cmd
in the search box next to the Start Button and hit enter to open a command prompt window. Then type
systeminfo.exe
and hit enter. What we’re looking for is yes values on the Hyper-V Requirements as below.

If your old PC meets these requirements then you’re in good shape to continue. If not then you may be able to enable Virtualization Technology and Hardware Enforced Data Execution Prevention options in your BIOS but this falls outside the scope of this article.
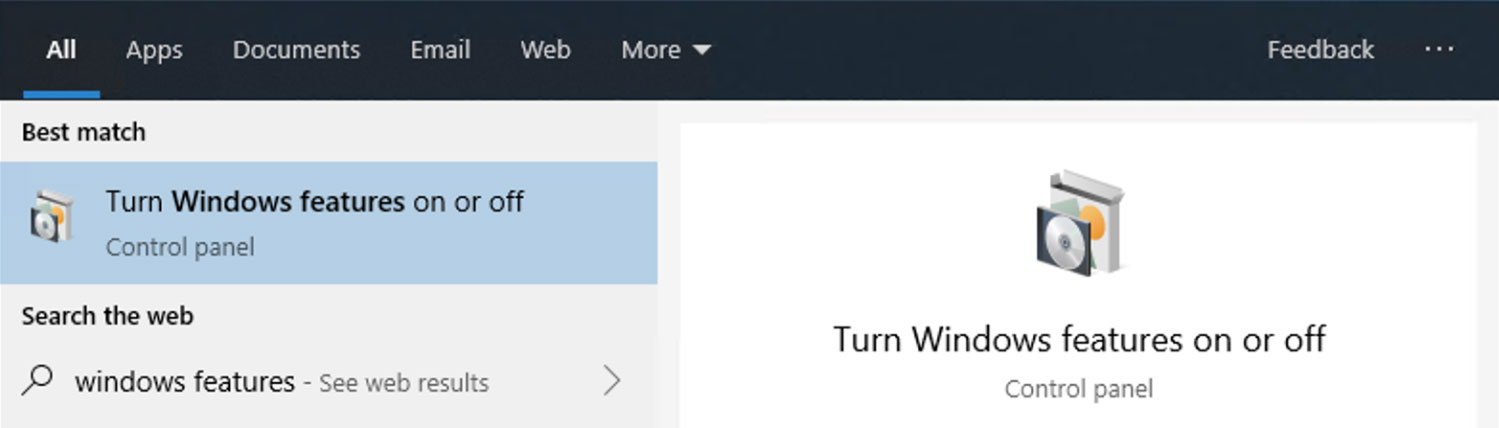
Turning On Hyper-V
Now that we’ve determined we can run Hyper-V, we need to turn in on in the Windows Features area. Type
windows features
in the search box next to the Start Button and select “Turn Windows features on or off”.
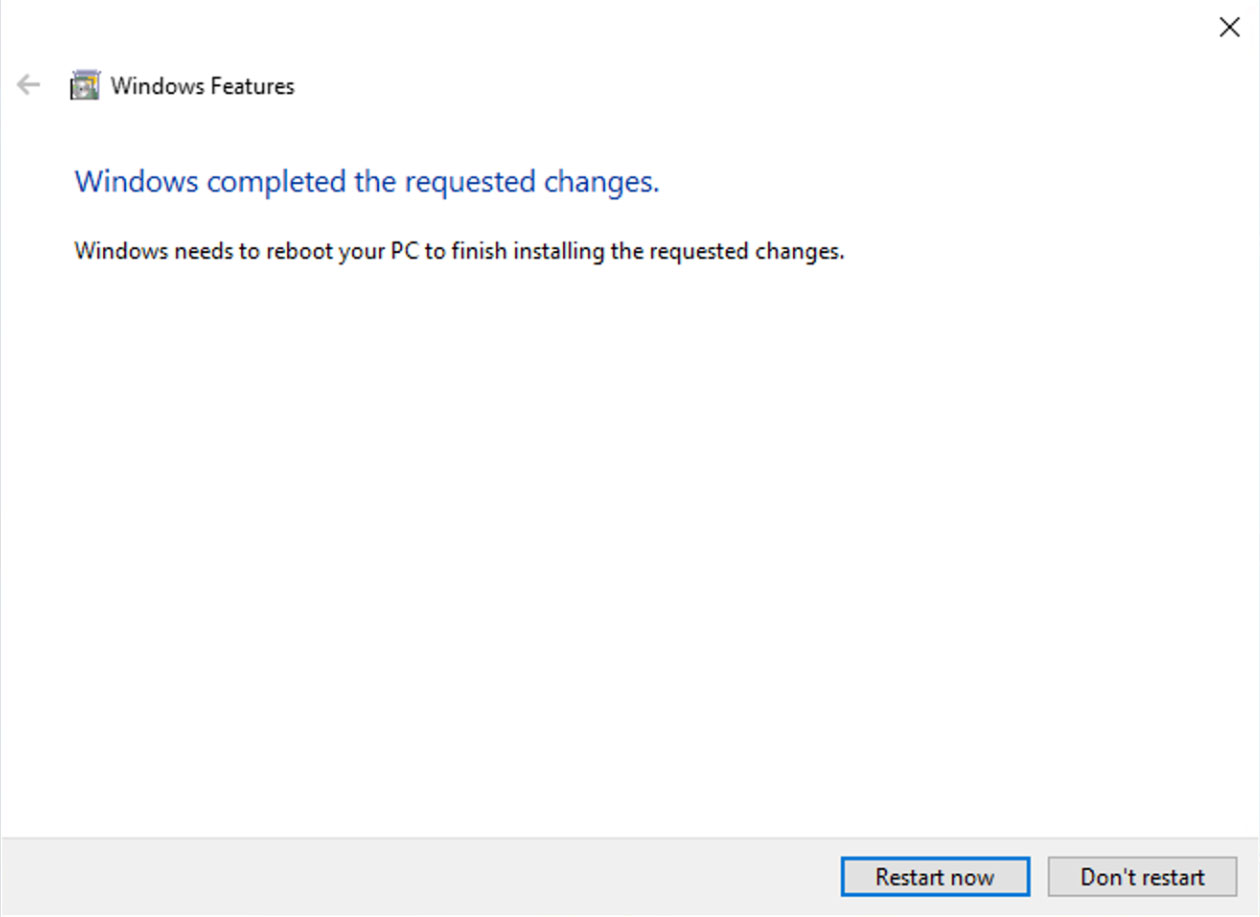
Check the box next to Hyper-V, click OK and Windows will install the necessary items.
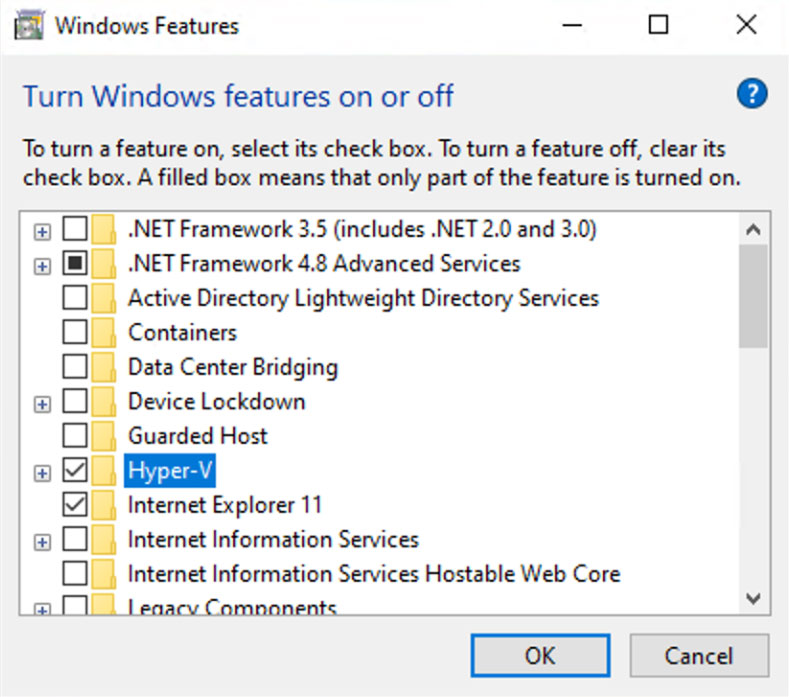
Once this is complete, reboot the computer.
Virtual Switch
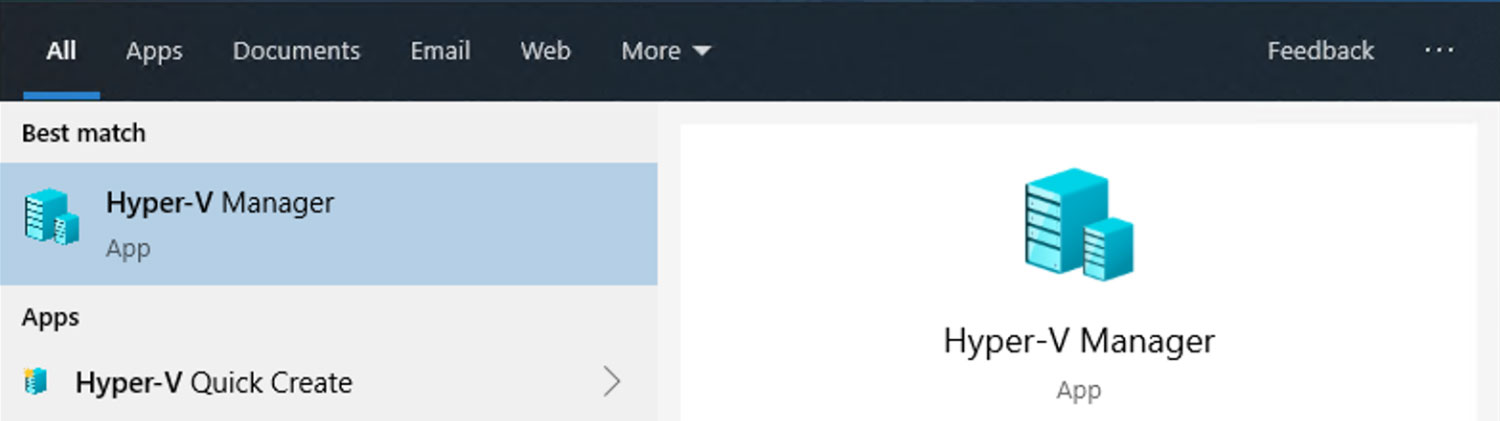
We’re going to need our virtual machine to connect to the internet, so our next task is to create a virtual switch within Hyper-V. So, go to the search box next to the Start Button and type
Hyper-V
and select the Hyper-V Manager option that shows up.
This will launch Hyper-V from within where we’ll be configuring our virtual machine to run Zabbix.
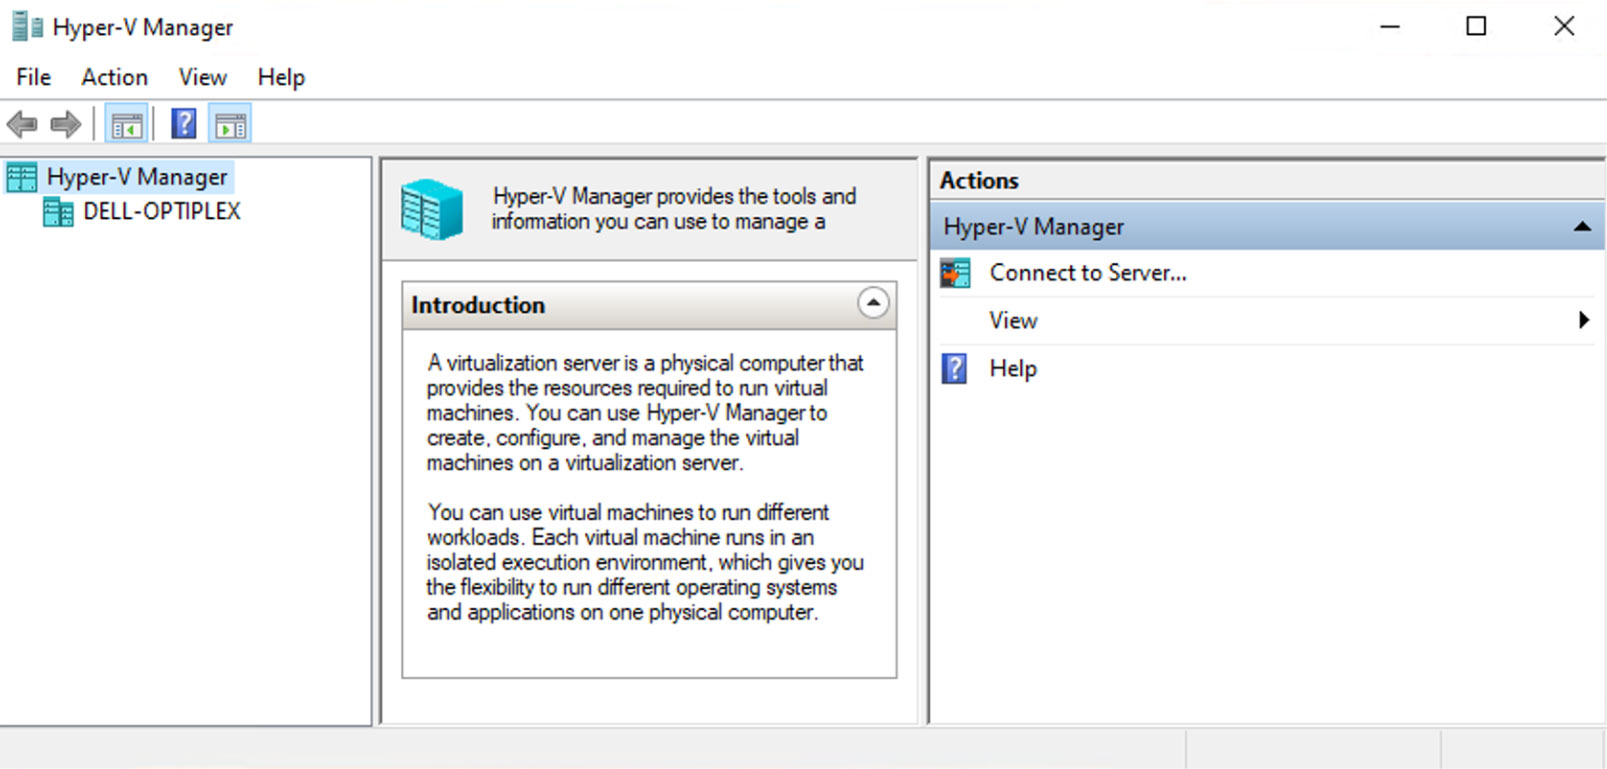
But, first things first… Let’s get our virtual switch set up. Click on your computer name in the list on the left – ours is named DELL-OPTIPLEX, but yours will likely be different. Then click on the Action menu item and choose Virtual Switch Manager.
Select New Virtual Network Switch on the left and External on the right and click Create Virtual Switch.
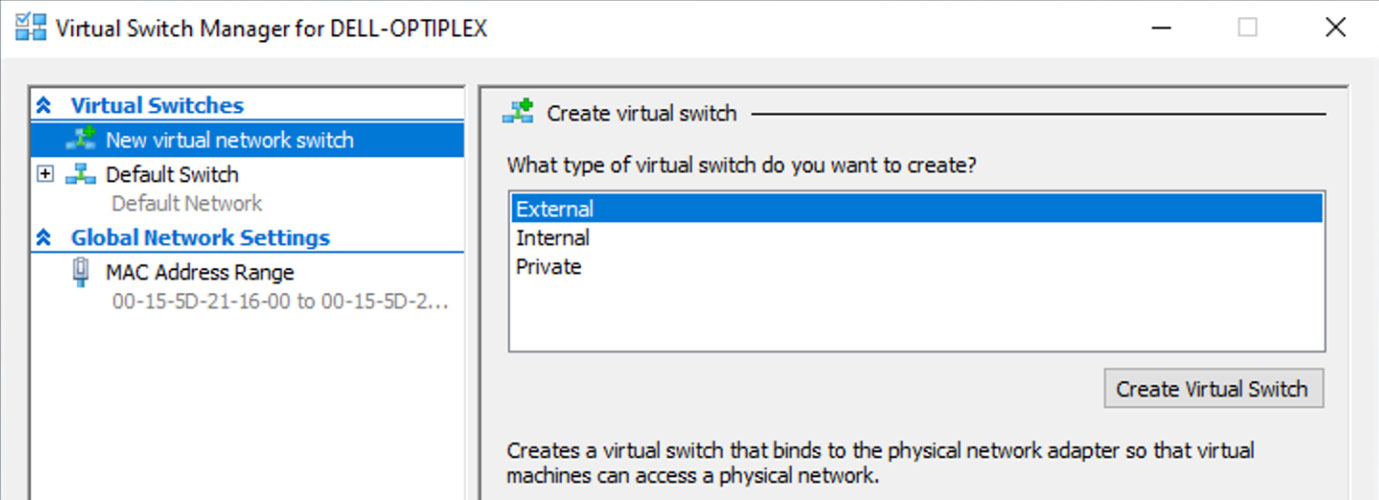
Name your virtual switch something meaningful and ensure the connection type selected is External Network.
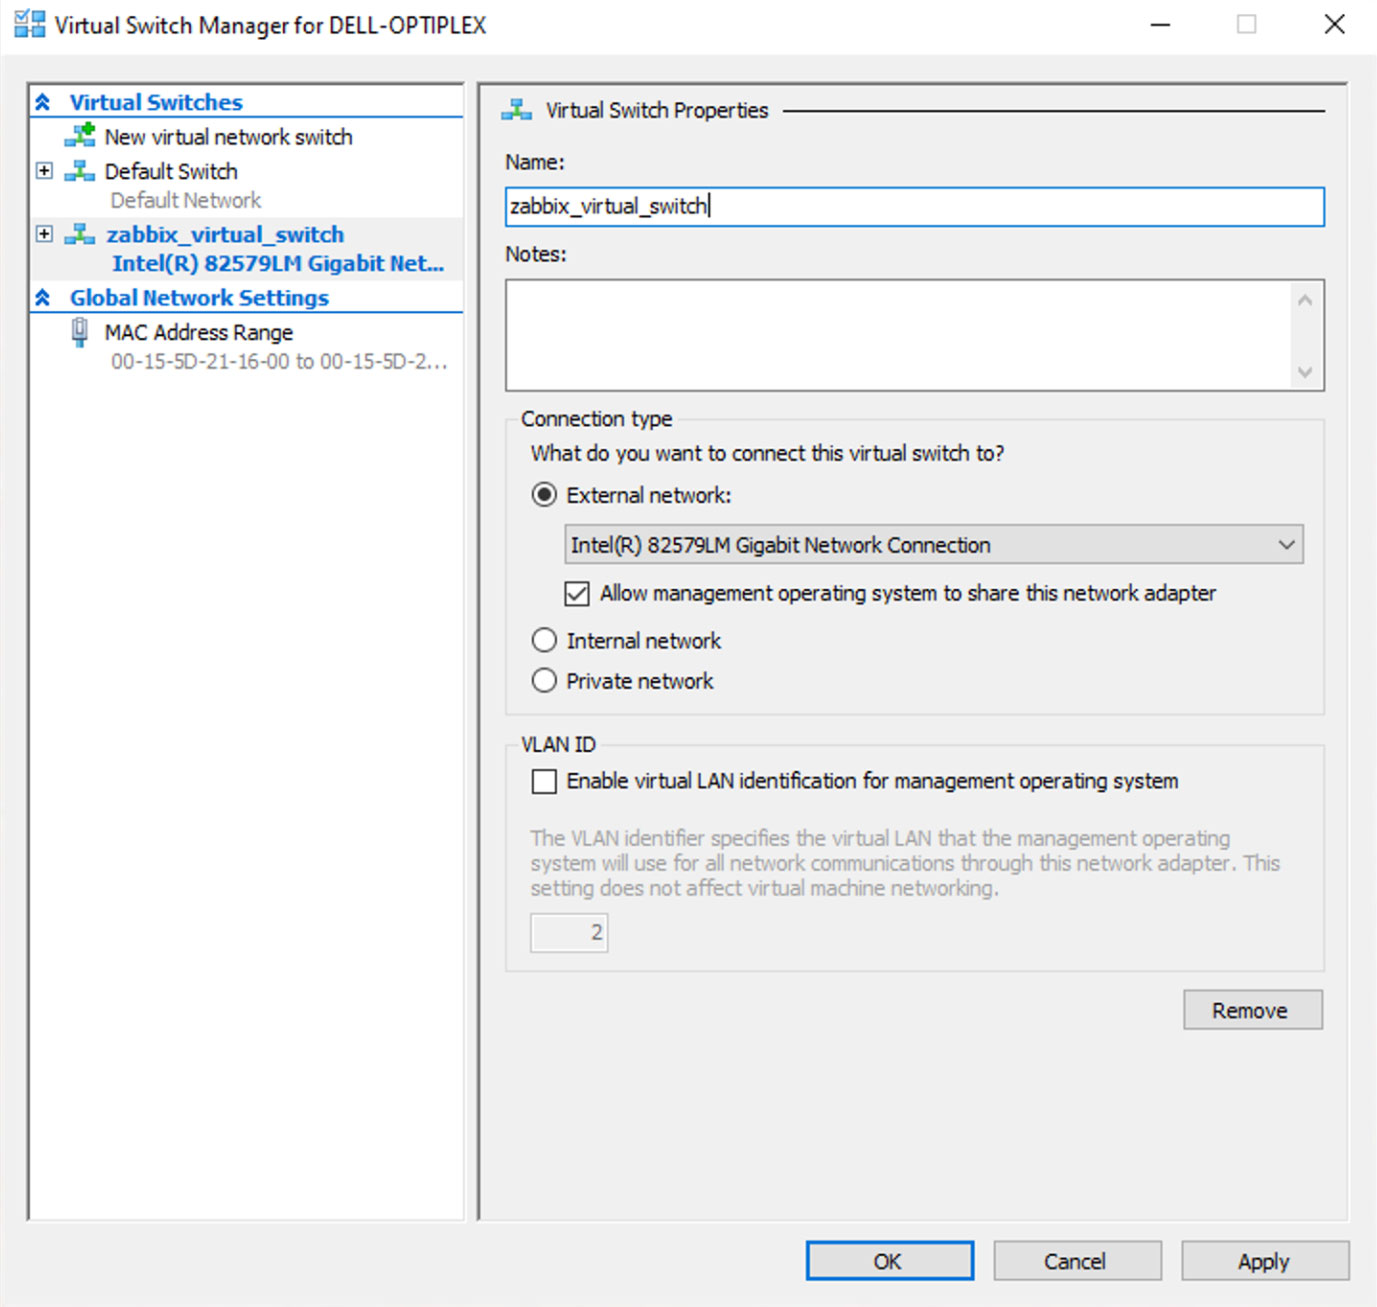
Click OK and you’ll be warned about some network connectivity disruption – go ahead and click Yes. The computer will experience the disruption you were just warned about, but give it a minute and all should be fine.
Virtual Machine
Finally, we’re getting to actually creating our virtual machine to run Zabbix on. Before we work on getting our virtual machine up and running, let’s download the Zabbix software as it’s a fairly hefty download and hopefully it’ll be done by the time our virtual machine is ready for it. Go to https://www.zabbix.com/download_appliance and download the one that is for Installation CD/DVD (.iso) – save it to your desktop for ease.
At this point you might be wondering why we’re not downloading the Hyper-V version listed below the .iso. Well, we’ve tried that and it’s a much bigger download, requires uncompressing into an even larger file, and it had a bug in it regarding the network interface. So, we figured it would be easier for this tutorial to go with the .iso.
2021-03-01 Update: We've found that with the Zabbix 5 Appliance, using the Hyper-V version worked well and would now recommend trying that first. If you go this route, at the Connect Virtual Hard Disk section, choose "Use an existing virtual hard disk" and point the location at the Hyper-V file you downloaded.
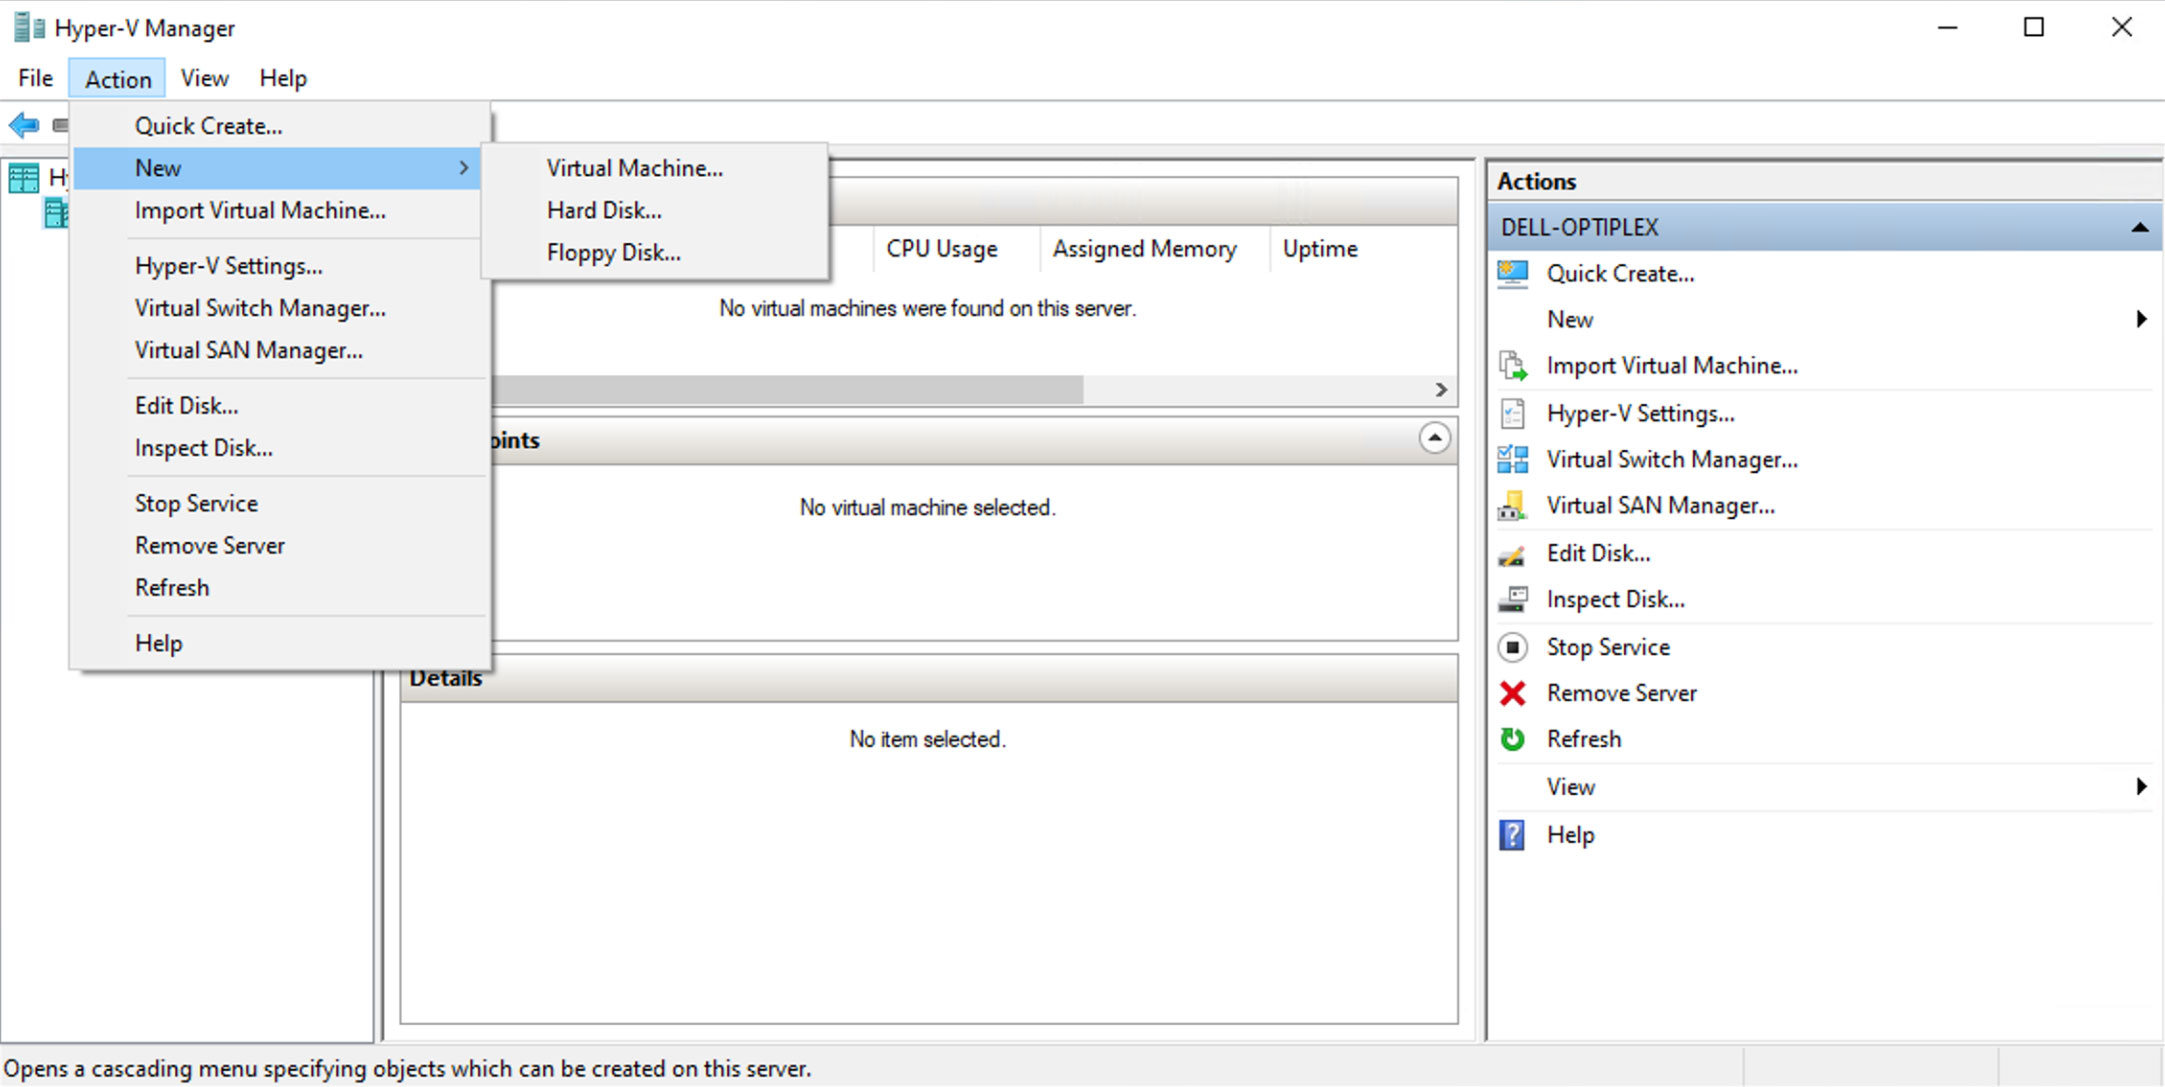
Back to creating the virtual machine, with your computer still selected in the left of the Hyper-V Manager window, click Action > New > Virtual Machine.
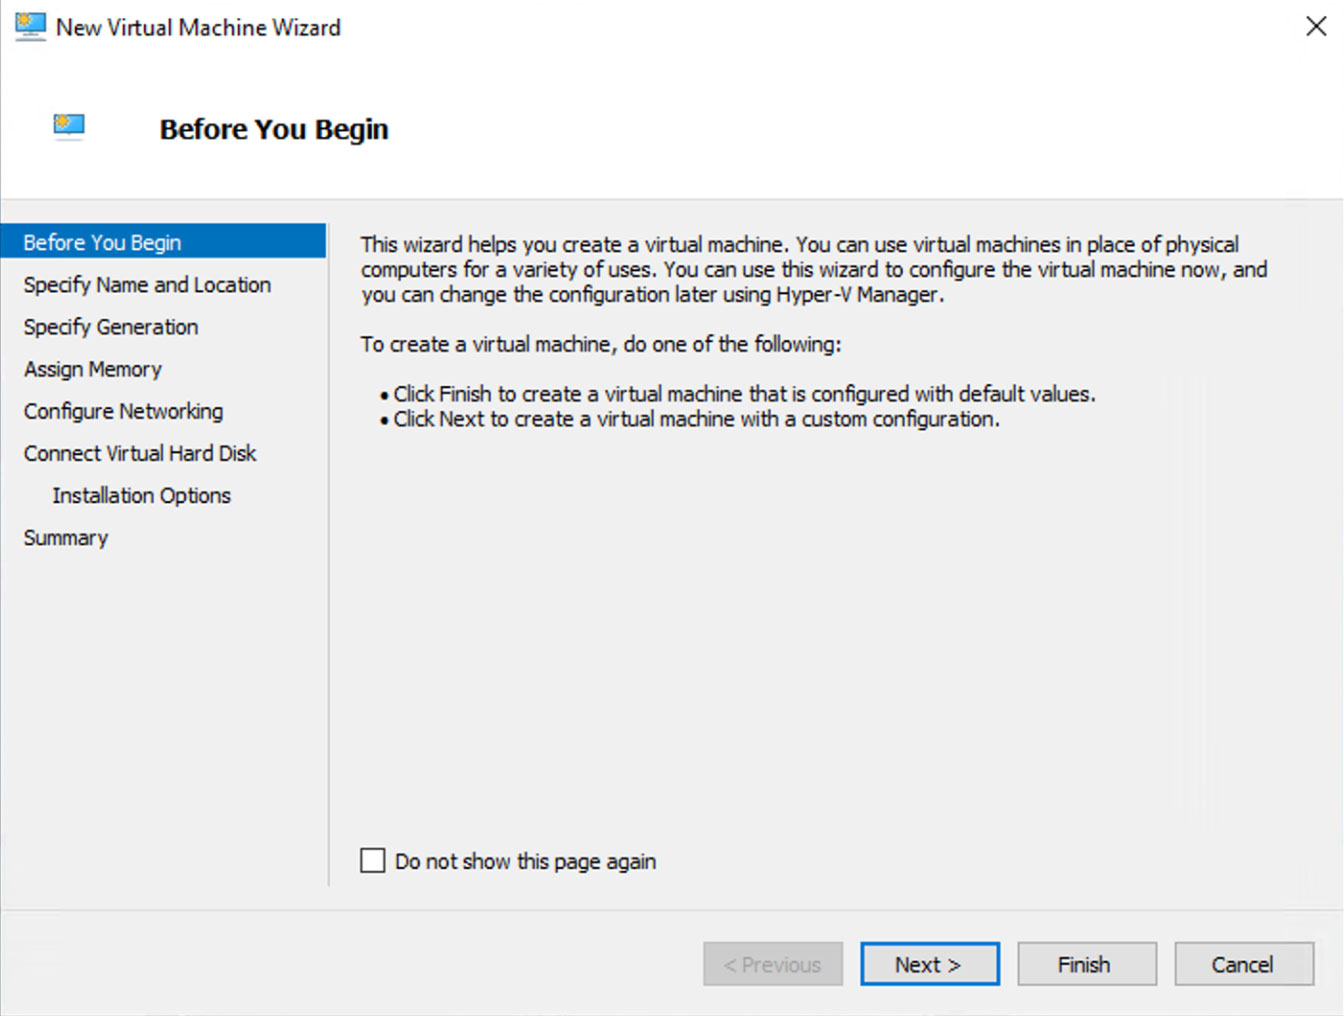
Now we’ll work our way through the wizard to create a virtual machine. Click Next.
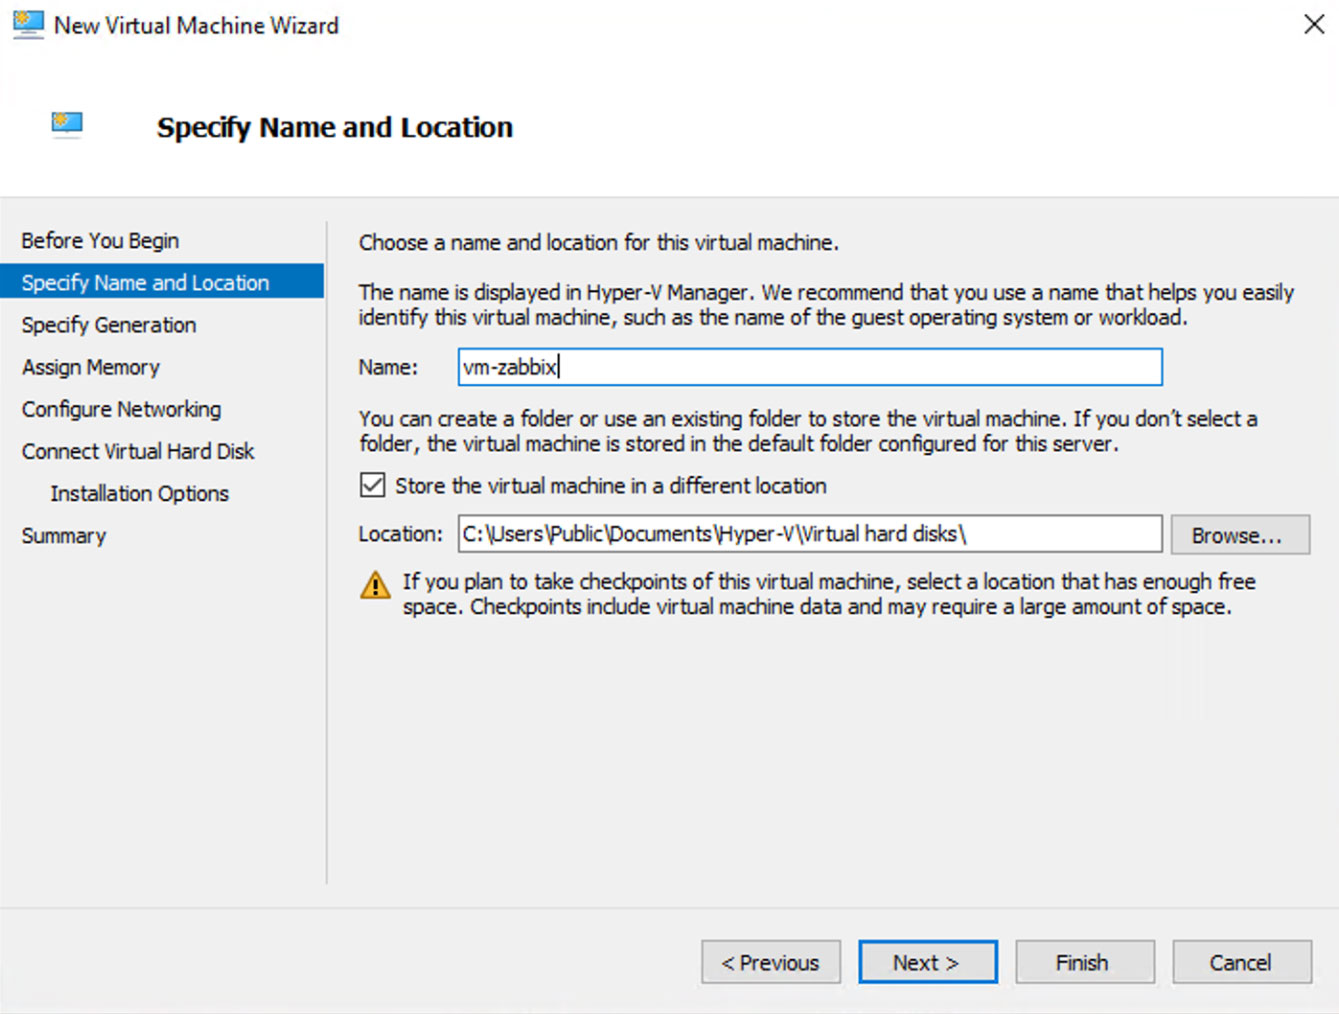
Name your virtual machine something meaningful and determine where you’d like to store the machine. We’ve opted to store it in the public documents folder. Click Next.
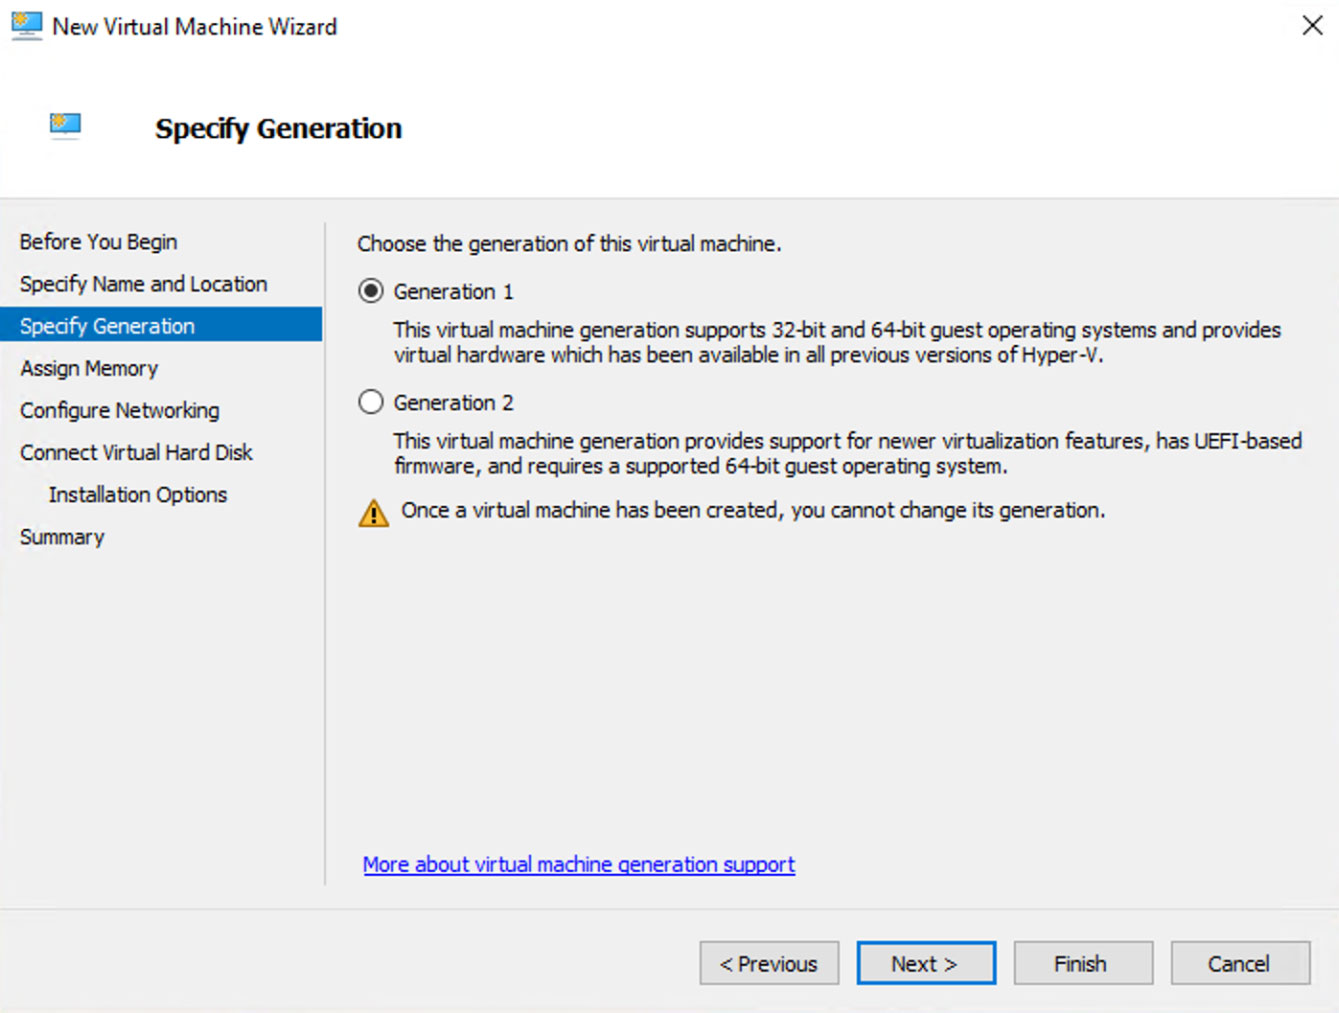
Select Generation 1 and click Next.
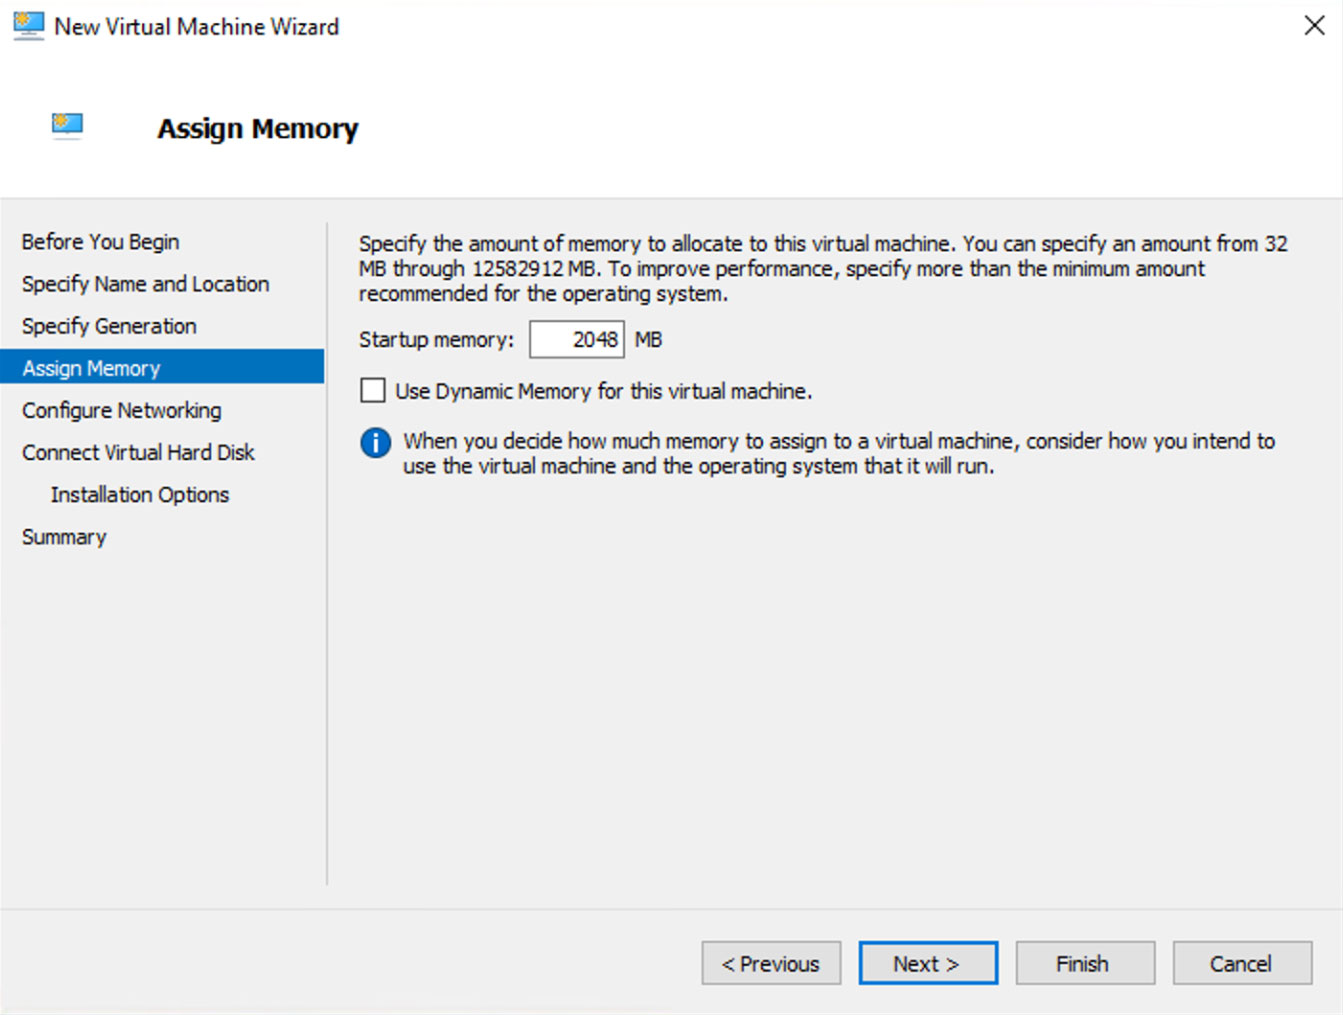
Now we need to decide how much memory to allocate to our virtual machine. You need to leave enough for the Windows 10 operating system, and what you need will depend how many machines you plan on monitoring. Perhaps start out at 2048MB if you only have the minimum 4GB of RAM, or up it if you have more than 4GB. We’re going to uncheck dynamic memory as we’ll only be running this one virtual machine and we’re ok with it consuming the memory we allocate. Click Next.
On the networking section, we’re going to select the virtual switch we made earlier. Click Next.

We’ve reached the Connect Virtual Hard Disk section and we need to pause for a moment and go check our Zabbix Appliance file has downloaded. If it has, we’re good to go. If not, wait for it to complete the download.
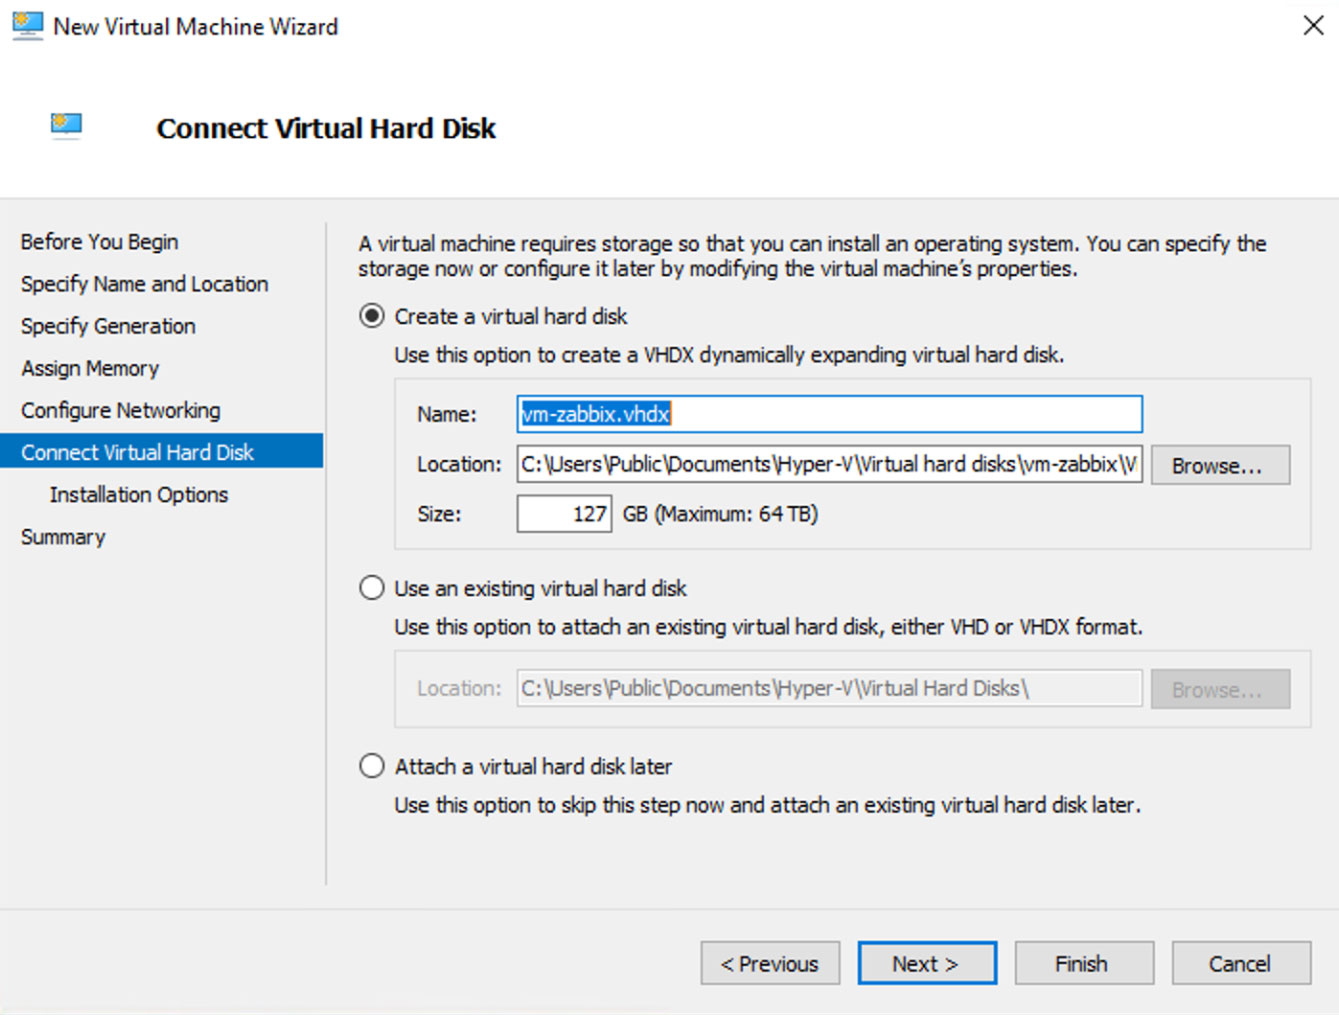
Back to our virtual machine wizard. Select Create A Virtual Hard Disk, and if necessary browse to the location you wish to store the virtual disk. Click Next.
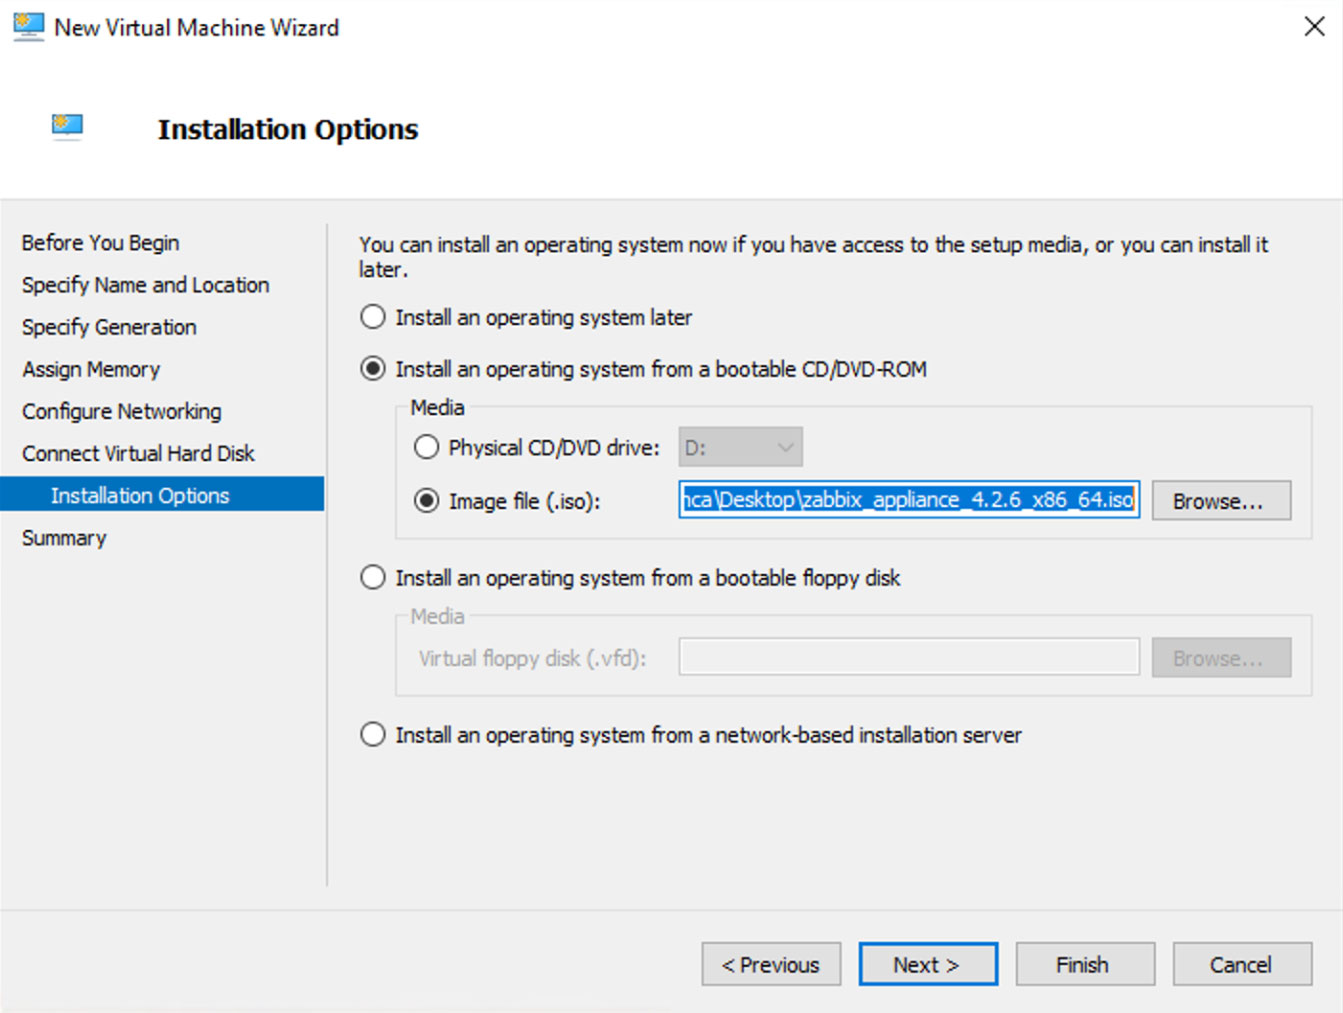
On the Installation Options screen we want to select Install An Operating System From A Bootable CD/DVD-ROM. And then select the Image File option and browse and select the .iso file you downloaded from the Zabbix website. Click Next.
And we’re done! Review the summary page and click Finish. The machine will be created and you’ll see it listed in the list of virtual machines in Hyper-V Manager.
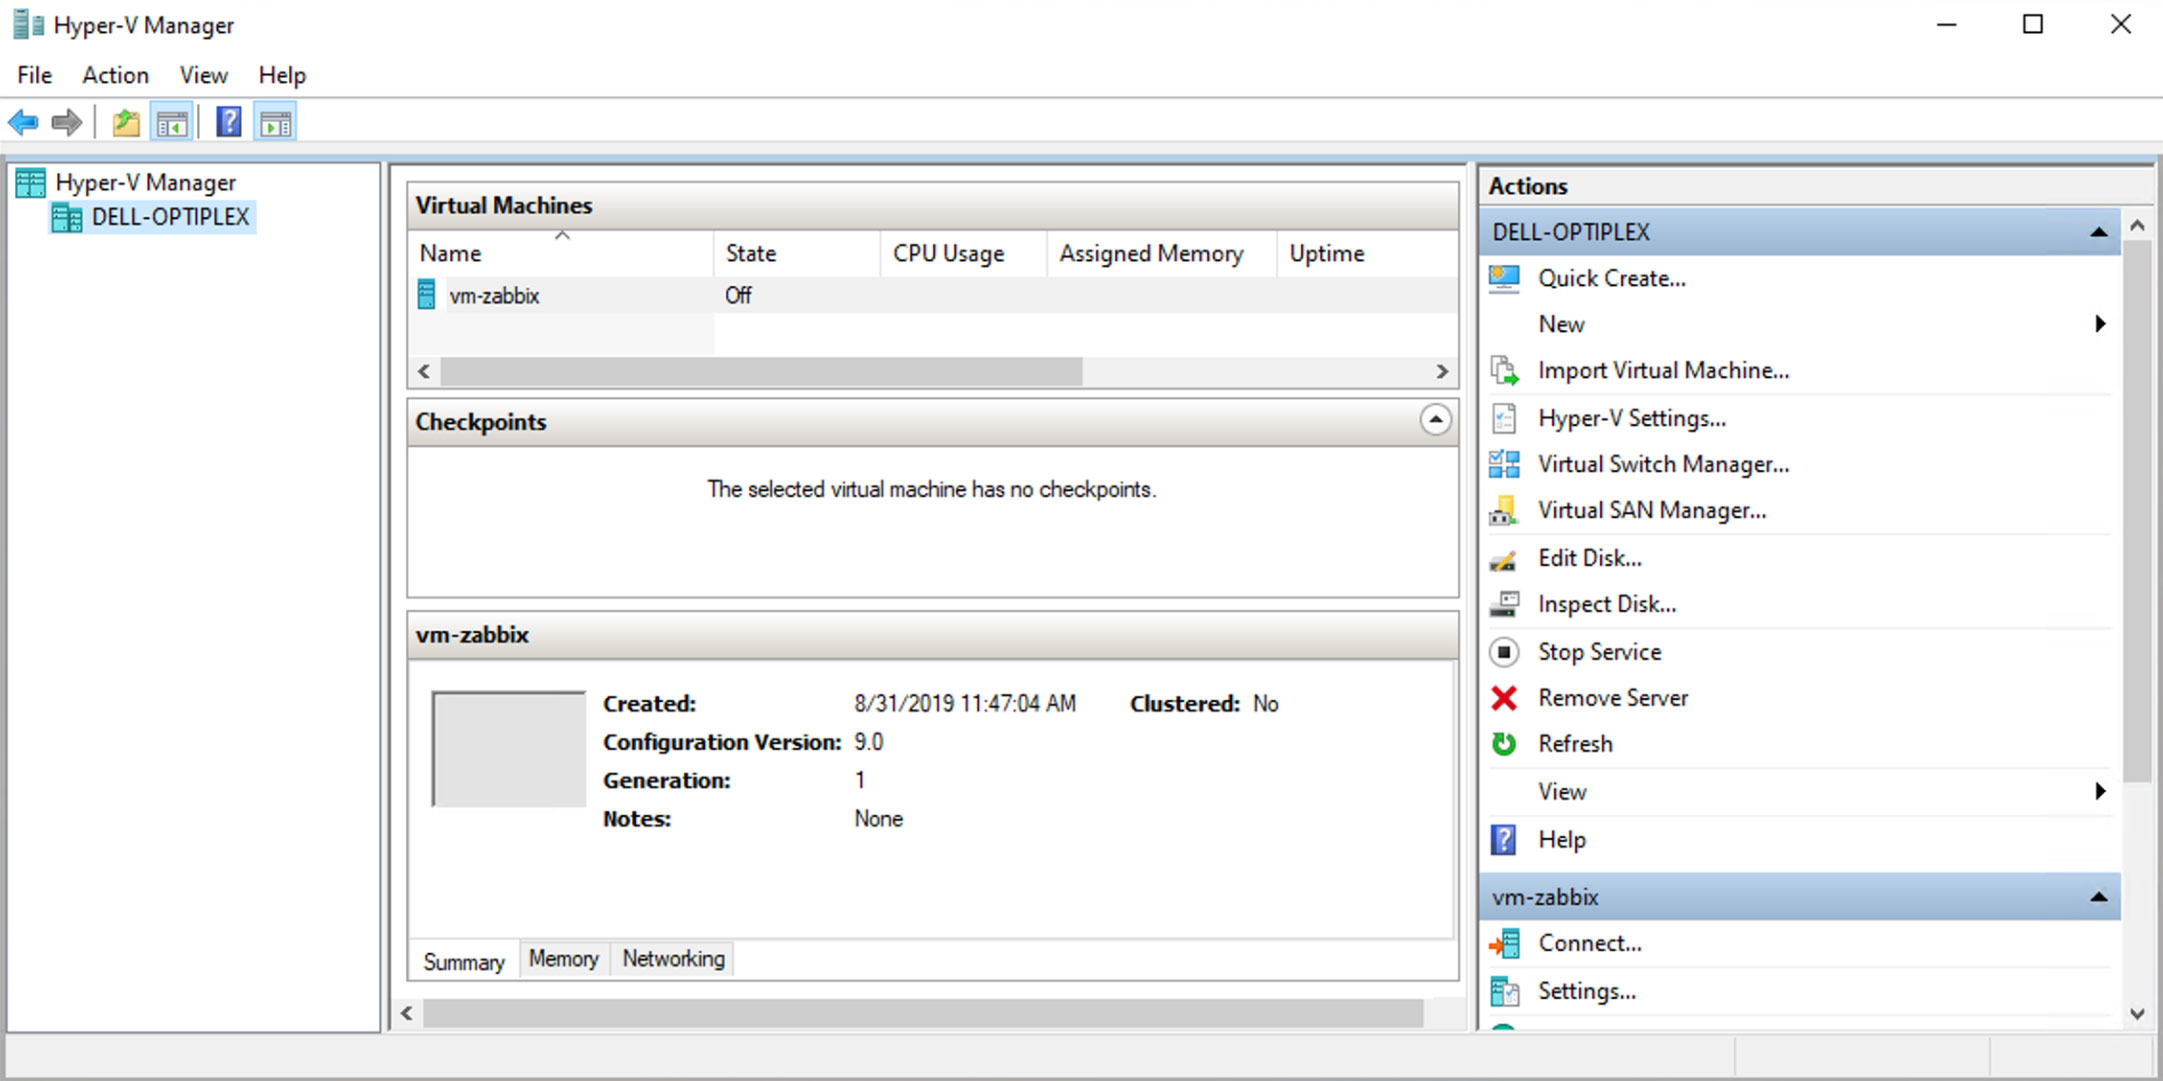
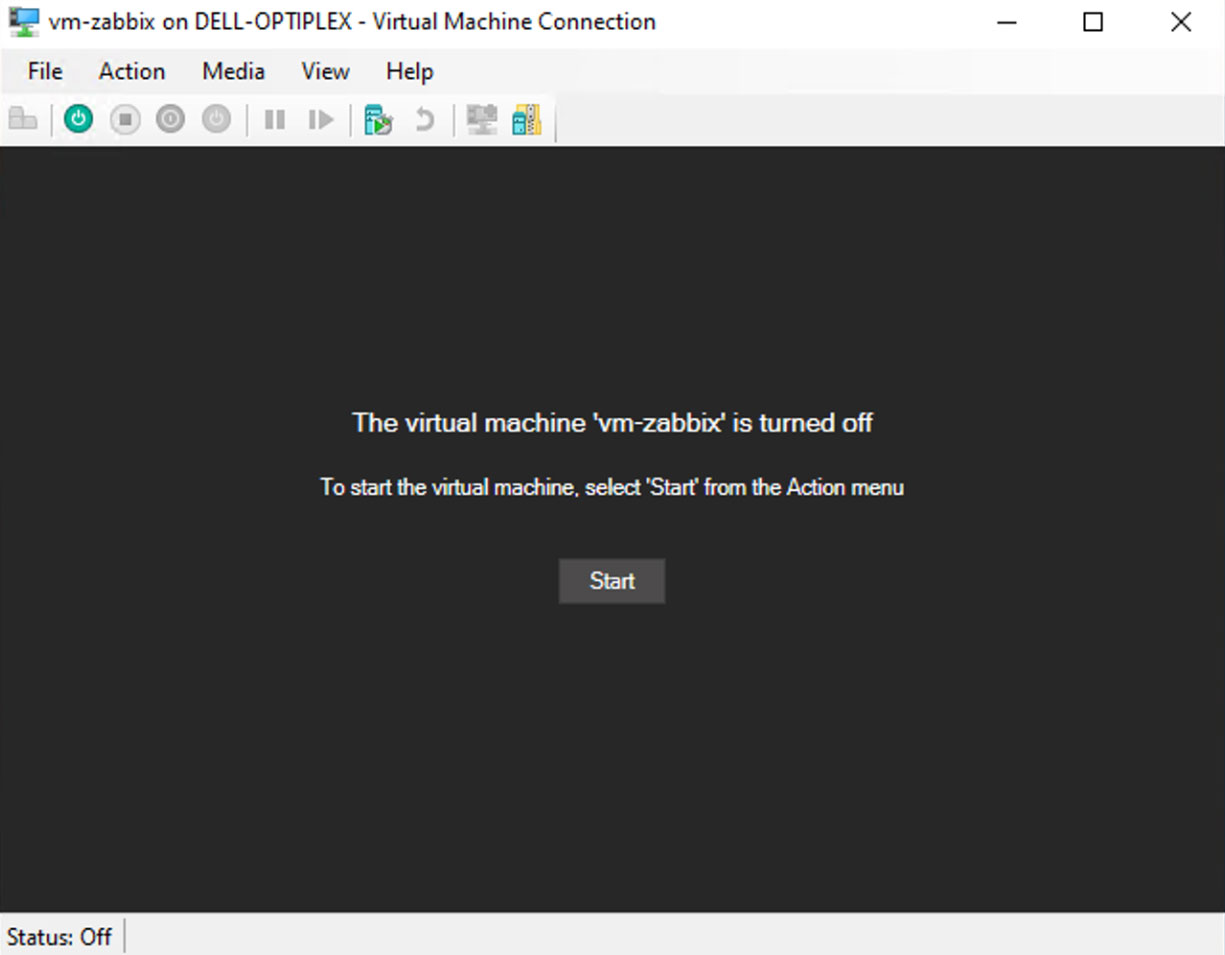
So, let’s get our machine running. Click Connect on the right hand side just under your virtual machine name and a new window will pop up. Hit Start on that window to launch your virtual machine.
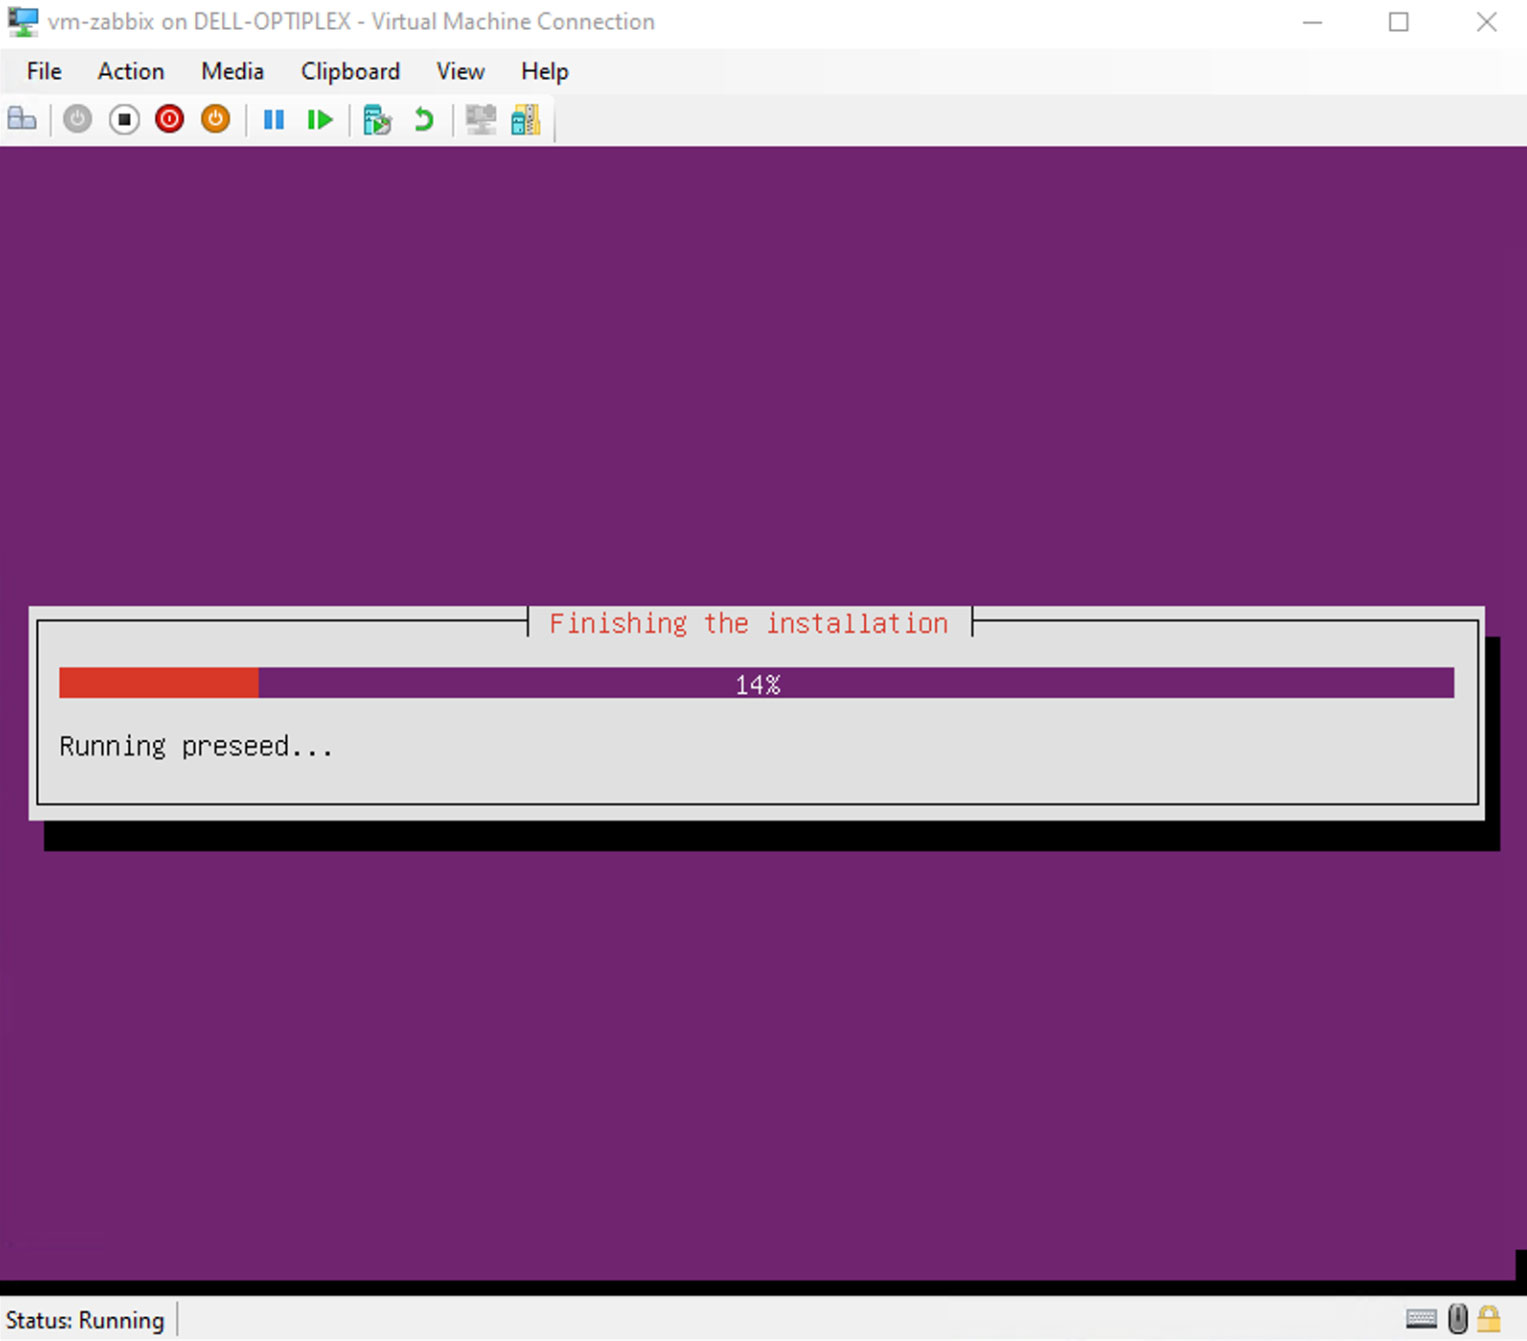
The virtual machine will now start installing Linux and Zabbix and this is going to take a while. Seriously, a while. Especially when it gets to the running preseed section below. Go get a coffee or have a nap and come back in a while.
Once everything has installed, you’ll be presented with a black screen and starting thinking “damn, after all this it doesn’t work?” But wait, you need to switch tty sessions. Press Ctrl+Alt+F2 and breathe a sigh of relief…
As a bonus tip, if you happen to be using a Mac and remote desktop to the Windows machine, hold down the fn button and use control+option+F2 to switch tty sessions.

Summary
Phew, we’ve now got a Linux machine running as a virtual machine on a Windows 10 computer. Awesome! In our next blog post, we’re going to check some settings on the virtual machine, and after that we’ll do some basic Zabbix set up.


