Assumptions
As in our previous post where we set up some conditional logic, we're going to make some assumptions before we move on. If you've not got some of these basics covered, head off and get them sorted out and come back when done!
- You have a FileMaker ID
- You have signed up for the Claris Connect trial or a paid package
- You're logged into Claris Connect
- You understand what a Project, Flow, Steps and Step Data is
If you're unsure about any of the above, check out our previous blog article Intro to Claris Connect: Part 1: Creating A Project & Flow and that should help introduce and get your familiar with these concepts.
Step 1: Set Up The Approval Step
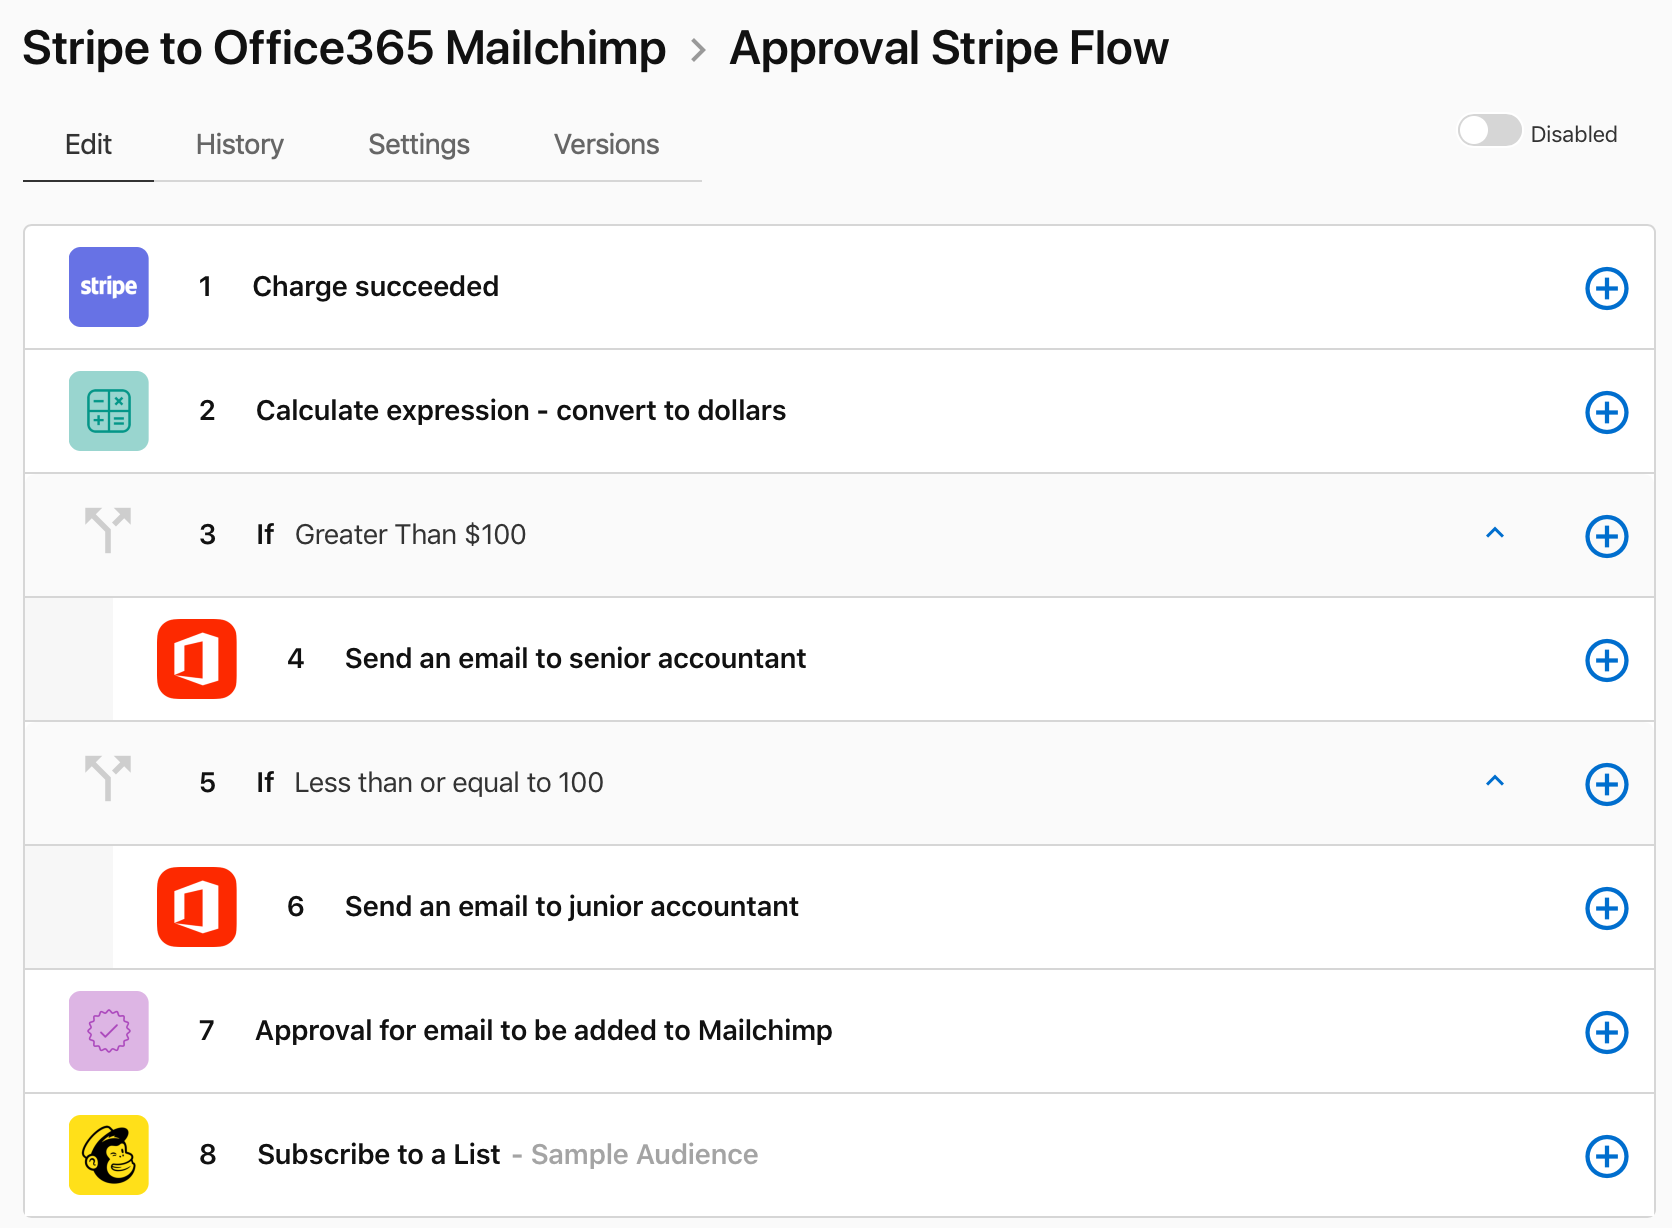
Again, we're going to base our conditional flow on the last flow we built. So, if you're following along, go ahead and disable the last flow. Now, duplicate it, rename it and click into it. You should be looking at this.

Here's the plan... We're going to add an approval step just before adding the email address to Mailchimp. In our completely fictitious business workflow, for some reason the manager wants to approve who gets added to the list. (Don't ask me why, seems ridiculous to me too, but that's what they asked for. Let's hope it's a low transaction volume kind of environment!)
So, we want to insert a step between steps 6 and 7 as shown below. Click on the plus button on step 6. You'll notice that the step is created inside the "Less than or equal to" condition. This is ok for now; we'll move it once we've set it up.
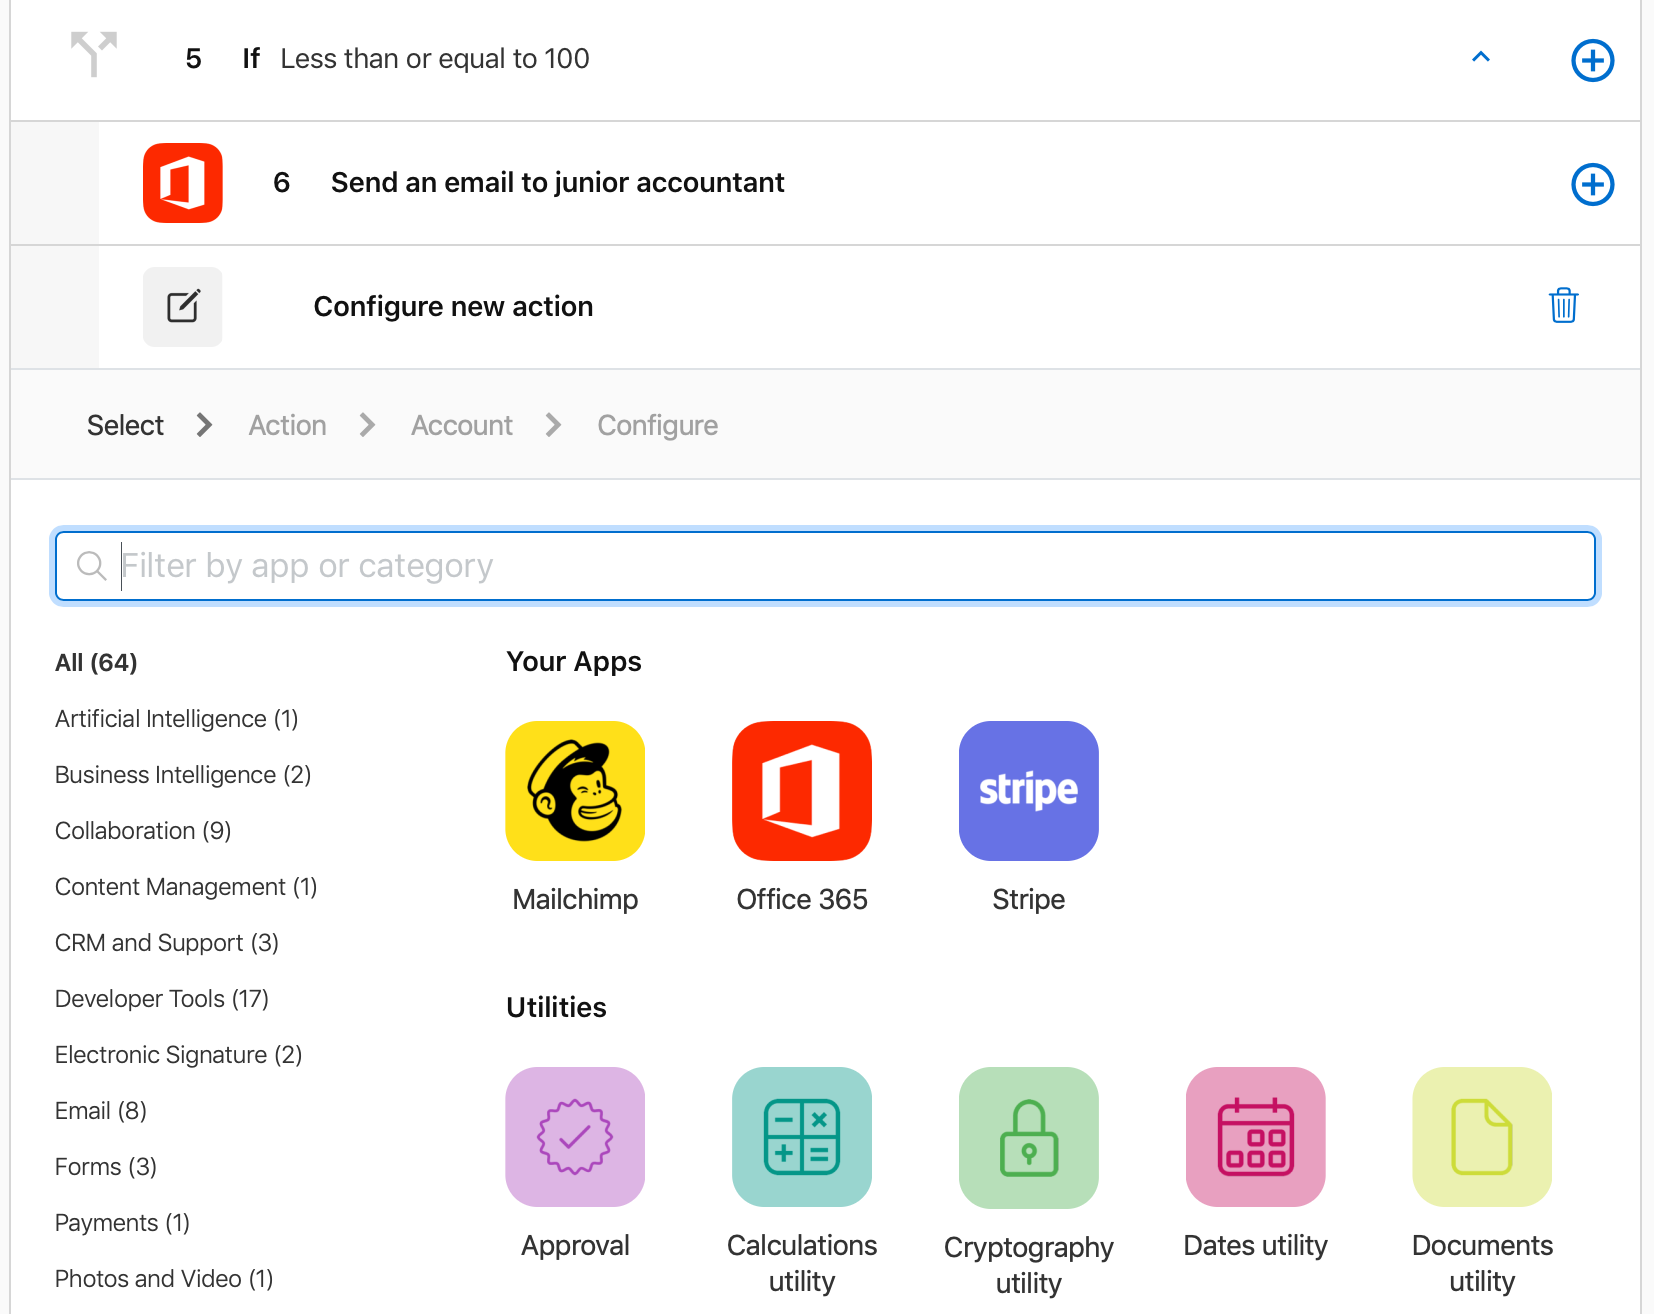
Click the Approval utility located just underneath your list of apps. A simple Continue button shows up.
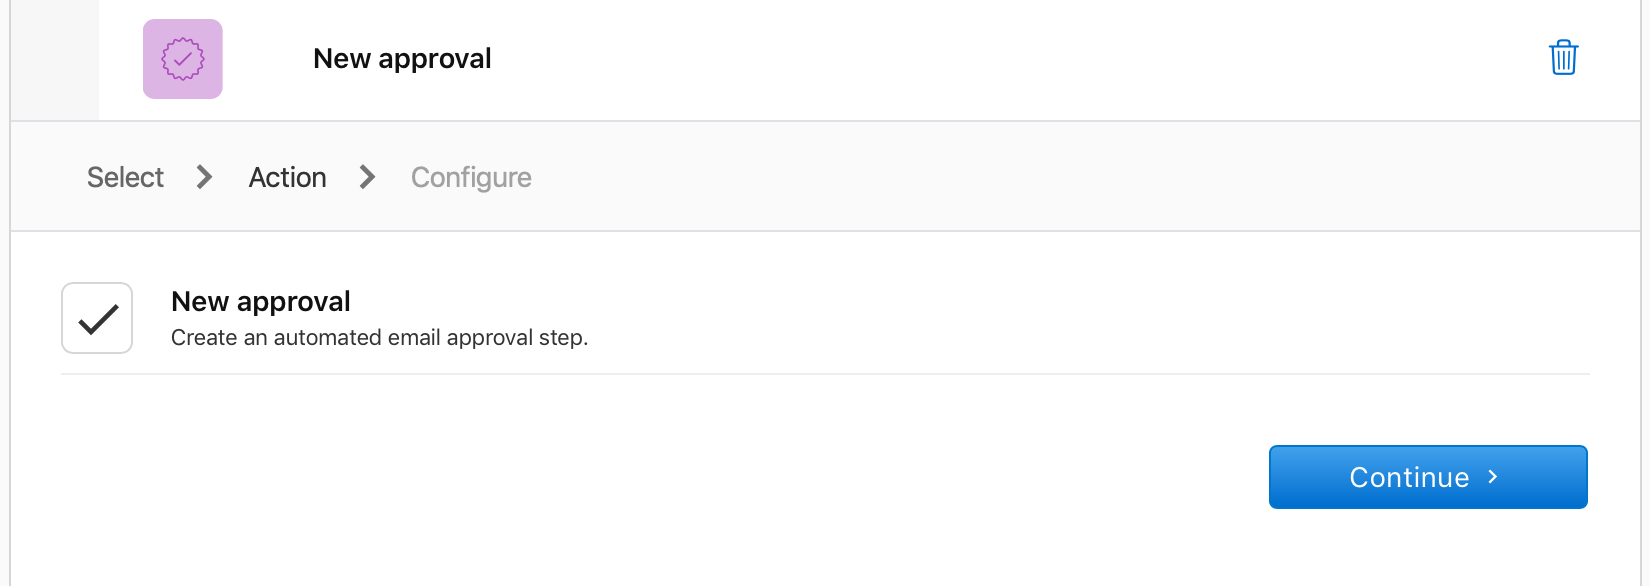
When you click the Continue button, you'll be shown a bunch of fields to fill out. You can use Step Data in all these fields, as we have, if it is appropriate to do so. Go ahead and fill out the fields with the info. At the very least, be sure to add values for all the required fields as indicated by an asterisk, including how long the person has to approve the action.

Hit Save when you're done. Review what it looks like before you move on to the next part. See below for reference.
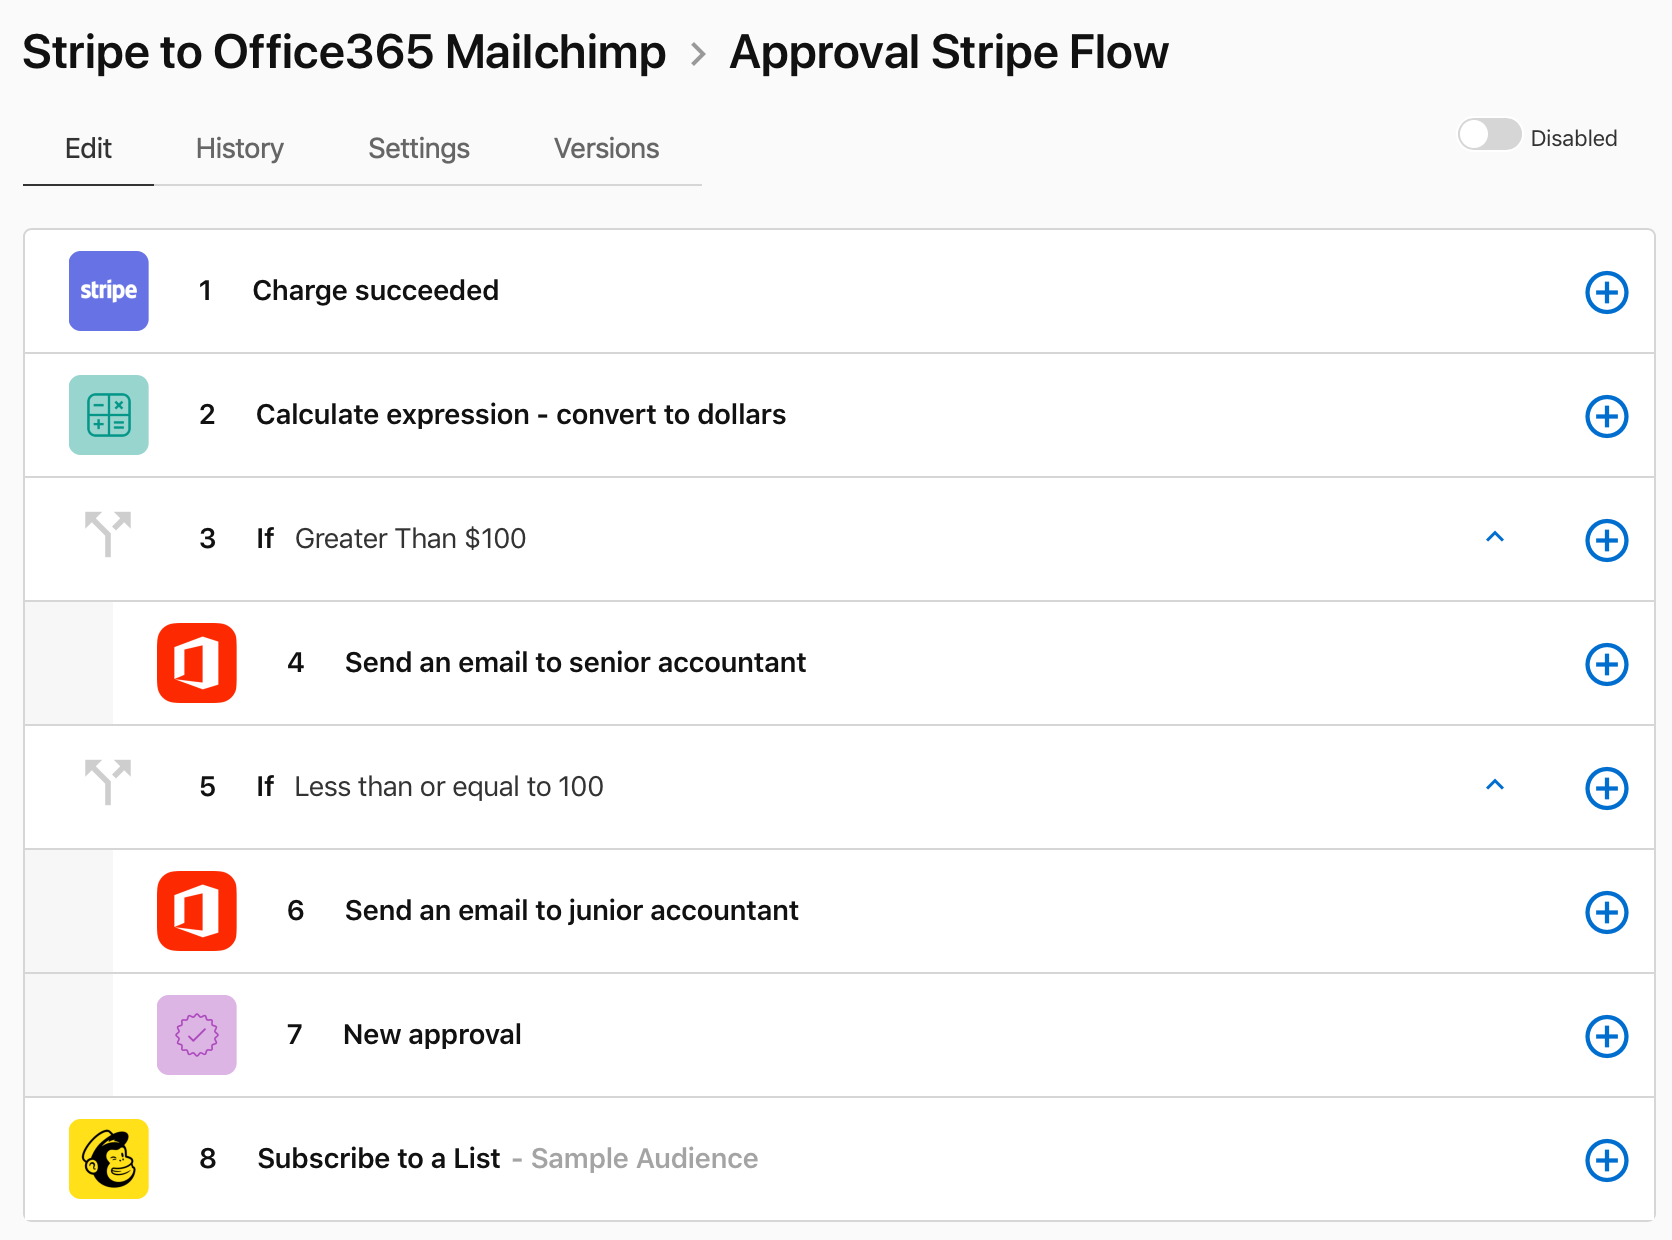
See how our Approval step 7 is indented and inside the conditional section? That's not right, so click and drag it down and to the left a bit. Then let go and it'll fall into the main flow just above our Mailchimp step. And as a good practice, let's go ahead and rename that step so we know exactly what it is for. It should look like this when you're done.
Step 2: Handling The Approval Result
When this flow runs, it's going to pause at Step 7 until the Approval Request is either accepted or rejected by the person it was emailed to. Once they do that, we need to handle both possible outcomes: was it accepted or was it rejected?
So we need another If-Then condition to determine what to do. Hover over the plus button on Step 7 and choose If-Then. To populate our condition with the Step Data Status field from the approval step, select "Text: Includes Case-Sensitive" and set the value to "rejected". Go ahead and save that and rename the step. Then hover over the plus button on that step and choose Stop. It should look like the below.
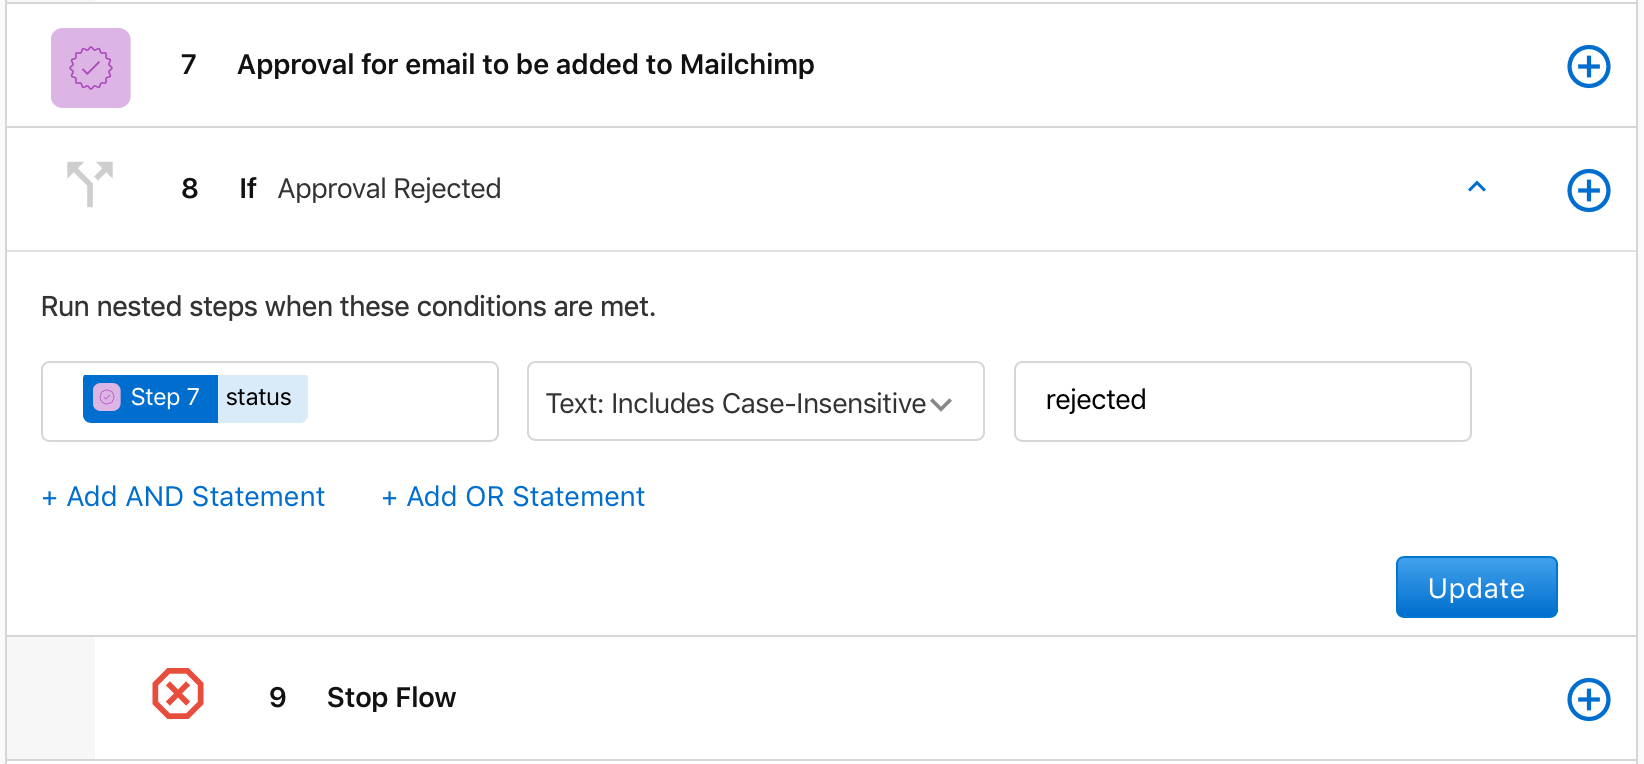
If the approval request is rejected, the condition will be true and we've introduced another concept of halting a flow using Stop Flow. If the approval request is accepted, then we skip over the Stop Flow step and continue with the remainder of the flow.
Of course, depending on what your flow does, you may wish to do something before the Stop Flow step. For example, if your flow is about approving vacation requests, you may wish to send an email to the person requesting the vacation time to say it was rejected and include the comment field from the Approval step data which (if populated) would let them know why it was rejected.
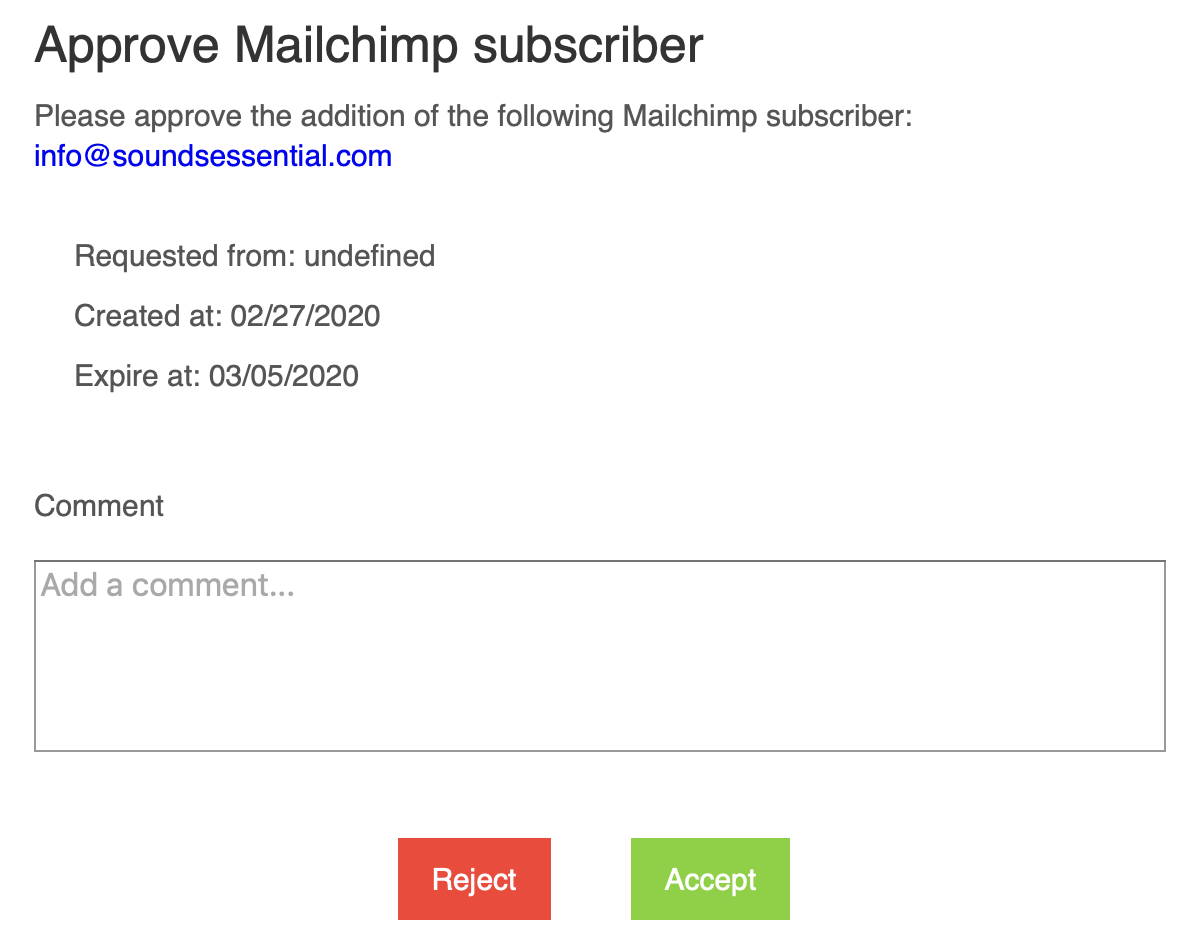
Don't forget to enable the flow, then go ahead and test it out. When the flows runs, our manager will receive an email that looks like this:
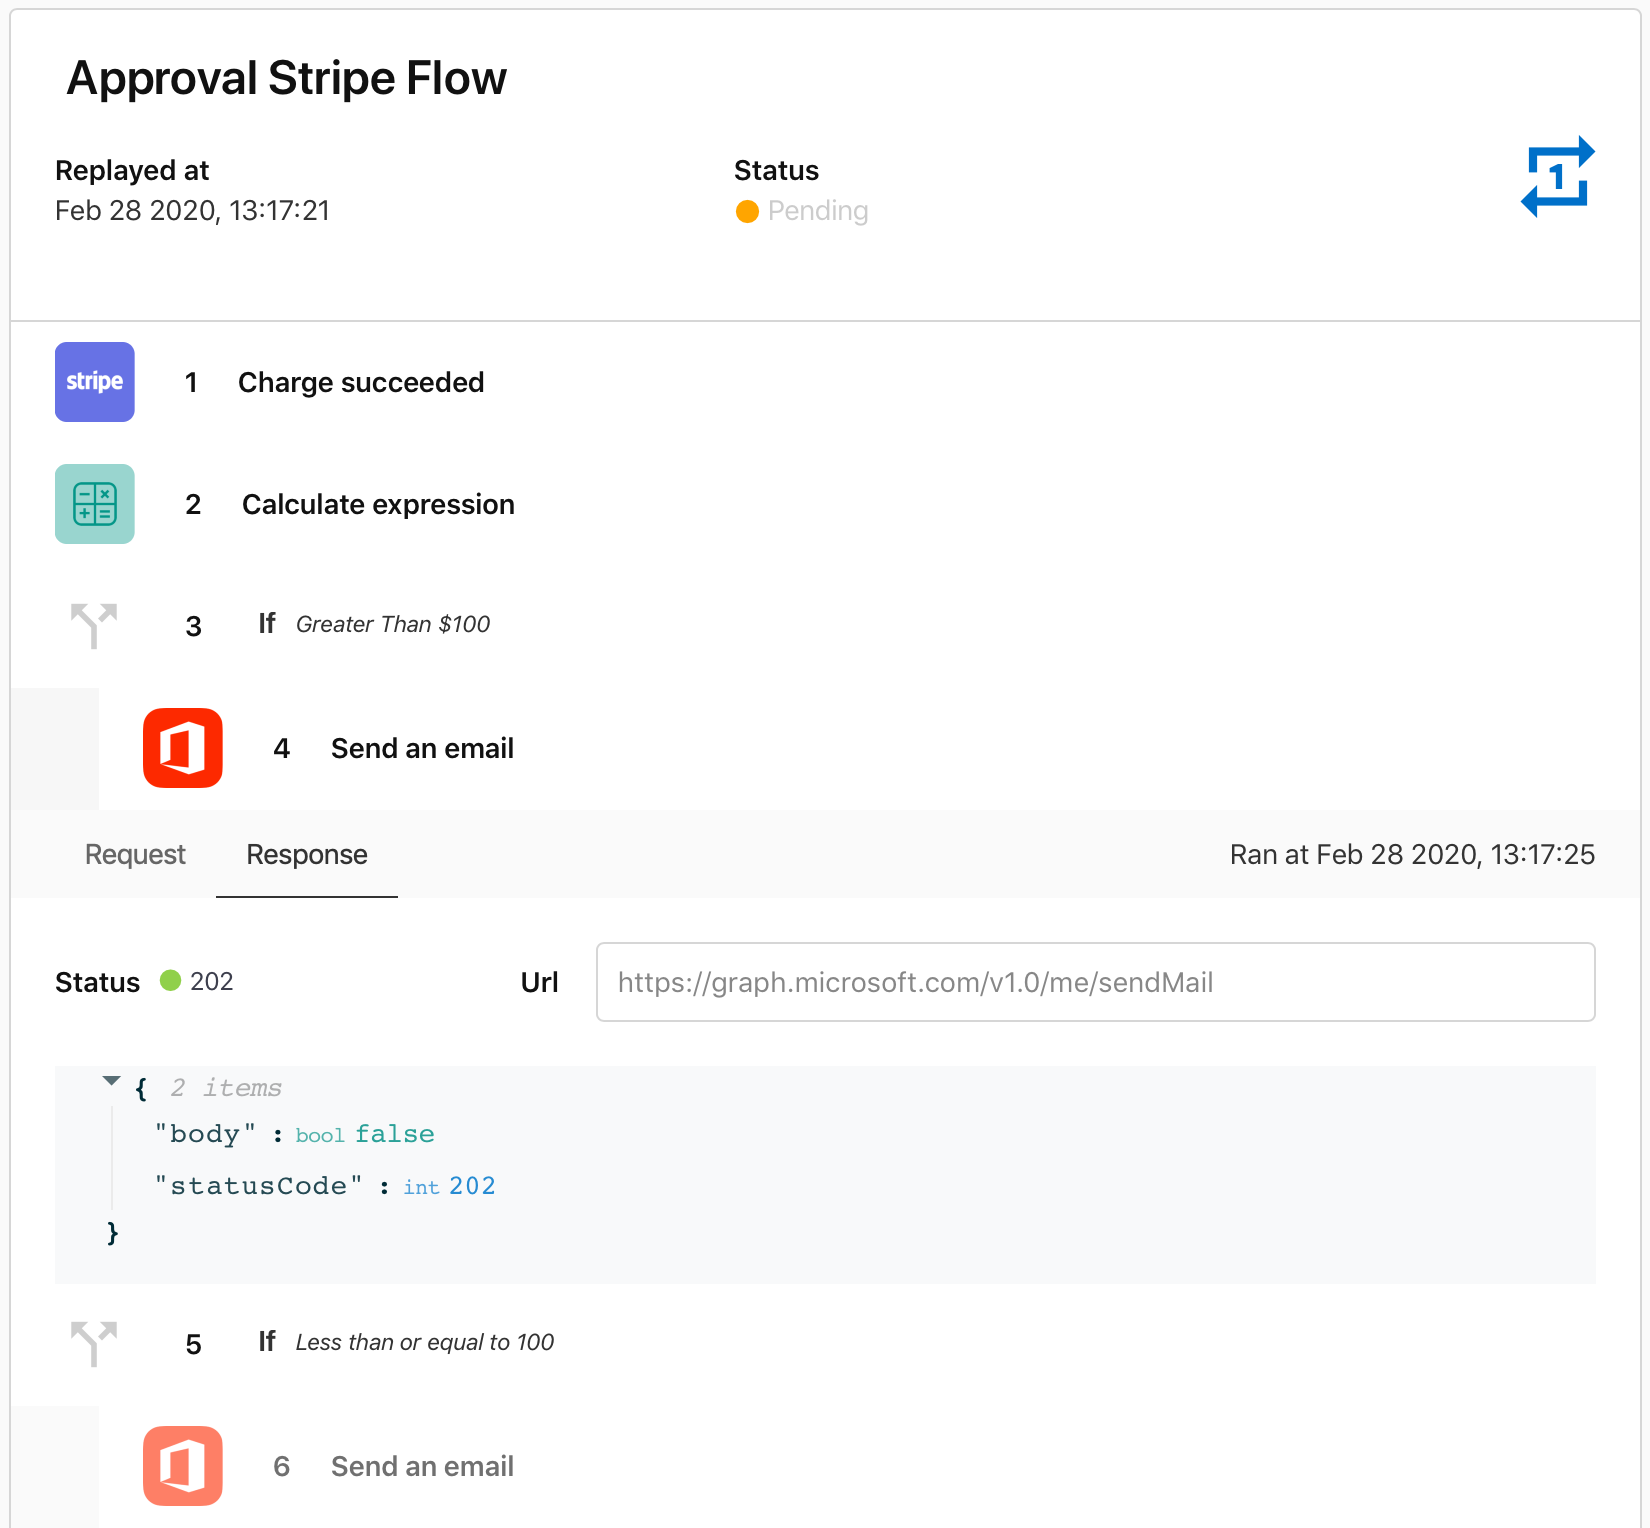
Before you click Accept or Reject, let's check out what this looks like in Claris Connect. Click on the History button just above Step 1 of your flow. This History section is super useful while setting up and testing out flows. Each time the flow is triggered, an entry will show up here providing various information as to errors, success, or as in our case, that it's Pending; we're waiting for our manager to approve before the user is added to our Mailchimp list.
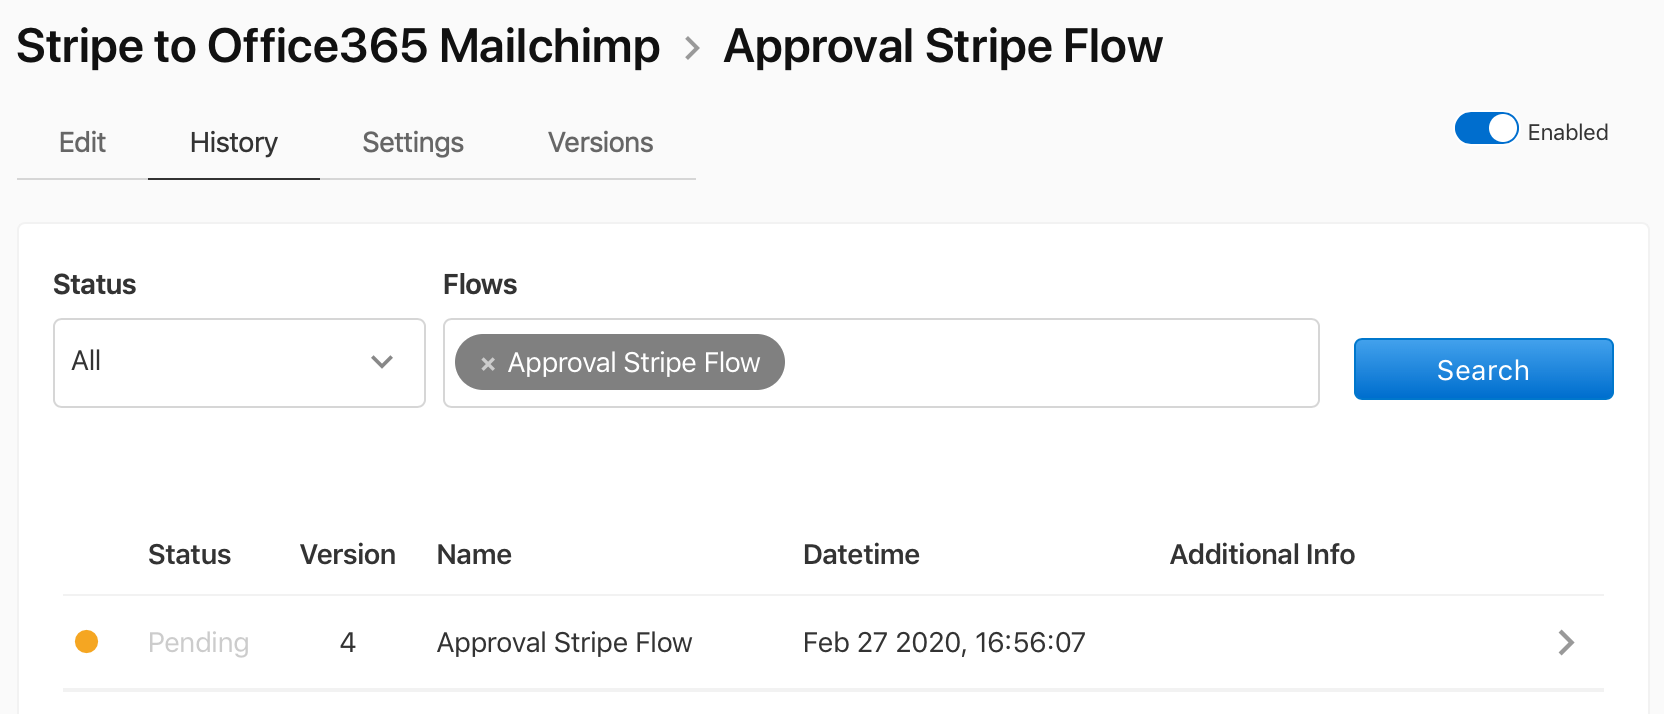
If you click on the Pending row, you can view the details of when the flow executed, the steps that were executed and drill down into them to look in detail at the API request and response code that was sent/received. You can even rerun this flow with the original data by clicking the arrows button in the top right. This information and the ability to re-run the flow will help you debug steps when they don't work according to your grand master plan!
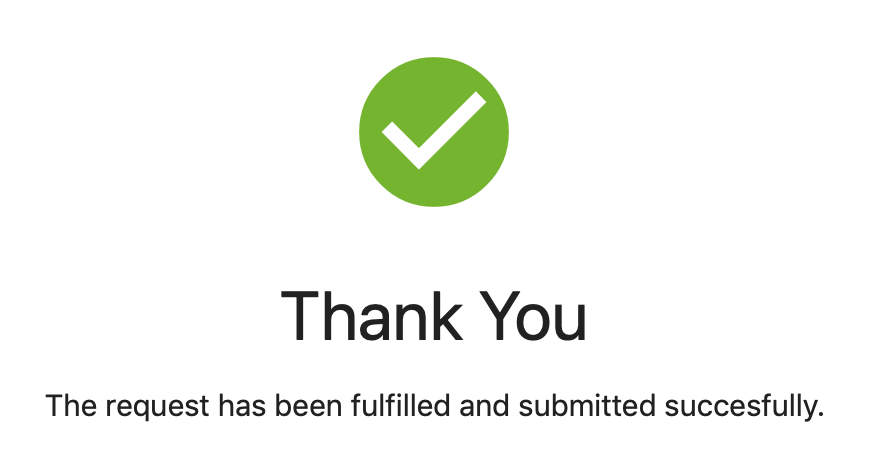
Now, let's go click that Accept button in the email, adding a comment if you wish. If all goes well, you should land on a webpage that shows the outcome of your click and the rest of the flow will proceed. (If you hit Accept, of course.)
Step 3: Review Approvals
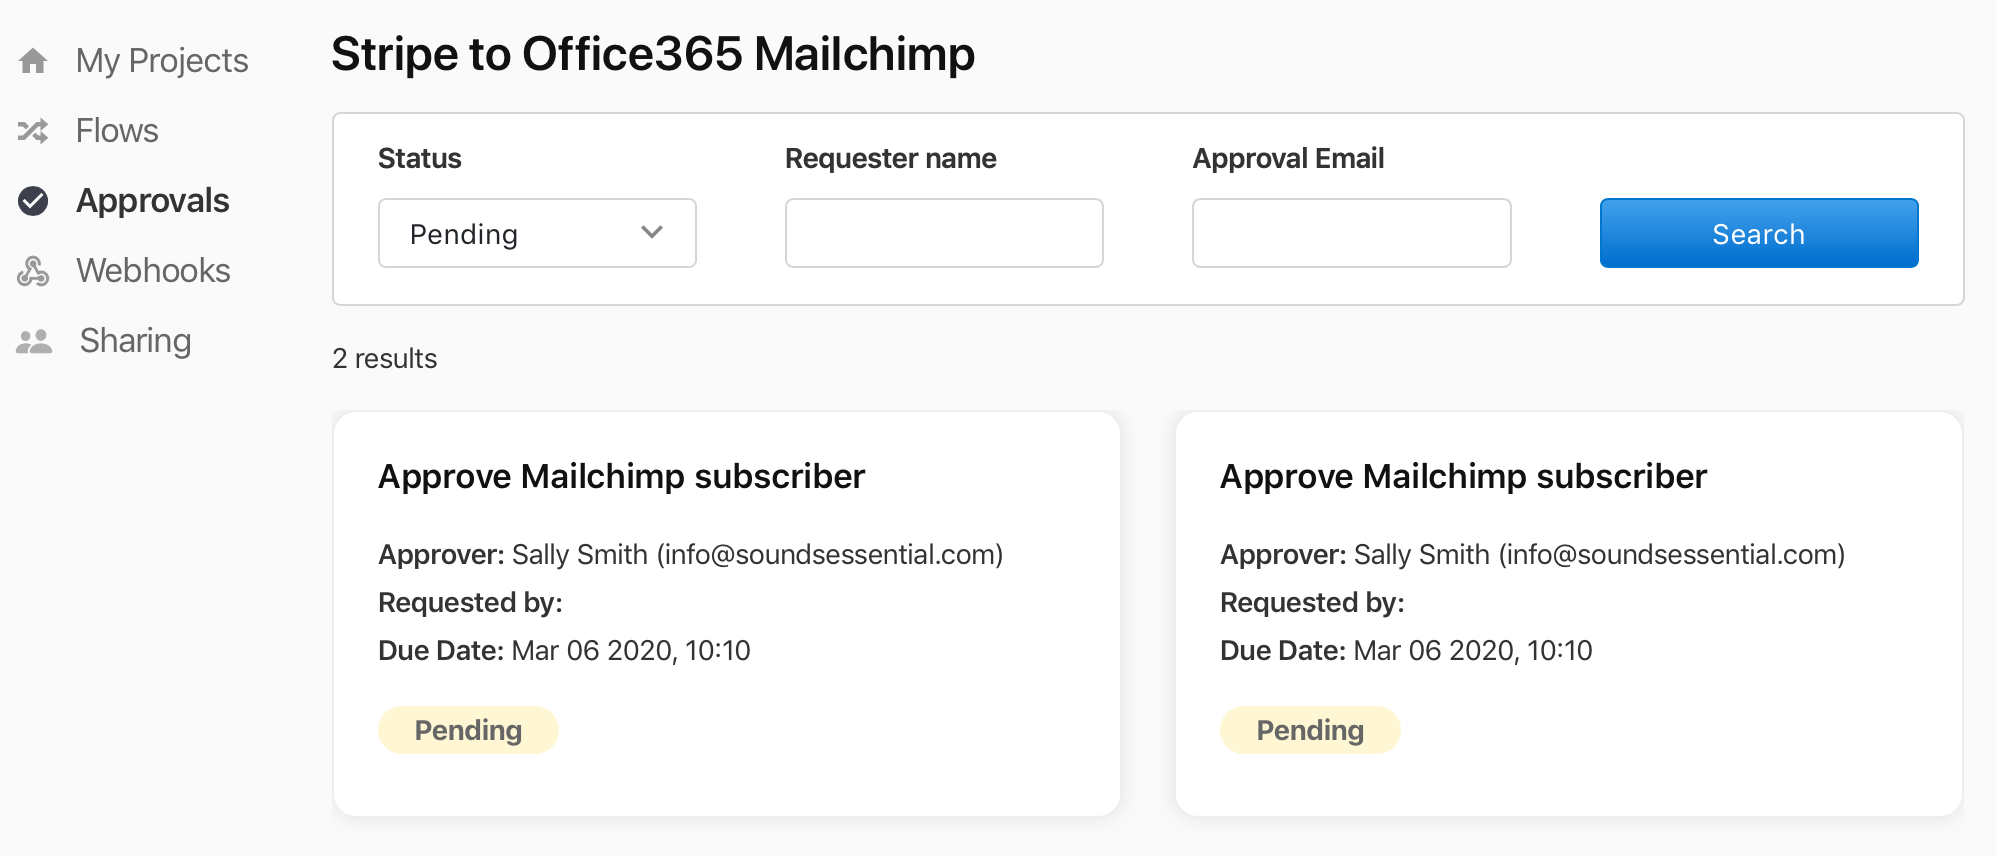
You can imagine that, as a manager, you may want to know how many approvals are still pendiing. And you can! In the main menu on the left of the screen, click the Approvals item. In here you can filter for status, requestor name and approval email. You can't approve directly from here, but perhaps that functionality will come further down the road.
Conclusion
So, we've managed to add some human intervention into a flow and pause the final outcome of that flow until said human has Accepted or Rejected the Approval Request. And it's been incredibly easy! Check out our other posts on Claris Connect for more walk-throughs and tips.
If you need help with licensing or want to discuss how Claris Connect can help solve issues in your business, contact us and we'd be glad to help.


