If you have your virtual machine running, you should see this:
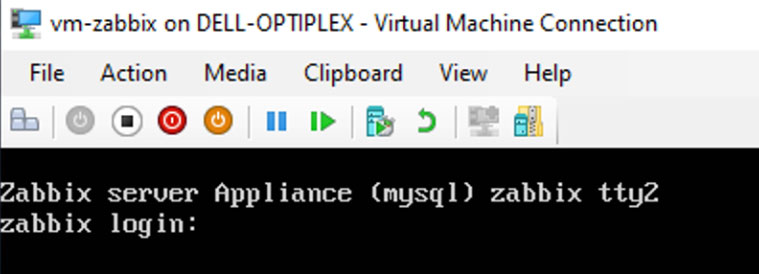
To login, use the username: appliance
And the password: zabbix
Static IP Address
One of the first things we’ll need to do is fix the IP address of our Zabbix server. There’s a couple ways to do this, either via your router or directly on the Linux machine. We prefer to centrally manage our fixed IP addresses for network devices, so we’re going to add the MAC address of our Linux machine to our router and assign it the IP address we want to use.
To get the MAC address, type
ifconfig
at the prompt in the virtual machine. You’re looking for the eth0 entry and HWaddr value. Add this to your DHCP reservation list in your router, selecting your preferred IP address. Once that’s saved, reboot the Zabbix machine by typing
sudo reboot
and confirm with the password as above. If all’s gone well, after you login and type
ifconfig
again, you should see the IP address is the one you chose.
Install Nano
We’re going to quickly install the nano text editor because we’re going to need it for some other configuration changes. Install the nano text editor by typing
sudo apt-get install nano
at our command prompt.
Time Zone Update – System Clock
Next we’re going to update the time zone the Zabbix server uses for the system clock to be ours rather than the default UTC zone.
To see a list of time zones, type
ls /usr/share/zoneinfo/
Once you see that list, those in dark blue can be added to the end of the previous command to go a level deeper, for example
ls /usr/share/zoneinfo/America
Note that the above command is case sensitive.
Once you’ve decided which time zone you wish to use, copy this to the local time folder using the following command:
sudo cp /usr/share/zoneinfo/America/New_York /etc/localtime
Time Zone Update – Front End
Next we’re going to update the time zone the Zabbix server uses for the front end.
Type
sudo nano /etc/apache2/conf-available/zabbix.conf
and confirm with the password above.
For our circumstances, we’re going to change the two php_value date.timezone entries to America/New_York to match our system time above. Navigate to the entries using the arrow keys, delete the existing entries and replace with the time zone you wish to use, and then click ctrl+o and then enter to save and ctrl+x to exit the editor.
Let’s go ahead and reboot for good measure using
sudo reboot
again and then we’ll be ready to check out the front end.
Logging Into The Front End
Now, finally, we’re ready to log into and check out the front end. Open a browser and go to the following address:
http://[your-fixed-ip-address]/zabbix
You should see this:
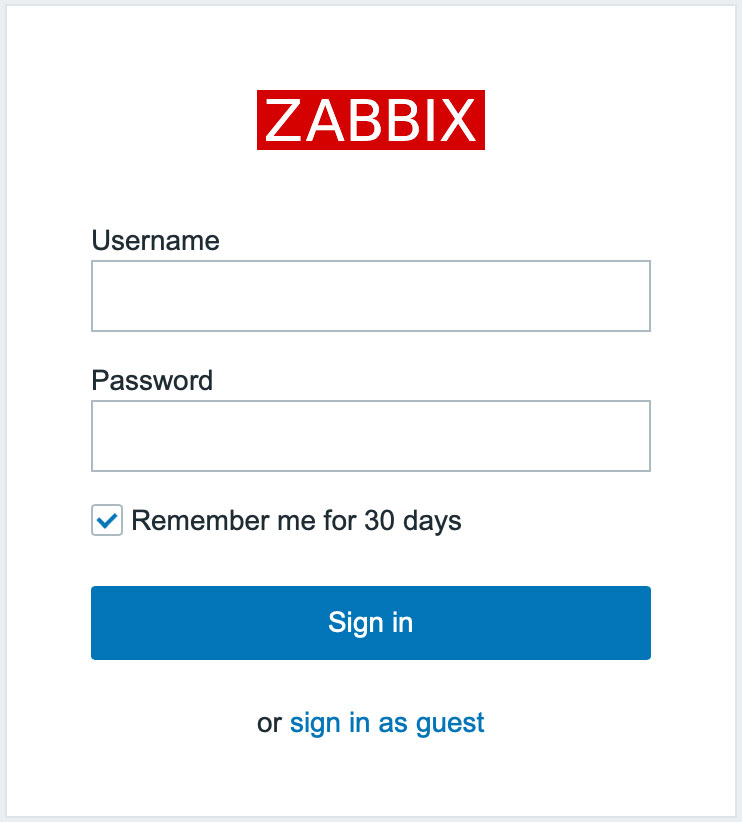
And now we can log in using
Username: Admin
Password: zabbix
And we’re in!
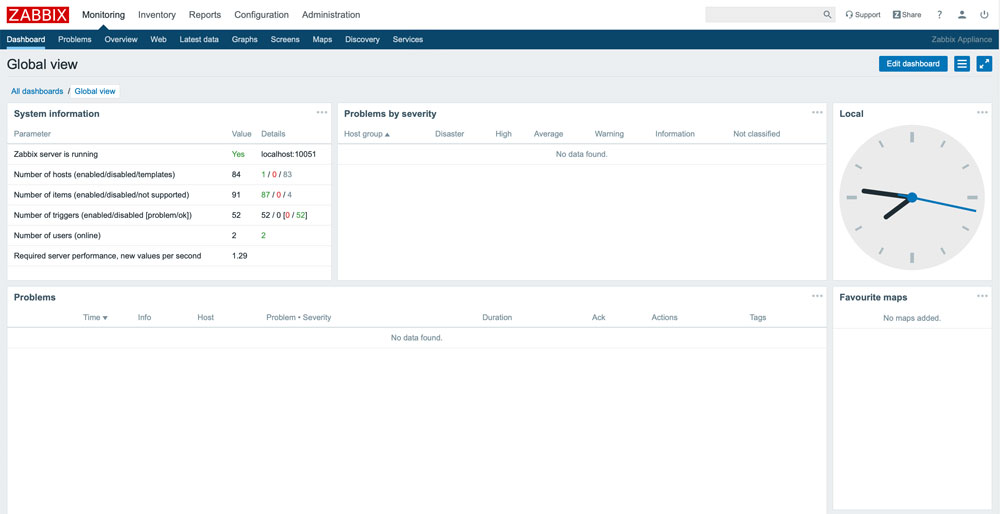
So, it’s been a long road but we’ve managed to use a Windows 10 machine to host a virtual machine, install and configure the basics of Zabbix, and log into the front end. In many ways, this is just the beginning as now we need to start monitoring network devices. There are plenty of resources out there to help with this next stage and we’d like to give a shout out to Soliant, Wim Decorte and Mislav Kos's guides located here.
If you fancy installing Zabbix from scratch, wish to delve deeper into configuration and templates, need to understand firewall settings, or how to install agents on servers, these guides are invaluable and the FileMaker community are indebted to the authors for the time spent creating these.
If setting up a Zabbix server is not your thing but you would like to have your FileMaker server monitored (which you should), head over to our maintenance plan page and sign up for a plan that suits your needs.


