
There are a few options:
- Purchase FMS and a dedicated computer (Mac or PC) to run it on and host locally
- Utilize one of the many FileMaker hosting providers in the marketplace
- Set up your own FMS using one of the many cloud services available
Each of these options has their pros and cons, but they’re all viable solutions, depending on the needs of the users/organization. The most complicated of the three is the last, as it involves a decent amount of set up, and choosing a provider from the vast market of cloud services can be daunting.
But this got us thinking… What’s involved in setting up FileMaker Server on Amazon Web Services (AWS), one of the biggest players out there and reported to be among the most reliable. They now provide streaming services for Netflix and a whole list of other big name clients. If it’s good enough for all of them, it’s good enough for us right? So, let’s see what steps are involved in setting up our own Instance (AWS’ term for a virtual server).
First up, AWS provide a Free Tier service, whereby setting up and using your virtual server in the cloud is free for 12 months as long as you stay within certain limits of usage etc. Find out more about the terms of this offer here.
Although the Free Tier uses the bottom end of AWS’ hardware specs, we’ll be taking advantage of this offer just to check out what the service is like and if it might be a good match for us or any of our clients. If you’re willing to pay the price, you can get blazingly fast servers but all that can be explored later – the setup process is pretty much the same.
The entire FMS setup will take a couple of blog posts, and in this first one we’ll be dealing with the initial set up and security configuration of our AWS account – it’s the less exciting part of the process but an essential one. So, let’s get started…
Step 1: Sign Up
Head over to http://aws.amazon.com/free/ and sign up for a free account. You can either use an existing Amazon account, or you can create a new one with a different email address.
During the process, you will be asked to enter a credit card but you will not be charged for anything unless you exceed the free usage terms – go back and read them here: http://aws.amazon.com/free.
Small disclaimer: if you end up with a bill, not our fault.
Part way through the sign up, you’ll get an automated phone call to confirm a PIN number displayed on screen. After this, select a support plan – in this instance we’re going for the free support.

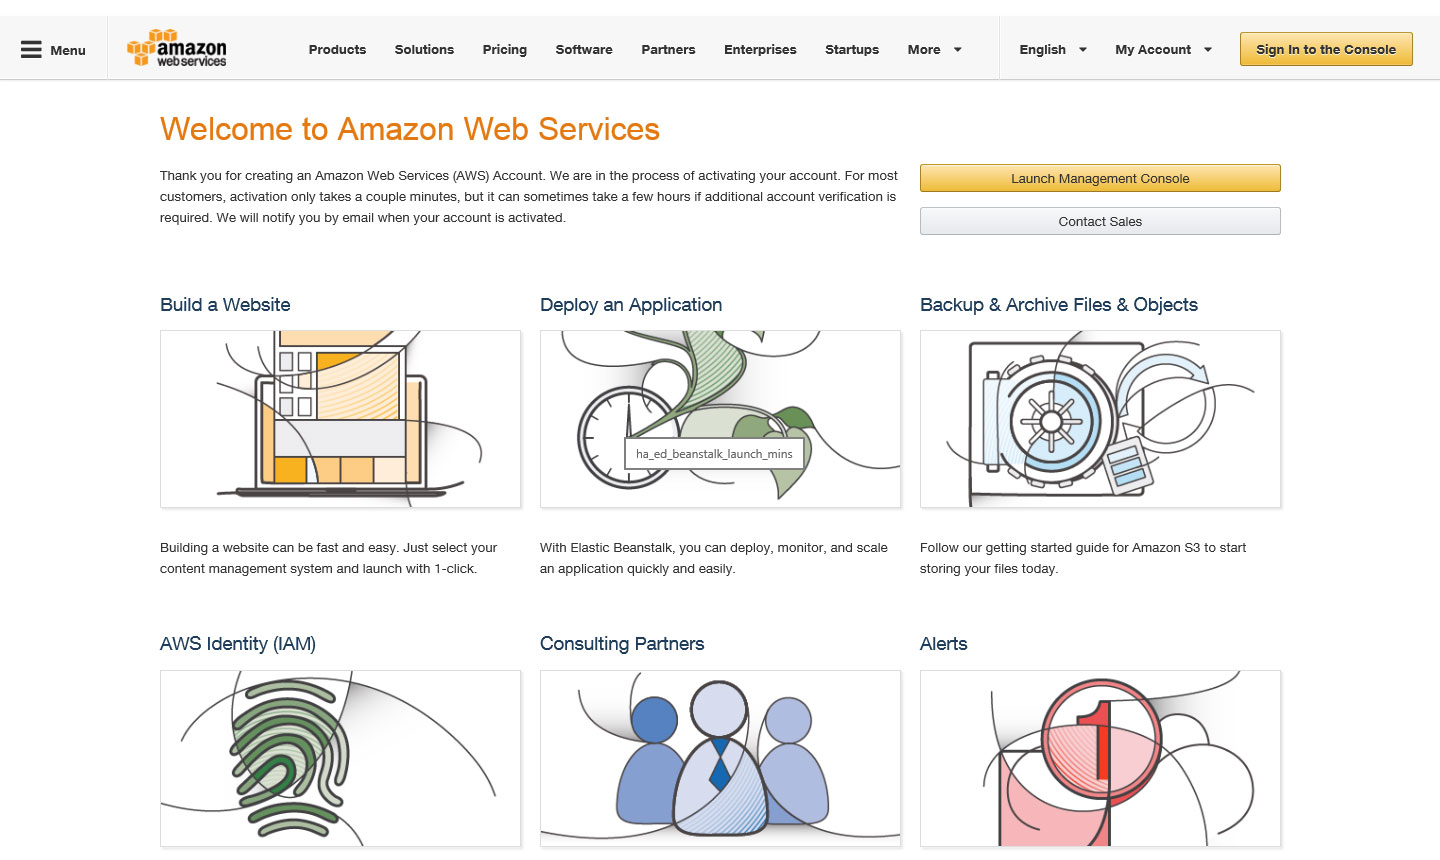
The account we created was activated within a minute or so, but it can apparently take longer. Following completion of the sign up process, you will be presented with this screen – feel free to explore this screen and the options, or dive straight in by clicking either the “Sign in to the Console” or “Launch Management Console” buttons.
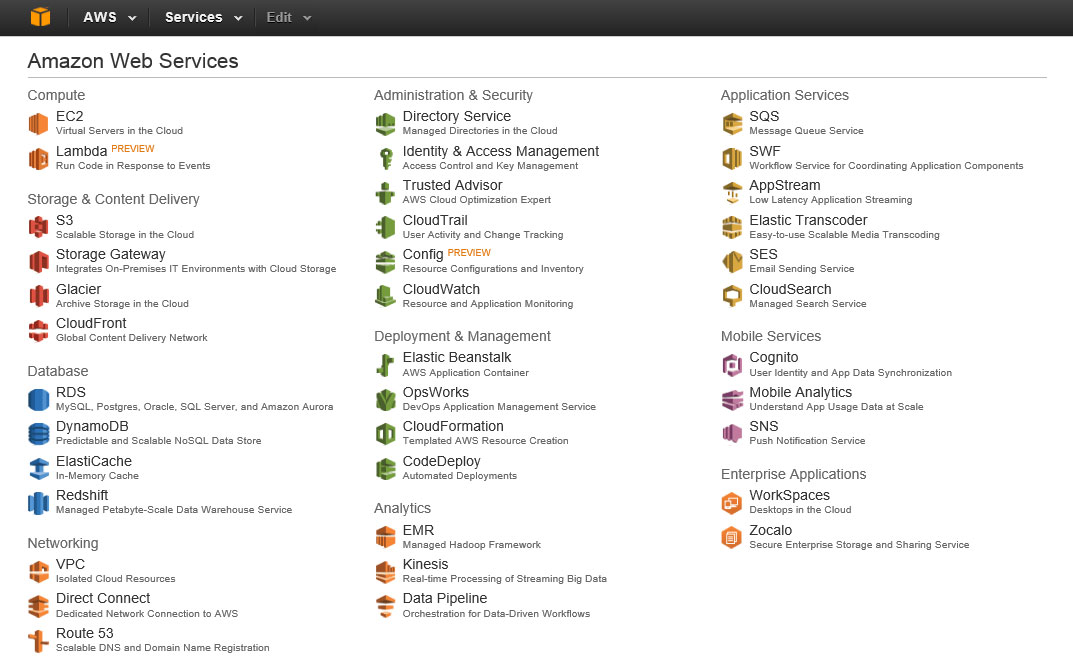
This is your AWS Console. There’s a wealth/overload of options here, but don’t be overwhelmed, we’ll only be touching on a couple of items for this demo and what we need for our FMS to be up and running.
Step 2: Create an Identity & Access Management (IAM) user
Amazon recommends you that do not connect to AWS using the credentials for your AWS account (the credentials used/created above). So, they provide a system for creating new users that can have different permissions. In our case, we need an IAM user with administrative privileges.
From the console, select Identity & Access Management from the Administration & Security section.
Firstly, we need to create an administrator group so click on Groups on the left, then Create Group, name the group Administrators, then Next Step, then click Select next to the Administrator Access policy template, click Next Step and finally click Create Group.
Now we need to create a user and apply the user to the group created above. Click Users on the left and Create New Users. Enter the username you wish to use in box 1 and click Create.
Although we may not have any need for them in this demo, it’s important to download the Security Credentials now – if not then they have to be recreated. So, click Download Credentials and save to a secure location. Click Close after downloading.
To add the newly created user to the administrator group we created above, click on the name of the user and then Add User to Groups. Select the administrators group and click Add to Groups.
Finally in this section, we need to create a password for this user. If you’re not still editing the user from above, then in the list of users again click on the name of the user, scroll down to Security Credentials and click Manage Password. Click the radio button for Assign a Custom Password, enter a very strong password combination, confirm it and then click Apply.
To sign in as this new user, you can use the following URL, substituting your account number for the part in red (your unique link is displayed at the top of the Welcome to Identity and Access Management screen):
https://your_aws_account_id.signin.aws.amazon.com/console/
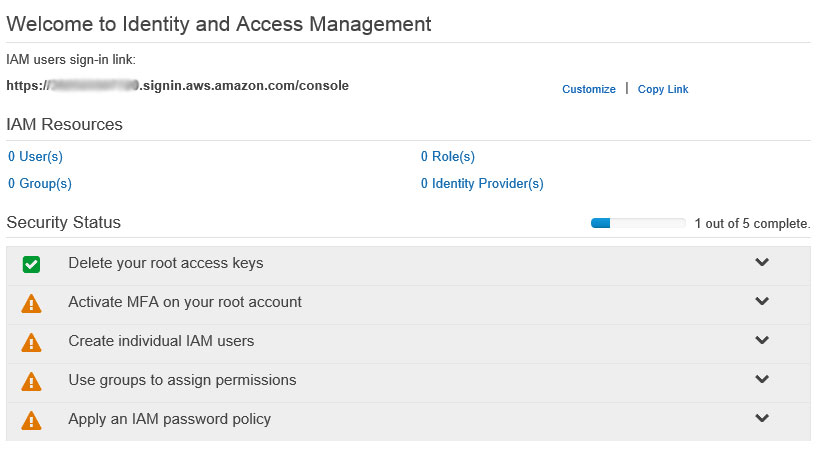
At this point, go ahead and sign out and sign back in with these new credentials and your link as above. If all has gone according to plan, the Dashboard of your IAM screen should look something like this:
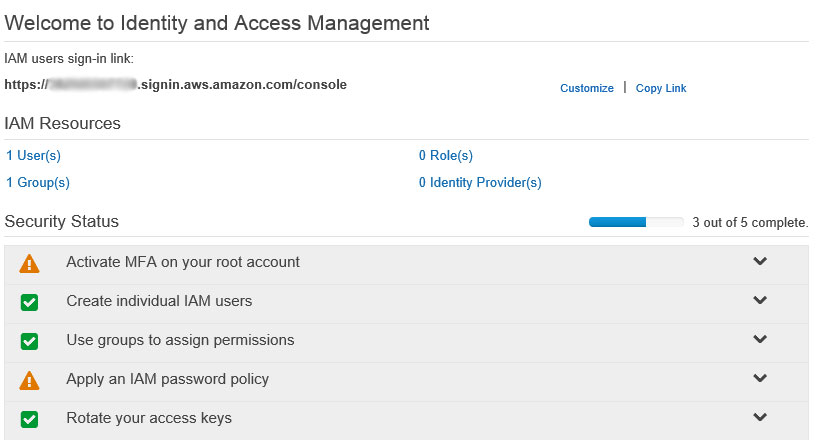
For our demo purposes, we’re not going to concern ourselves with the MFA or password policy items, but it’s certainly something to look into further down the line.
Step 3: Creating key pairs
Key pairs are used in the authentication process when launching your server Instance, so we need to create these next.
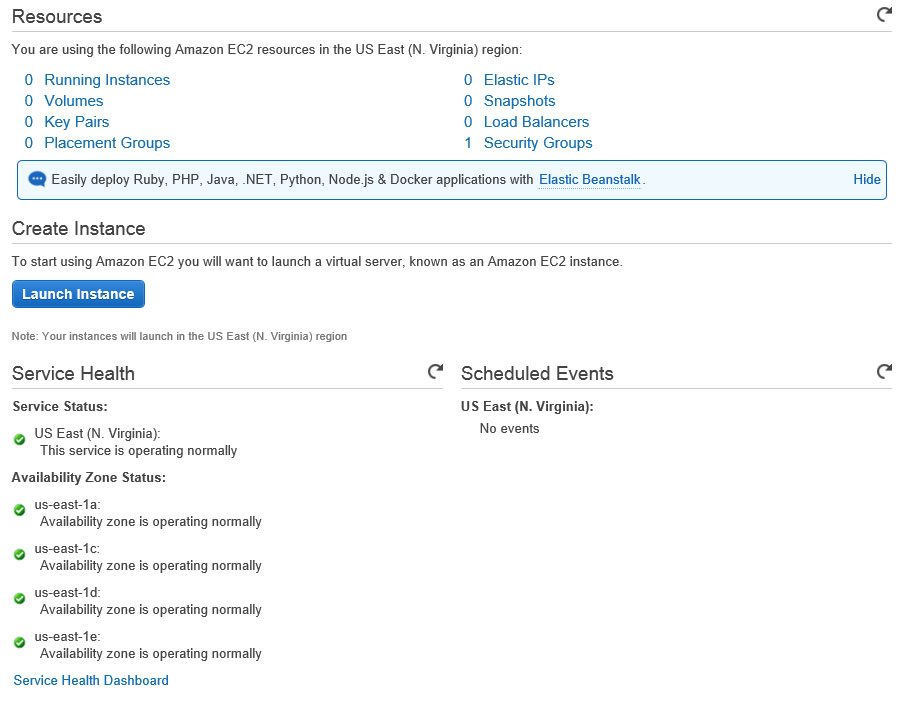
Head back to the main Console page by clicking the orange cube in the top left of the screen and select EC2 under the Compute section.
In the top right of the screen in the dark navigation bar your currently selected region is displayed (may be defaulted to Oregon). You can change this region to anything that is available to you. We suggest you select the one that is closest to your physical location.
Next, click Key Pairs in the vertical menu on the left and then Create Key Pairs. You’ll be asked to enter a name, for which Amazon suggest your IAM user name followed by -key-pair and then the region name, which for us is -useast1.
After clicking Create, you will be prompted to download the private key file. Do this! There’s not a second opportunity to, and we’ll need it when we launch our server Instance.
Step 4: Creating a Virtual Private Cloud
Look in the top right section of the EC2 Dashboard screen. Under the Account Attributes section, if you have VPC listed under the Supported Platforms heading and vpc-******** under the Default VPC heading, then you’re good to go and we can move on.
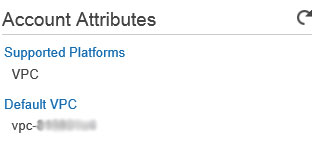
If not, head here to learn how to create a default VPC: http://docs.aws.amazon.com/AWSEC2/latest/WindowsGuide/get-set-up-for-amazon-ec2.html
Step 5: Create a Security Group
Security Groups are essentially the firewall rules/permissions that your Instance will conform to. By default, AWS should have created a security group for you but we’re going to create a new one so our server is not completely open.
Again from the EC2 Dashboard, ensure you’re in the same region as in which you created your key pairs above and then click Security Groups on the left vertical menu.

Click Create Security Group. The name you enter can be similar to the convention we used above for the key pairs but in this instance your IAM user name and then -SG- and ending with -useast1.
Enter a description if you wish, but note this can’t be changed once the group has been created. The VPC value should be either the default VPC created by AWS or the one created above if this was required.
Now we need to add some firewall rules. Firstly, we’ll need RDP (Remote Desktop Protocol) to administer the server Instance so let’s add this.
On the Inbound tab, click Add Rule and in the Type dropdown select RDP and then in the last column choose My IP – this will detect your IP address and populate the value for you.
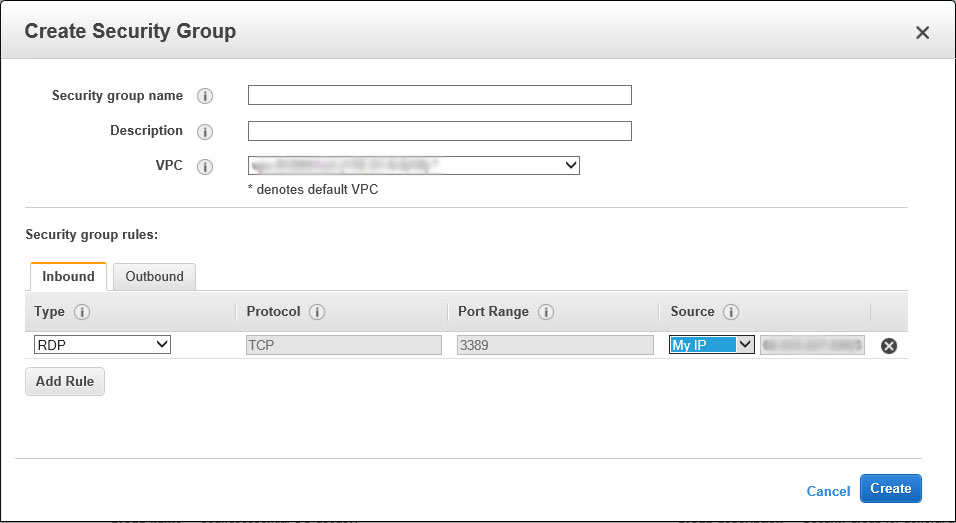
This is effectively saying that connecting to your server Instance via RDP is only permitted from this IP address. So, if you do not have a static IP address and it changes then your RDP connection will fail – something to keep in mind.
Next, we need to allow access for FileMaker traffic. FileMaker communicates on port 5003 for FileMaker Pro and Go clients so add that as a custom TCP rule and select Anywhere under the Source dropdown – of course if you wish to only permit connections from one IP address then enter this instead.
There are various other ports that FileMaker Server uses and you can find a list of them here.
If you need to make use of these services, be sure to add them to incoming and outgoing rules as required. It’s generally a good idea to keep the firewall rules to a minimum and not allow all traffic but the full extent of firewall set up falls outside of the scope of this blog post.
Click Create when you have finished adding your rules.
Summary
Phew! Still with us? That’s the end of the setup of users and security. We’ve created:
- an AWS account
- an administrator group for users
- a user and assigned this user to the administrator group
- a key pair
- a security group
Time to take a breather... In our next post, we’re going to actually launch our server Instance, connect to it and more… The fun part…


