

Setting Up A Keycloak Server For Authenticating To FileMaker: Part 9: Custom IdP Options In FileMaker 19.4
Lesson in Brief: New Options In FileMaker Server 19.4 Allow For Less Complex Set Up
Back in part 6 of our Keycloak series, we walked through the steps of how to set up FileMaker Server to use Keycloak to authenticate to a database. With the release of FileMaker 19.4, things have got a little easier, so let's check out what's new...
The Custom IdP Option
When we previously configured FileMaker Server to use Keycloak, we had to use a bit of a hack by repurposing the Microsoft Azure Identity Provider (IdP) because we were unable to create a new one and Microsoft was the only one that supported groups. If you recall, we edited the dbs_config.xml file and switched out the Azure information with our Keycloak values.
While that worked, not everyone is comfortable with getting under the hood like that. Well, now everyone can feel at ease, because with the release of FileMaker 19.4, we have a Custom IdP section in the FileMaker Server Admin Console, under Administration > External Authentication > Custom IdP Authentication Settings.
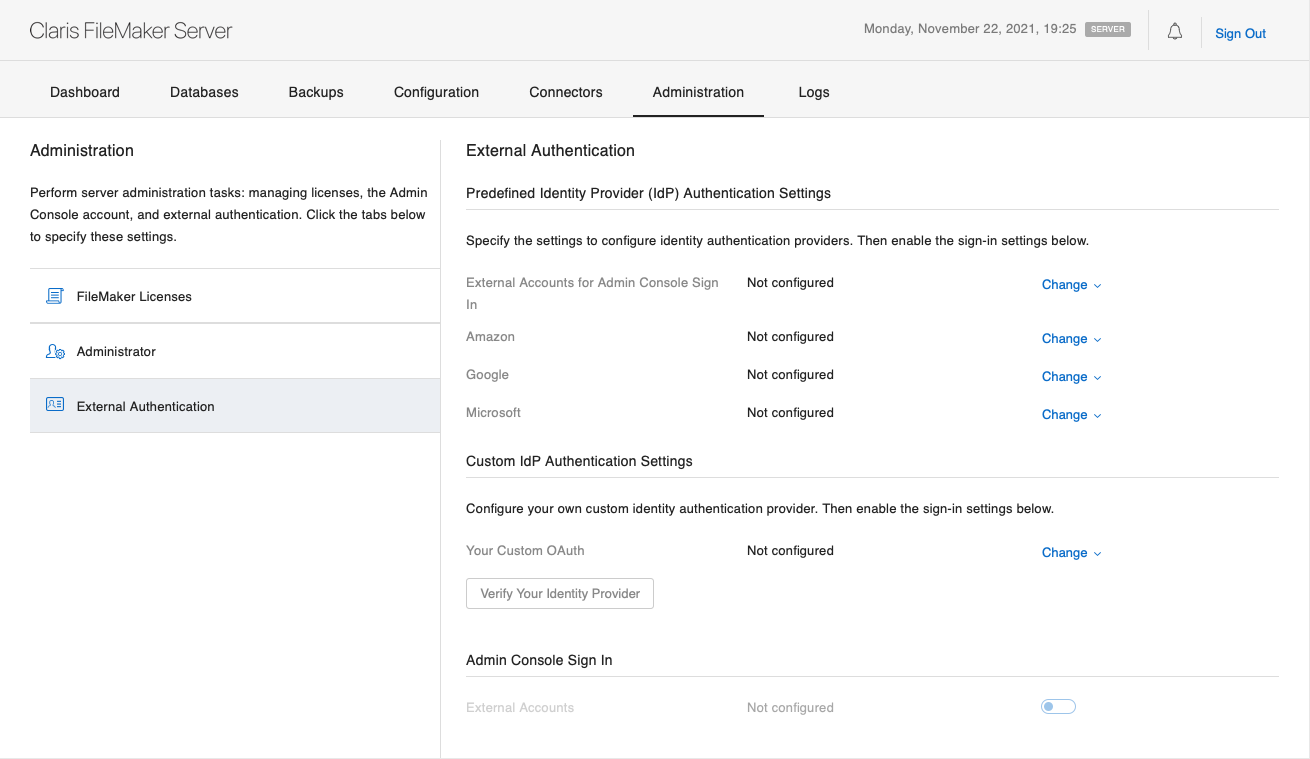
This means we can now configure our Keycloak server directly in the Admin Console and do not have to edit the xml file anymore. While we can use multiple identity providers still, at this time we can only set up one custom identity provider. Regardless of that, this new feature is awesome, but when setting it up, what values go where?
What Goes Where?
We will be continuing on and using the same set up and information as the rest of the series so refer back to that as needed. Let's get started by clicking the blue Change button under the Custom IdP Authentication Settings. A bunch of blank boxes show up - it might look a bit intimidating but we've done this before, we've got this...
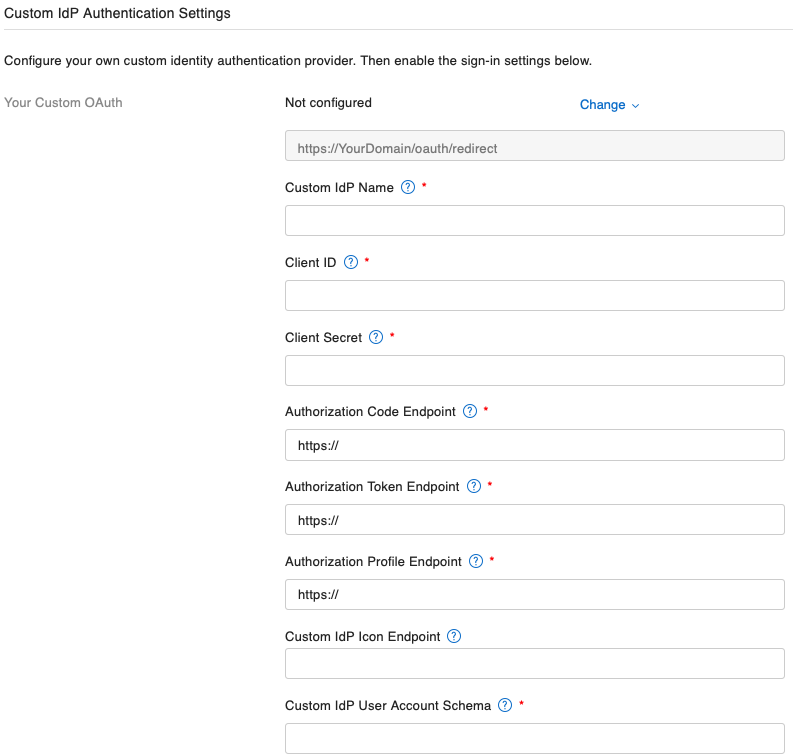
Let's step through them, figuring out what we need to put in these boxes. Claris has added info buttons against each field header so do also click on each one of those for more info.
Custom IdP Name
This is the easiest of them all - it can be anything you want it to be! This name will show up in the login dialog of all your FileMaker client software when connecting to the database. We've opted for the simple and straightforward:
Keycloak
Client ID
In the Keycloak Admin Console, go to Clients, click on the client you created and copy the Client ID value and paste this in this field:
CLIENT_ID
Client Secret
Again in Keycloak, click the Credentials tab for our Client and copy the Secret value and paste that here:
CLIENT_SECRET
Authorization Code Endpoint
In Keycloak, click Realm Settings in the left menu, and then click OpenID Endpoint Configuration under Endpoints. This will open a new window with a chunk of JSON in it. Copy the value for "authorization_endpoint" and paste this into the field - don't include the "https://":
DOMAIN_NAME/auth/realms/YOUR_REALM/protocol/openid-connect/auth
Authorization Token Endpoint
From that same chunk of JSON, copy the "token_endpoint" value and paste this into this box - don't include the "https://" and as of FileMaker Server 19.4.1, unfortunately this can still not have a port listed:
DOMAIN_NAME/auth/realms/YOUR_REALM/protocol/openid-connect/token
Authorization Profile Endpoint
This entry is a little more tricky. If you look back at our part 6 article, we didn't have a Profile Endpoint in the xml, but with the Custom IdP option, it's a required field. Technically, it's not actually needed for our Keycloak deployment either as we'll be using OIDC, but as we need to put something there, towards the end of the JSON you'll find a value for "userinfo_endpoint" so let's use that (again no "https://"):
DOMAIN_NAME/auth/realms/YOUR_REALM/protocol/openid-connect/userinfo
Custom IdP Icon Endpoint
A small but very nice feature of this Custom IdP implementation is the ability to determine what icon is displayed in the login prompt. It ends up being quite small so we'd suggest using a square image of whatever icon you wish to display. We need the full path to that image file which can be anywhere on the internet:
https://my.server.com/icon.jpg
Custom IdP User Account Schema
At first glance. this entry was not immediately obvious as to what to use, but it turns out this is what we used in the OAuthIDName in our previous xml example, which for us was:
Custom IdP User Group Schema
This entry is the name of the list of groups that FileMaker checks against, and in our instance when we made that in Keycloak we conveniently named it:
groups
Scope
And finally, scope is something we can easily map to from previous:
openid email groups
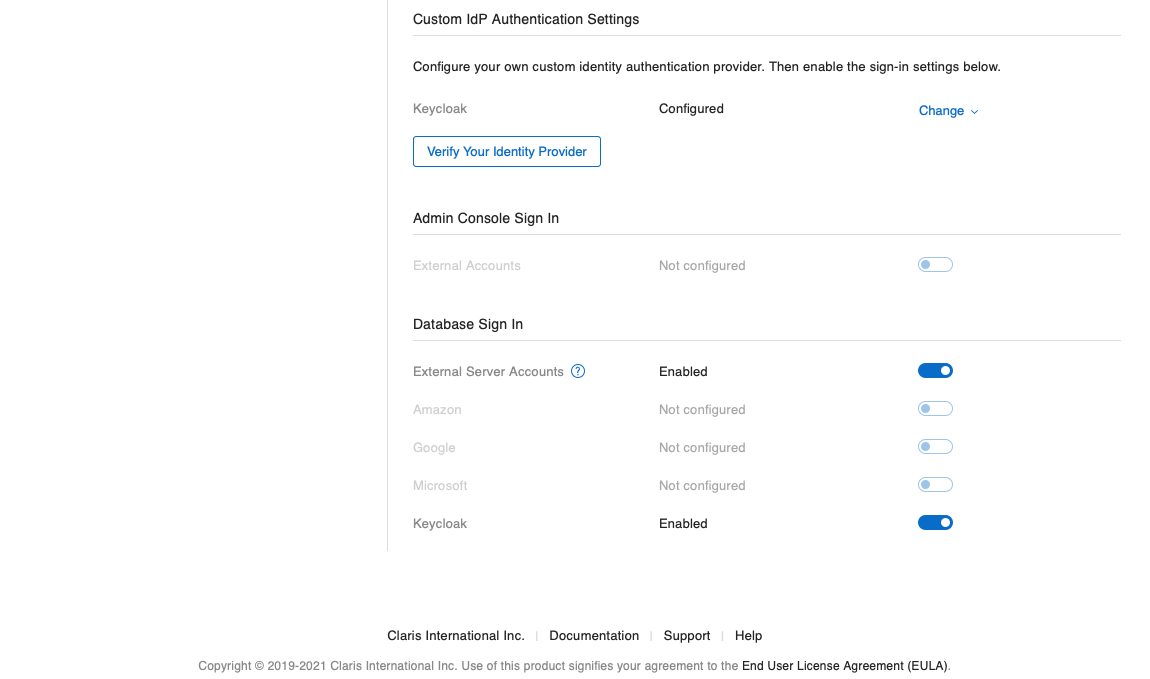
Finally, make sure you select the Open ID Connect (OIDC) option under the last entry. Hit Save Authentication Settings and then, as we did in part 6, under the Database Sign In section, enable External Server Accounts and then enable the one we named Keycloak. You should be seeing this:
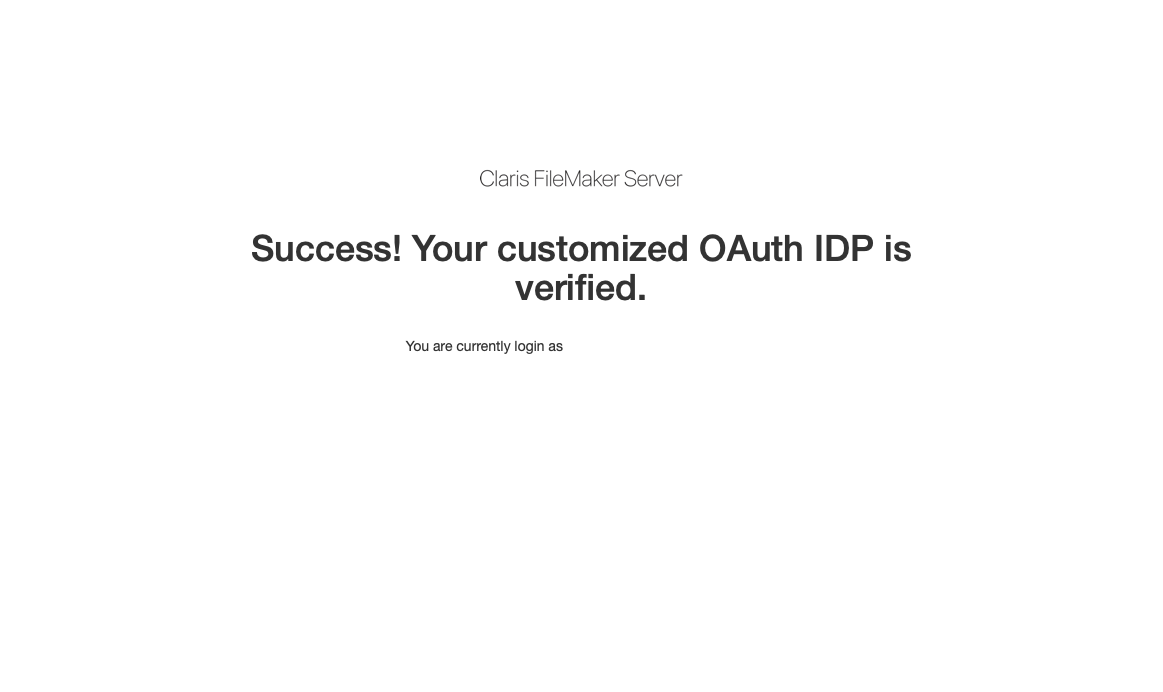
If you click the Verify Your Identity Provider button that has now turned blue, if all has been set up correctly, you'll be taken to your Keycloak login page:
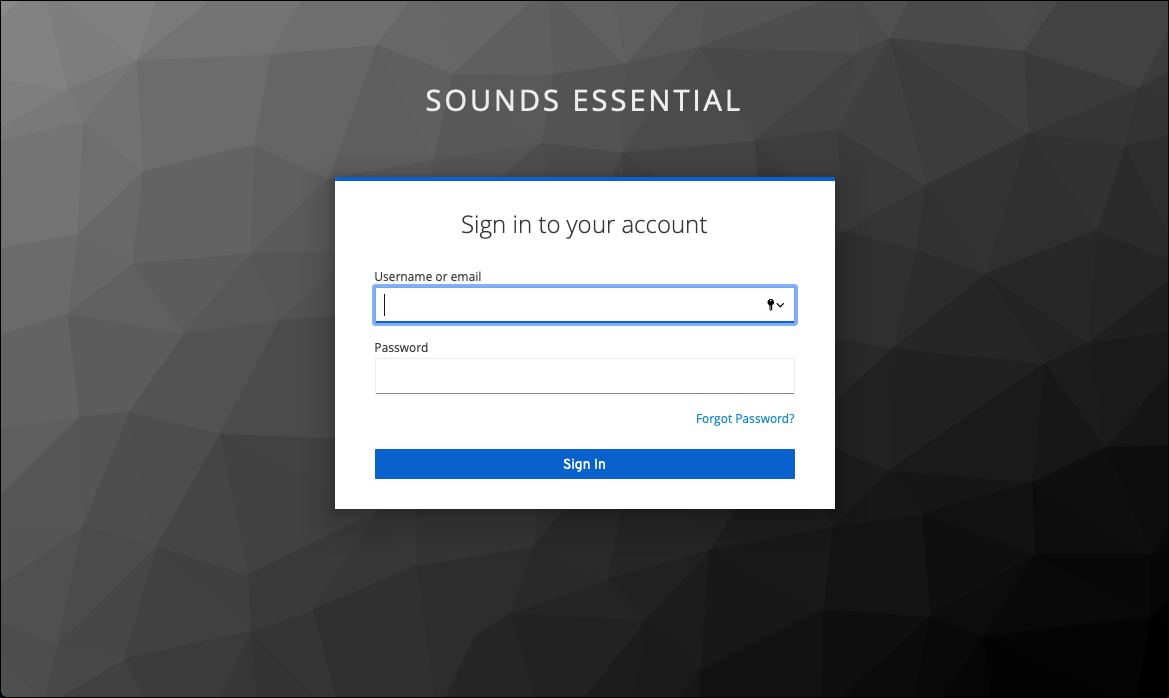
Sign in with your credentials, and if that validates correctly you'll be shown this:
FileMaker Login Dialog
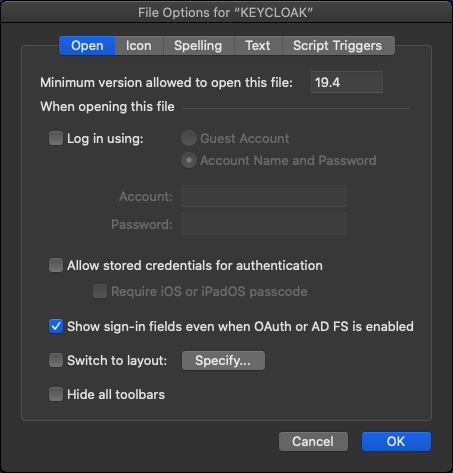
A reminder that you can turn on or off the sign in fields in the File Options of the database. If you open File Options while logged into the database, you can see the "Show sign-in fields even when OAuth or AD FS is enabled".
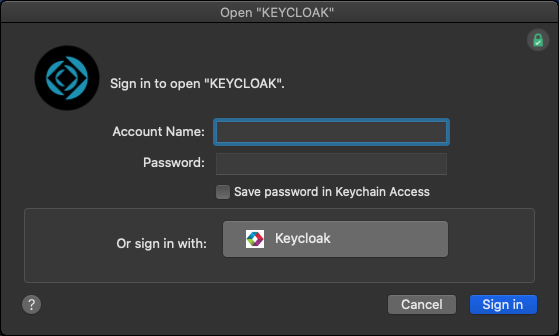
If you check that, your login dialog will look like this:
If you don't check it, it'll look like this:
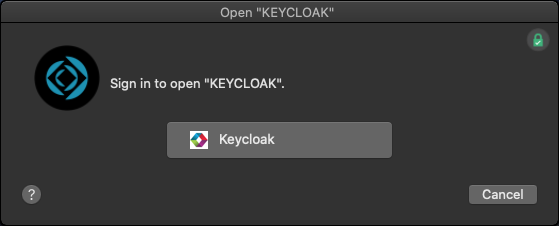
Note the custom logo for our identity provider.
The XML File
We were curious as to what the dbs_config.xml (that we manually configured previously) looked like after we had set up our custom IdP. So, we went looking for it:
<keys name="oAuthProviders">
    <keys name="General">
      <key name="AuthCodeEndpoint" type="string">DOMAIN_NAME/auth/realms/YOUR_REALM/protocol/openid-connect/auth</key>
      <key name="AuthType" type="integer">2</key>
      <key name="ClientID" type="string">CLIENT_ID</key>
      <key name="ClientSecret" type="string">CLIENT_SECRET</key>
      <key name="EncryptedClientSecret" type="integer">1</key>
      <key name="Logo" type="string">https://my.server.com/icon.jpg</key>
      <key name="OAuthIDName" type="string">email</key>
      <key name="OIDCEnabled" type="integer">1</key>
      <key name="ProfileEndpoint" type="string">DOMAIN_NAME/auth/realms/YOUR_REALM/protocol/openid-connect/userinfo</key>
      <key name="Provider" type="string">Keycloak</key>
      <key name="ProviderEnabled" type="integer">1</key>
      <key name="ProviderID" type="integer">8</key>
      <key name="ResponseType" type="string">code</key>
      <key name="Scope" type="string">openid email groups</key>
      <key name="TokenEndpoint" type="string">DOMAIN_NAME/auth/realms/YOUR_REALM/protocol/openid-connect/token</key>
      <key name="OAuthGroupScheme" type="string">groups</key>
	</keys>
</keys>
There are some subtle differences from what we edited previously, but this is just a curiosity thing more than anything we actually need to worry about.
Summary
This new Custom IdP option in FileMaker Server 19.4 is a very welcome addition to the platform. It hugely simplifies the set up of OAuth providers, beyond the included pre-defined Amazon, Google and Microsoft, which we hope will lead to yet more adoption of these security platforms within the FileMaker world. If you need help setting up Keycloak or another OAuth provider, don't hesitate to get in touch.
And if you need general help with your FileMaker app, or want to save money on your licensing of Claris products, contact us and we'll be glad to assist.


