
Setting Up A Keycloak Server For Authenticating To FileMaker: Part 4: Adding A MySQL Database
Lesson in Brief: Installing MySQL And Configuring Keycloak To Use It
If you've been following our Keycloak series and have survived the previous SSL certificate article, congratulations. We're close to actually getting stuck into Keycloak itself, but we have one last installation item to take care of. Out of the box, Keycloak comes with a relational database called H2, but this is primarily intended for development and testing purposes and is not designed for high concurrency environments. So, we need to set up Keycloak to connect to a more solid database, for which we are going to use MySQL.
Installing MySQL
During the course of this article, we will be executing some command line commands and editing some text files but it should be somewhat easier than the last article. First up, let's make sure we're at the root directory and stop Keycloak:
cd
sudo systemctl stop keycloak
Now, install the MySQL server package (we're using the current version 8.0.23), confirming yes at the prompt:
sudo apt install mysql-server
And then we'll run the security script to set things up:
sudo mysql_secure_installation
You'll be asked a series of questions:
- If you wish to use the Validate Password component, which enforces password complexity. Given we're trying to improve security, this is not a bad option to elect yes for.
- After that, enter your password for the MySQL root user.
- Next you'll be asked to remove the anonymous user - select yes.
- And then disallow root login remotely - again yes.
- Then remove the test database.
- Finally, reload the privileges table.
Next, we'll create our database.
Creating The Database
Ok, let's make a database! Be sure to switch out our placeholder MYSQL_DATABASE_PASSWORD with your own (and note this is not the same password as the MYSQL_ADMIN_PASSWORD above and if you set up password validation rules above, ensure it complies with those):
sudo mysql
CREATE DATABASE keycloak CHARACTER SET utf8 COLLATE utf8_unicode_ci;
CREATE USER 'keycloak'@'localhost' IDENTIFIED BY 'MYSQL_DATABASE_PASSWORD';
GRANT ALL PRIVILEGES ON keycloak.* TO 'keycloak'@'localhost';
FLUSH PRIVILEGES;
exit;
Installing And Configuring The Java MySQL Connector
You should be back at the command prompt, and now we can download the Java MySQL Connector that we'll need. A change was made in version 8.0.23 in regard to "a getObject(columnIndex) call on a DATETIME column returns a LocalDateTime object now instead of a String." Keycloak 12.0.2 doesn't like that change so we'll be using connector version 8.0.22:
sudo curl -L https://repo1.maven.org/maven2/mysql/mysql-connector-java/8.0.22/mysql-connector-java-8.0.22.jar -o /root/mysql-connector-java-8.0.22.jar
Now we'll make some directories, copy our connector, delete the download and create an xml file that we're going to populate next:
sudo mkdir -p /opt/keycloak/current/modules/system/layers/keycloak/com/mysql/main
sudo cp /root/mysql-connector-java-8.0.22.jar /opt/keycloak/current/modules/system/layers/keycloak/com/mysql/main/mysql-connector-java-8.0.22.jar
sudo rm /root/mysql-connector-java-8.0.22.jar
cd /opt/keycloak/current/modules/system/layers/keycloak/com/mysql/main
sudo nano module.xml
Now we'll populate that xml file by copying the below, pasting it into the file and hit Ctrl-O and then Enter to save and Ctrl-X to exit.
<module xmlns="urn:jboss:module:1.3" name="com.mysql">
  <resources>
    <resource-root path="mysql-connector-java-8.0.22.jar"/>
  </resources>
  <dependencies>
    <module name="javax.api"/>
    <module name="javax.transaction.api"/>
  </dependencies>
</module>
Now we're off to modify the standalone.xml file:
cd /opt/keycloak/current/standalone/configuration
sudo nano standalone.xml
When we first start Keycloak after having connected it to our MySQL database, it will create the schema in MySQL and this is going to take a while, so we need to up the timeout for Keycloak. Just under the closing extensions tag near the top of the file, add this:
<system-properties>
  <property name="jboss.as.management.blocking.timeout" value="3600"/>
</system-properties>
Now, search for the word "datasources" by hitting Ctrl-W and in that section you should find the drivers (note the s on the end), which you need to make match the below by adding the first driver:
<drivers>
  <driver name="mysql" module="com.mysql">
    <xa-datasource-class>com.mysql.cj.jdbc.MysqlXADataSource</xa-datasource-class>
  </driver>
  <driver name="h2" module="com.h2database.h2">
    <xa-datasource-class>org.h2.jdbcx.JdbcDataSource</xa-datasource-class>
  </driver>
</drivers>
And just above that driver section you should find the datasource tags. We're going to comment out the one with the name KeycloakDS and add a new one underneath it. So, comment out this by adding the characters at the beginning and end:
<!--<datasource jndi-name="java:jboss/datasources/KeycloakDS" pool-name="KeycloakDS" enabled="true" use-java-context="true" statistics-enabled="${wildfly.datasources.statisti$
  <connection-url>jdbc:h2:${jboss.server.data.dir}/keycloak;AUTO_SERVER=TRUE</connection-url>
  <driver>h2</driver>
  <security>
    <user-name>sa</user-name>
    <password>sa</password>
  </security>
</datasource>-->
And then add this right underneath the commented out one, ensuring to update your password instead of the placeholder:
<!--New datasource for MySQL database--> <datasource jndi-name="java:jboss/datasources/KeycloakDS" pool-name="KeycloakDS" enabled="true" use-java-context="true"> <connection-url>jdbc:mysql://localhost:3306/keycloak?useSSL=false&allowPublicKeyRetrieval=true&characterEncoding=UTF-8</connection-url> <driver>mysql</driver> <pool> <min-pool-size>5</min-pool-size> <max-pool-size>15</max-pool-size> </pool> <security> <user-name>keycloak</user-name> <password>MYSQL_DATABASE_PASSWORD</password> </security> <validation> <valid-connection-checker class-name="org.jboss.jca.adapters.jdbc.extensions.mysql.MySQLValidConnectionChecker"/> <validate-on-match>true</validate-on-match> <exception-sorter class-name="org.jboss.jca.adapters.jdbc.extensions.mysql.MySQLExceptionSorter"/> </validation> <statement> <track-statements>true</track-statements> </statement> <timeout> <blocking-timeout-millis>60000</blocking-timeout-millis> <allocation-retry>3</allocation-retry> </timeout> </datasource>
Search for "domain:transactions" and a few lines below that you'll find a coordinator-environment tag. Add the timeout value as below:
<coordinator-environment default-timeout="36000" statistics-enabled="${wildfly.transactions.statistics-enabled:${wildfly.statistics-enabled:false}}"/>
Ok, we're done with the xml, so hit Ctrl-O then Enter and then Ctrl-X. Now we'll add our module and its dependency to jboss:
cd /opt/keycloak/current/bin
sudo ./jboss-cli.sh
Ignore the disconnected message, paste the below and hit enter:
module add --name=com.mysql --resources=/opt/keycloak/current/modules/system/layers/keycloak/com/mysql/main/mysql-connector-java-8.0.22.jar --dependencies=javax.api,javax.transaction.api
Hit Ctrl-Z after that to exit.
The Final Reboot
That's it, let's reboot! After rebooting, walk away for half an hour. Seriously, it's going to take a while for the database schema to be created.
sudo shutdown -r now
After 30 minutes or so, go to https://DOMAIN_SUBDOMAIN/auth/ and you should be presented with:
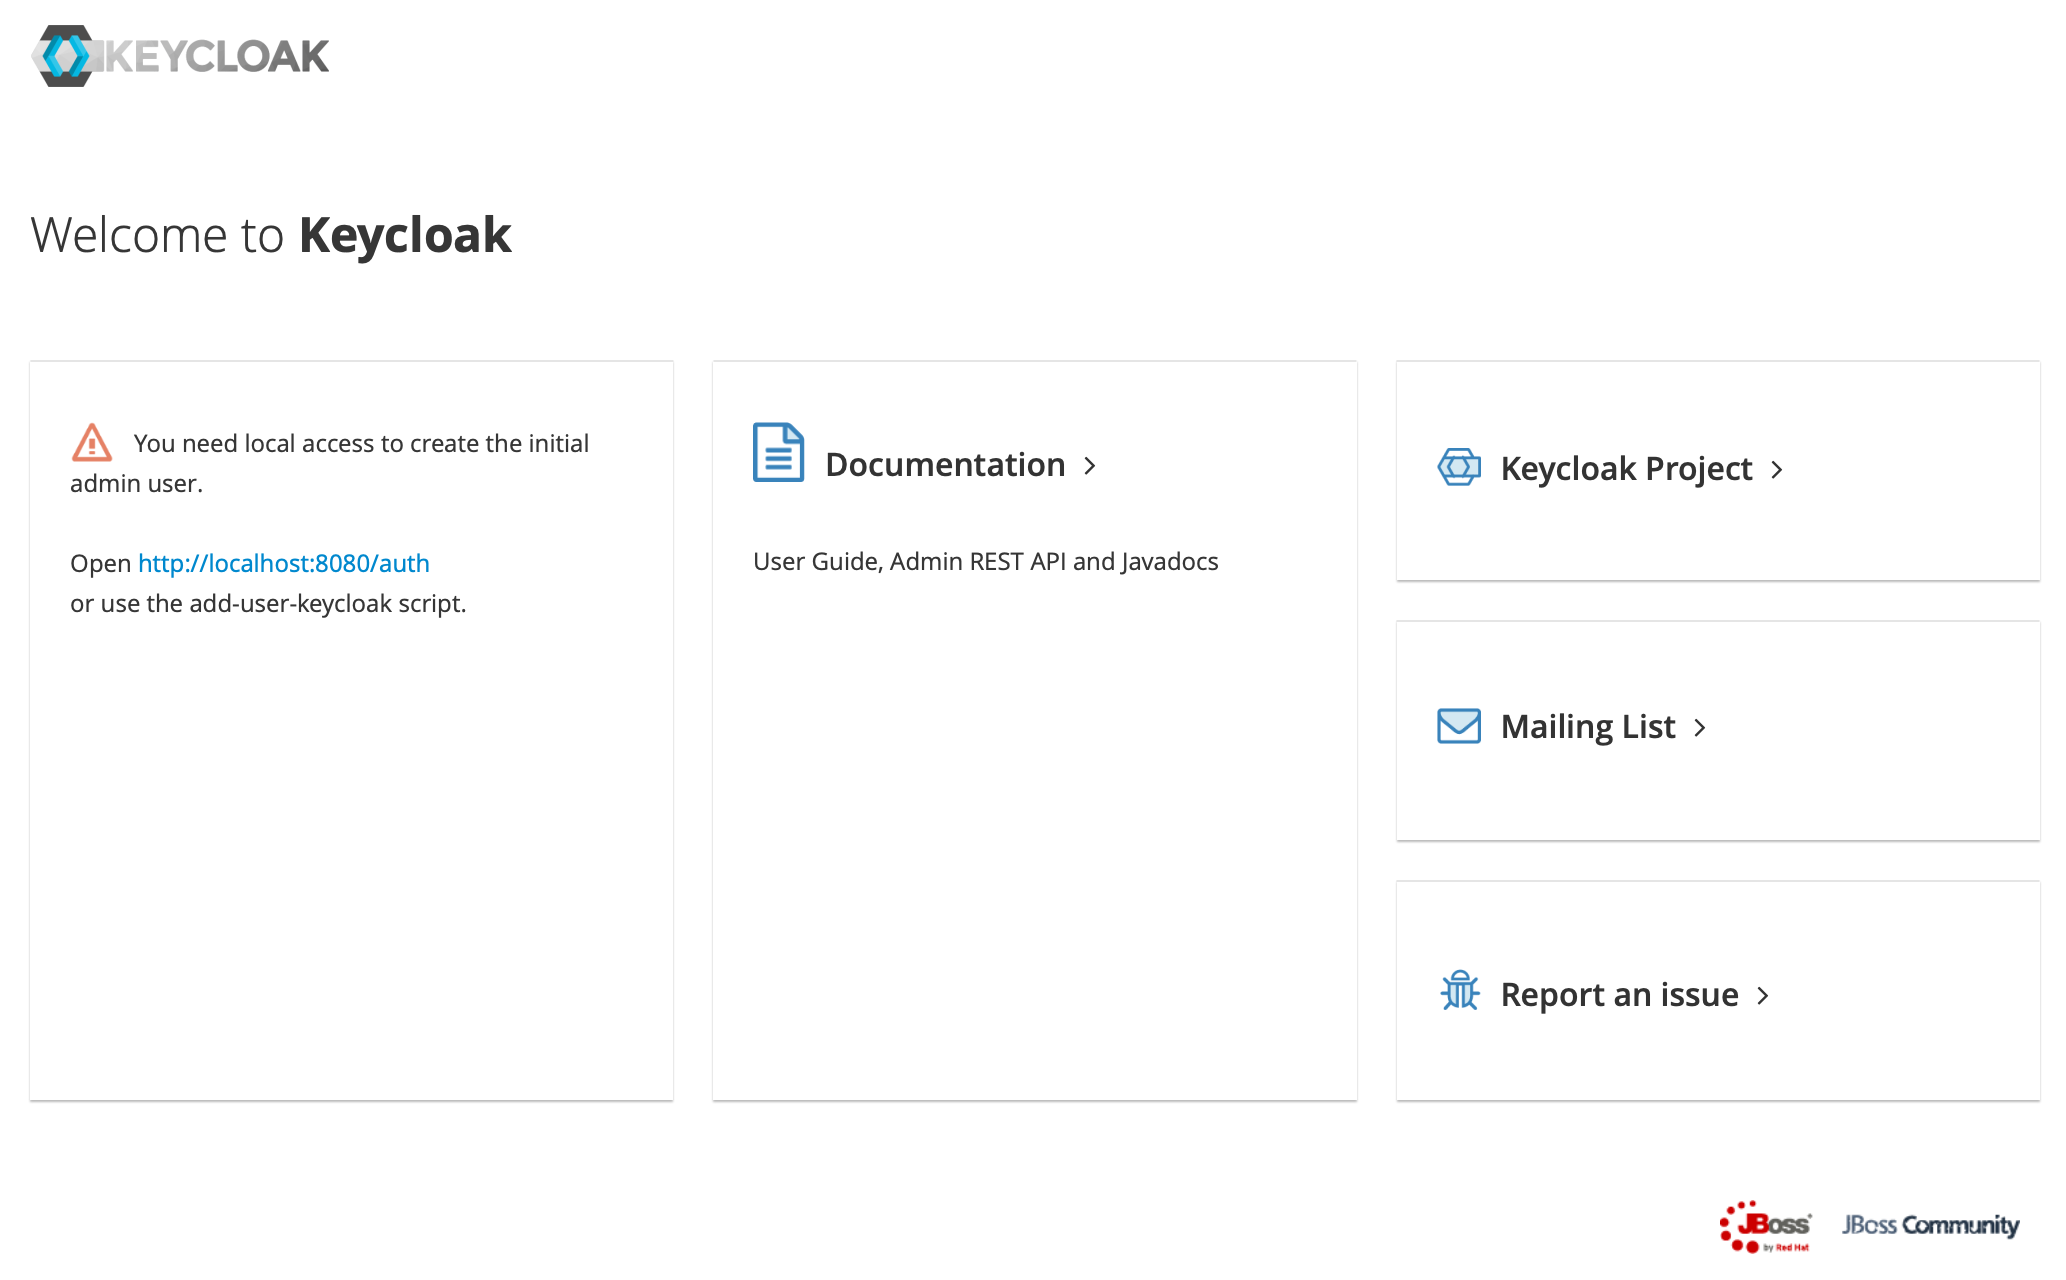
Yay! If you don't see this then something has gone wrong and you'll need to troubleshoot. See some commands below on how to go about doing that. You'll notice that we can't log in though because we switched databases and now don't have an admin user anymore. But we've made one of those before so this is easy enough. Back in the command line on the server, type the below, replacing the username and password for your own, and restart the Keycloak service:
sudo /opt/keycloak/current/bin/add-user-keycloak.sh -r master -u username -p password
sudo systemctl restart keycloak
Troubleshooting
If you haven't been successful, you'll have to try to figure out why. First up, check that MySQL is running:
sudo systemctl status mysql.service
You could also check if Keycloak is running (you may need to hit Ctrl-Z to exit this command):
sudo systemctl status keycloak
It probably failed to launch and to figure out why, try starting it manually and look for the first error it encounters:
cd /opt/keycloak/current/bin
sudo ./standalone.sh -b 0.0.0.0
Summary
Finally, our Keycloak server is up and running, with a SSL certificate that will self-renew, and we have a solid reliable database foundation for our application. Now we can start digging into Keycloak and do the set up in there to actually start authenticating users to our FileMaker database. Onward to the next article, part five!


